
Universal Garage Door Opener Keypads & Remotes for Liftmaster Chamberlain Craftsman Openers Produced Since 1993, Replaces
- The 877max Garage Door Opener Keypad is compatible with Liftmaster/chamberlain/Craftsman garage door.
- The 893max Garage Door Remote is fit for Chamberlain and LiftMaster Garage Door Opener with yellow.
- The wireless garage door keypad controls up to 3 openers; different PIN can be used to match and control.
- The 893max garage door remote have long range and stable work, working distance up to about 100 feet range.

Genie Genuine GUK-R Wireless Universal Garage Door Opener Keypad, Compatible with LiftMaster, Chamberlain, Genie, Craftsman and
- The Genie universal garage door opener wirless keypad compatible with all major garage door opener brands.
- The Genie universal keypad Large back-lit buttons on the universal keypad make entering your PIN quick and.
- The Genie universal keypad by Genie operates up to 3 garage door opener regardless of brand
- GARAGE ACCESS WITH A PIN:Enter your garage without needing to carry a key or remote with the Genie.

ASONPAO for Chamberlain Universal Garage Door Opener Keypad G940EV-P2 940EV 940ESTD 940CD 940CB
- Universally Works for Chamberlain/LiftMaster/Sears Craftsman Garage Door Opener with a Purple, Red.
- Compatible With Garage Door Opener Keypad Models G940EV-P2 940EV 940EV-P2 940ESTD 940CD 940CB etc.
- Features Rolling Code Technology That Generates A Brand New Access Code After Every Single Use. It.
- Gain Access To Your Garage Without A Remote Control Or Physical Key. Customize Your Own 4-Digit PIN For.
A sudden downpour or forgotten keys can make garage access a challenge. Installing a garage door opener keypad offers a convenient and secure way to enter your home without a remote or key. This guide will show you how to install a garage door opener keypad, whether you are replacing an old unit or adding a new one for the first time. They eliminate the need to carry a remote, which is useful when gardening, exercising, or letting children in after school. They also add a layer of security, as you can change the access code periodically. Many homeowners look for ways to replace a garage door keypad when their existing unit fails or when they want to upgrade to a more modern, universal model. Learning how to install a keypad for a garage door means gaining independence from traditional entry methods. It improves daily convenience and home access.
Tools and Materials You Will Need
Gathering your tools before you begin will make the installation process smoother and faster.
- New garage door opener keypad (compatible with your opener)
- Drill with appropriate drill bits (usually 1/8-inch or 3/32-inch)
- Screwdriver (Phillips head)
- Pencil or marker
- Measuring tape
- Level
- Cleaning cloth
- Rubbing alcohol (optional, for surface prep)
- Step ladder (if mounting high)
- New batteries (if not included with the keypad)
Safety First
Always prioritize safety when working around your garage door.
While installing a garage door keypad does not involve direct work with the garage door springs or opener motor, it is still wise to take precautions. Make sure the area where you are working is clear of obstructions. If using a ladder, position it on a stable, level surface. Wear safety glasses to protect your eyes from any debris when drilling.
step by step: How to Install a Garage Door Keypad
This section will guide you through the physical installation of your new keypad. The entire process, including programming, should take about 30-60 minutes.
Step 1: Choose Your Keypad Location
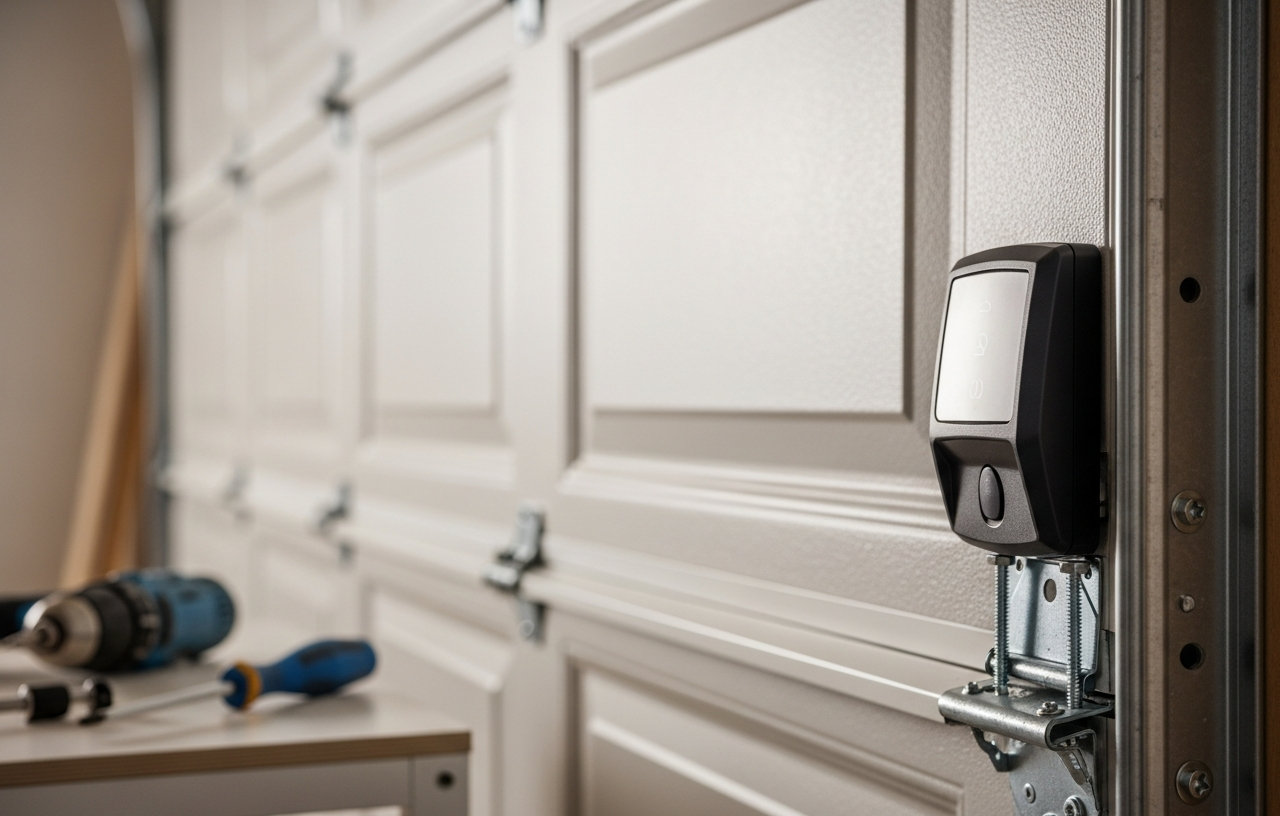
Selecting the right spot for your keypad is important for accessibility and security. The keypad should be mounted at a comfortable height, typically between 5 and 6 feet off the ground, for easy reach by all users. Place it away from direct sunlight if possible, which can fade the display or make it hard to read over time. Also, keep it out of direct range of rain or sprinklers. Choose a flat, sturdy surface on your garage door frame or wall. Make sure it is close enough to the garage door opener unit to receive the signal reliably.
Step 2: Check Keypad Compatibility and Unbox Your Unit
Before beginning, confirm that your new keypad is compatible with your existing garage door opener. Most modern openers use rolling code technology, and keypads need to match this. For homeowners with Liftmaster, Chamberlain, or Craftsman openers produced since 1993, the Universal Garage Door Opener Keypads & Remotes for Liftmaster Chamberlain Craftsman Openers are a strong choice. This model, like the 877max keypad, controls up to three openers with different PINs. If you have a variety of opener brands, the Genie Genuine GUK-R Wireless Universal Garage Door Opener Keypad offers broad compatibility with all major brands and features large, back-lit buttons for easy use. For specific Chamberlain or LiftMaster models with purple, red, orange, green, or yellow learn buttons, consider the ASONPAO for Chamberlain Universal Garage Door Opener Keypad G940EV-P2, which uses rolling code technology for enhanced security. Once compatibility is confirmed, carefully unbox your keypad and check that all mounting hardware is present.
Step 3: Prepare the Mounting Surface
Clean the area where you plan to install the keypad. Use a damp cloth to remove any dirt or grime. If necessary, use rubbing alcohol for a deeper clean, then let it dry completely. This makes sure the keypad or its mounting bracket adheres properly and securely.
Step 4: Mark Drill Holes and Drill Pilot Holes
Hold the keypad or its mounting bracket against the wall at your chosen height. Use a level to make sure it is perfectly straight. With a pencil, mark the spots where the mounting screws will go. Most keypads come with a template, which simplifies this step. Once marked, use your drill with the appropriate drill bit (check your keypad's instructions for the recommended size) to create pilot holes. Drill slowly and carefully to avoid damaging the wall material.
Step 5: Install Batteries
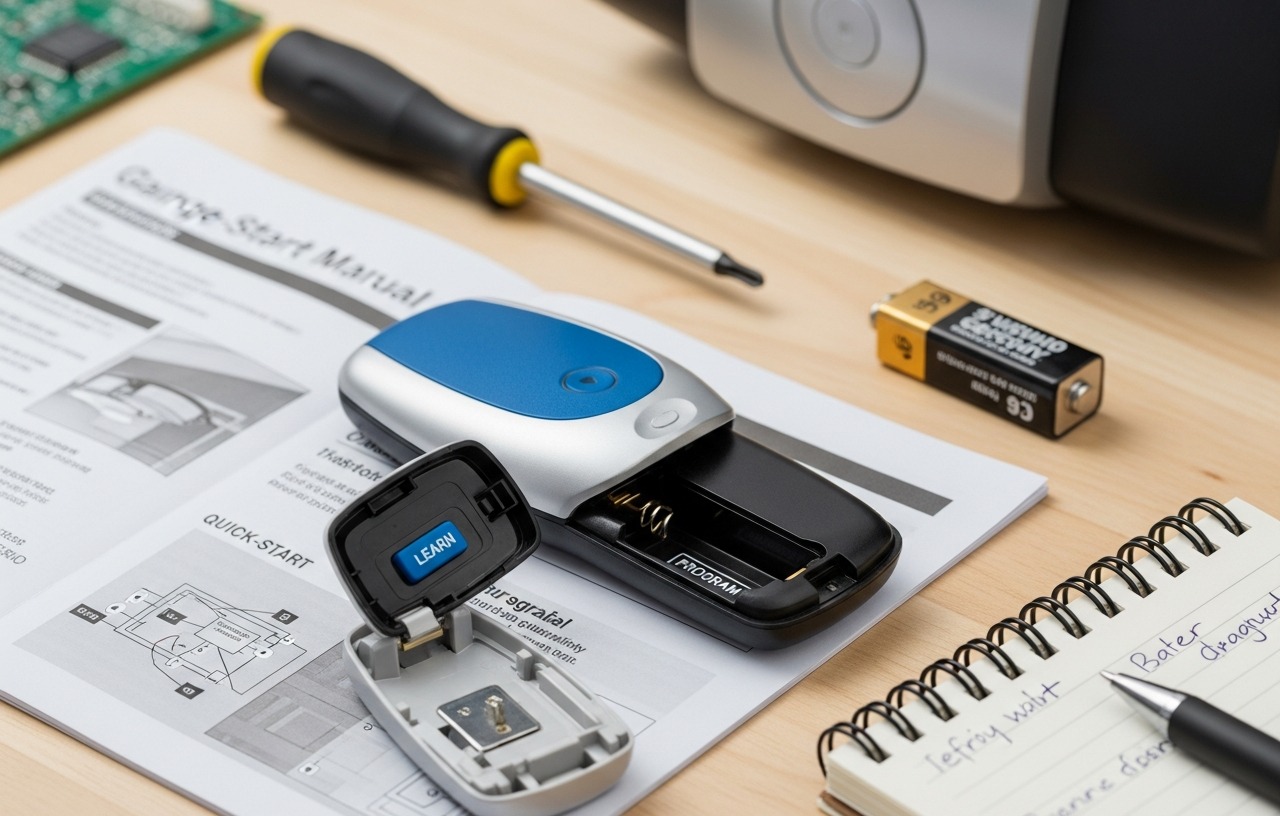
Open the battery compartment on the back of your new keypad. Insert the recommended type and number of batteries, usually AA or AAA. Make sure they are oriented correctly according to the polarity markings (+/-). Close the battery compartment securely.
Step 6: Mount the Keypad Unit
Align the keypad or its mounting bracket with the pilot holes you drilled. Use the provided screws and a screwdriver to attach the keypad securely to the wall. Do not overtighten the screws, as this can crack the plastic housing. The keypad should feel firm and not wobble once installed.
Step 7: Program the Garage Door Keypad
This is the most critical step to make your new keypad functional. Programming procedures vary by manufacturer and opener model. Generally, you will need to enter a personal identification number (PIN) into the keypad and then synchronize it with your garage door opener's "learn" button. You can find detailed, brand-specific instructions on how to program a garage door opener on our website. For most keypads, the general steps are:
- Enter your desired 4-digit PIN on the keypad.
- Press the "Enter" or "Program" button on the keypad.
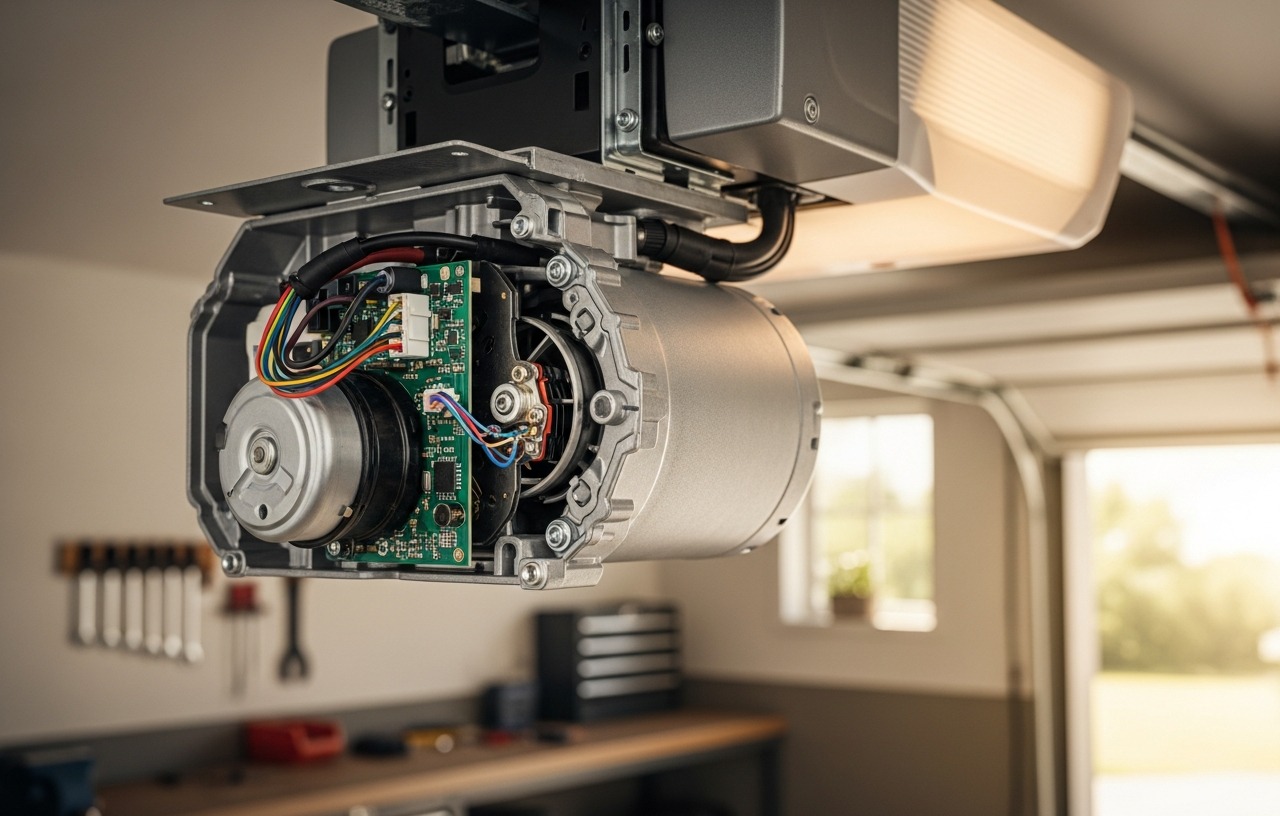
- Locate the "Learn" button on your garage door opener motor unit. This button is typically on the back or side of the motor head. It might be yellow, purple, red, orange, or green.
- Press and release the "Learn" button. A small LED light next to it will usually illuminate, indicating it is in programming mode. You will have about 30 seconds to complete the next step.
- Go back to your keypad and press the "Enter" or "Program" button one more time. The garage door opener lights may flash, or you might hear a click, indicating successful pairing.
If you have a universal keypad like the Genie GUK-R, you might need to enter a specific manufacturer code before setting your PIN. Refer to your keypad's manual for precise programming instructions. Many modern keypads, including the ASONPAO for Chamberlain, use rolling code technology. This generates a new access code after every use, enhancing security. Make sure your keypad is correctly programmed to take advantage of this feature.
Step 8: Test the Keypad
Once programmed, step away from the garage door and enter your new PIN on the keypad. Press the "Enter" button. The garage door should open or close. Test it several times to make sure it operates reliably. If the door does not respond, review the programming steps carefully or consult the keypad's troubleshooting section in its manual.
Troubleshooting Common Keypad Issues
Sometimes, a newly installed or older keypad might not work as expected. Here are a few common problems and their solutions:
- Keypad Not Responding: Check the batteries. Low or dead batteries are a frequent cause of keypad failure. Replace them with fresh ones.
- Keypad Won't Program: Make sure you are pressing the "Learn" button on the opener for the correct duration and within the specified time window. Sometimes, interference can prevent programming. Try clearing all existing codes from your opener's memory (consult your opener manual for this process) and then reprogram all remotes and the new keypad. If your garage door opener is not working at all, the issue may be beyond the keypad.
- Intermittent Operation: This could be a range issue. Is the keypad too far from the opener? Or is there something blocking the signal, like metal siding or large trees? Try repositioning the keypad slightly if possible. Weak batteries can also cause intermittent signals.
- Incorrect PIN Entry: Double-check that you are entering the correct PIN. Some keypads have a lockout feature after too many incorrect attempts. Wait a few minutes before trying again.
When to Call a Professional
While installing a garage door opener keypad is a DIY-friendly task, some situations might warrant professional help. If you have tried all troubleshooting steps and your keypad still refuses to program or operate your garage door, a professional technician can diagnose more complex issues. These might involve the garage door opener's circuit board or receiver.
A service call for a garage door technician typically costs $80-$150. If the opener itself needs repair or replacement, costs can increase. A technician can also recommend and install advanced smart home accessories if you are looking for an upgrade beyond a standard keypad.
Conclusion
Installing a garage door opener keypad is a practical home improvement project that enhances convenience and security. This simple upgrade provides reliable access for your family and guests.
Universal Garage Door Opener Keypads & Remotes for Liftmaster Chamberlain Craftsman Openers Produced Since 1993, Replaces
- The 877max Garage Door Opener Keypad is compatible with Liftmaster/chamberlain/Craftsman garage door.
- The 893max Garage Door Remote is fit for Chamberlain and LiftMaster Garage Door Opener with yellow.
- The wireless garage door keypad controls up to 3 openers; different PIN can be used to match and control.
- The 893max garage door remote have long range and stable work, working distance up to about 100 feet range.
Genie Genuine GUK-R Wireless Universal Garage Door Opener Keypad, Compatible with LiftMaster, Chamberlain, Genie, Craftsman and
- The Genie universal garage door opener wirless keypad compatible with all major garage door opener brands.
- The Genie universal keypad Large back-lit buttons on the universal keypad make entering your PIN quick and.
- The Genie universal keypad by Genie operates up to 3 garage door opener regardless of brand
- GARAGE ACCESS WITH A PIN:Enter your garage without needing to carry a key or remote with the Genie.
ASONPAO for Chamberlain Universal Garage Door Opener Keypad G940EV-P2 940EV 940ESTD 940CD 940CB
- Universally Works for Chamberlain/LiftMaster/Sears Craftsman Garage Door Opener with a Purple, Red.
- Compatible With Garage Door Opener Keypad Models G940EV-P2 940EV 940EV-P2 940ESTD 940CD 940CB etc.
- Features Rolling Code Technology That Generates A Brand New Access Code After Every Single Use. It.
- Gain Access To Your Garage Without A Remote Control Or Physical Key. Customize Your Own 4-Digit PIN For.