
CHAMBERLAIN Smart Garage Control - Wireless Garage Hub and Sensor with Wifi & Bluetooth - Smartphone Controlled, myQ-G0401-ES,
- “Did I shut the garage” No more worrying.
- Open or close your garage from anywhere. Simply download the free myQ app for iPhone or Android and get.
- Works with Amazon Key In-Garage Delivery,an exclusive Prime member benefit that protects your Amazon packages.
- Give access to family or friends while on the go
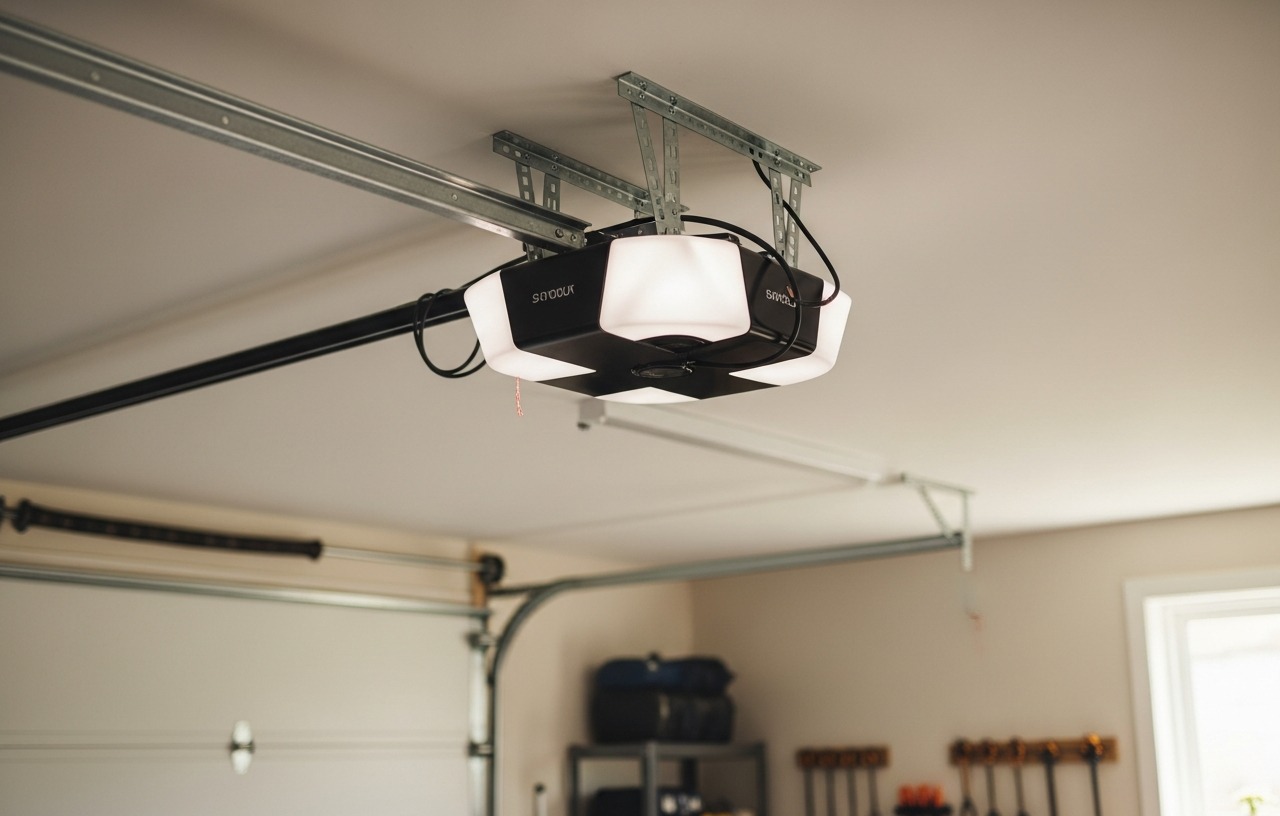
Many homeowners upgrade their existing garage door opener with a smart control system. The CHAMBERLAIN Smart Garage Control (myQ-G0401-ES) offers a reliable way to monitor and control your garage from your smartphone. This system includes the necessary hub and a door sensor, ensuring you never have to ask, “Did I shut the garage?” again. You can open or close your garage from anywhere simply by downloading the free myQ app for iPhone or Android. You can complete this project in under an hour.
Understanding MyQ Garage Door Sensor Compatibility
Before you install myq garage door sensor components, confirm your existing garage door opener is compatible. The MyQ system works with most garage door openers manufactured after 1993 that have standard safety sensors. These safety sensors are the small photoelectric eyes located near the bottom of your garage door tracks.
If your opener lacks these safety sensors, it is not compatible with MyQ technology. Align and Fix It in 10 Minutes.
The MyQ system communicates with your garage door opener through a hub, which then connects to your home Wi-Fi. The door sensor detects the door's position (open or closed) and sends this information to the hub. The hub then relays commands and status updates to your smartphone.
Tools and Materials Needed for MyQ Door Sensor Installation
Gathering your tools before starting makes the install myq garage door sensor process smoother. Most of these items are common household tools.
- MyQ Smart Garage Control (includes hub and door sensor)
- Stepladder
- Drill (optional, for mounting the sensor with screws)
- Phillips head screwdriver (if using screws)
- Pencil
- Cleaning cloth
- Rubbing alcohol (for cleaning mounting surface)
- New AA battery (if replacing sensor battery)
Safety First: Important Considerations
Working around garage doors and electrical components requires caution. Follow these safety tips:
- Disconnect Power: Unplug your garage door opener from the electrical outlet before mounting the sensor or hub. This prevents accidental activation of the door during installation.
- Use a Stable Ladder: Make sure your stepladder is on a flat, stable surface. Have someone spot you if you are uncomfortable.
- Clear the Area: Keep children and pets away from the garage door during installation.
- Do Not Interfere with Safety Sensors: The MyQ sensor is separate from your opener's existing safety sensors. Do not block or alter the original safety sensors, as they are a critical safety feature.
step by step MyQ Garage Door Sensor Installation
This section details how to install the MyQ garage door sensor. The process involves setting up the hub first, then the sensor.
Step 1: Download the MyQ App and Create an Account (Time: 5-10 minutes)
The MyQ system is controlled entirely through a smartphone app. Download the free MyQ app from your device's app store (available for iOS and Android). Open the app and create a new account if you do not already have one. You will need to provide an email address and create a password.
Once your account is set up, log in. The app will guide you through adding a new device.
Step 2: Install the MyQ Smart Garage Hub (Time: 15-20 minutes)
The MyQ Smart Garage Hub acts as the bridge between your Wi-Fi network, the MyQ sensor, and your garage door opener. This is the first critical piece for myq door sensor installation.
- Connect to Power: Plug the MyQ hub into an electrical outlet on your garage ceiling or wall. Make sure it is within Wi-Fi range and close enough to your garage door opener for a clear signal. The hub's LED will begin flashing.
- Pair with Wi-Fi: Open the MyQ app and select 'Add Device'. Follow the on-screen prompts to connect the hub to your home Wi-Fi network. You will need your Wi-Fi password.
- Pair with Opener: The app will then instruct you to pair the hub with your garage door opener. Locate the 'Learn' button on your garage door opener. This button is typically on the back or side of the motor unit, often near the antenna wire. Press and release the 'Learn' button. Within 30 seconds, press the 'Learn' button on the MyQ hub. The garage door opener lights may flash, indicating successful pairing. If you have trouble finding your 'Learn' button, consult your opener's manual or refer to our How to Program a Garage Door Opener: Every Brand Explained article.
Step 3: Prepare and Activate the MyQ Garage Door Sensor (Time: 5 minutes)
The MyQ door sensor comes with a pre-installed battery, but it might have a plastic pull tab to prevent drainage during shipping. Remove this tab to activate the sensor. The sensor will typically flash a light to indicate it is active.
In the MyQ app, select 'Add Device' again and choose the door sensor option. The app will guide you through pairing the sensor with the hub. This usually involves pressing a button on the sensor itself or waiting for the app to detect it. The hub's LED will change color or flash to confirm the connection.
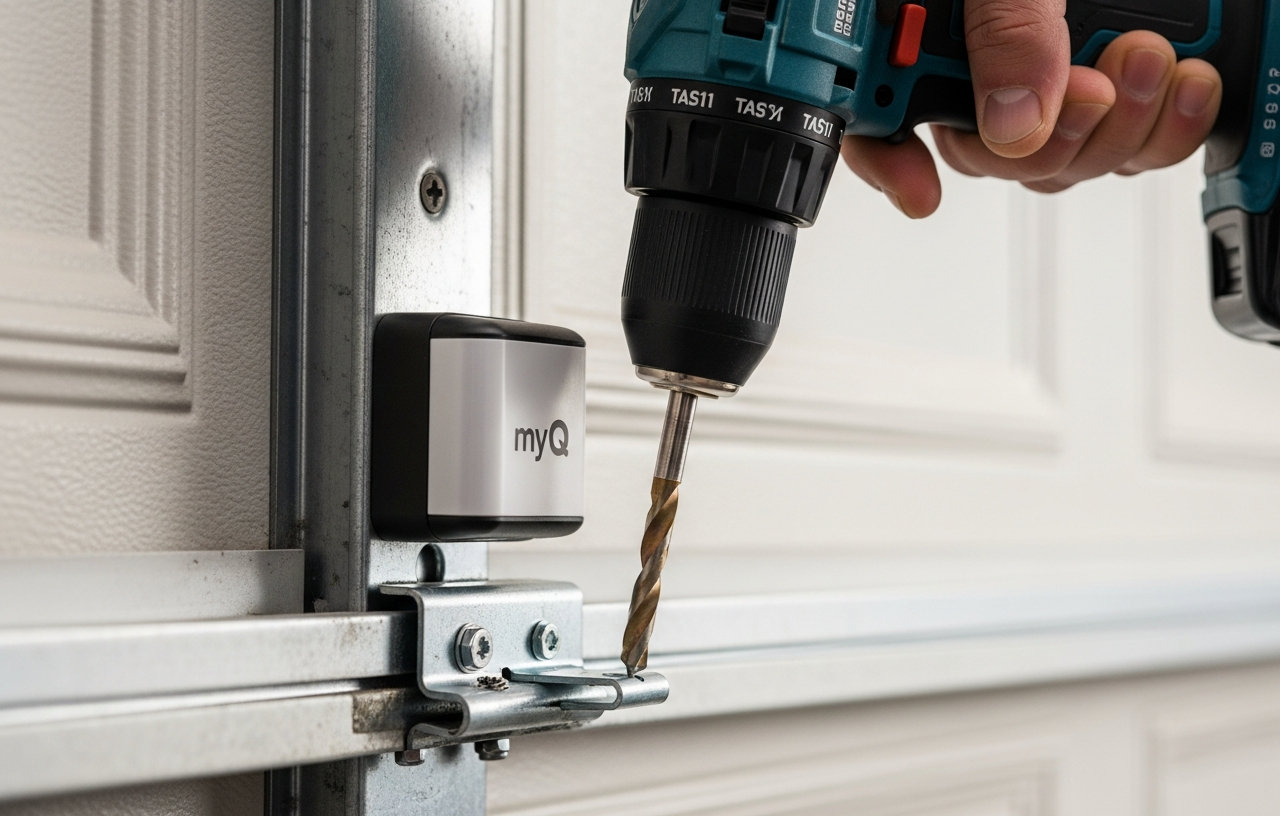
Step 4: Mount the MyQ Garage Door Sensor (Time: 10-15 minutes)
Proper placement of the MyQ sensor is essential for accurate readings. The sensor should be mounted on the top panel of your garage door.
- Identify the Top Panel: The top panel is the highest section of the garage door that moves when the door opens and closes.
- Choose a Flat Surface: Find a clean, flat surface on the inside of the top panel. Avoid mounting it on any decorative trim or uneven areas.
- Clean the Surface: Use a cleaning cloth dampened with rubbing alcohol to clean the chosen mounting area. Let it dry completely. This ensures the adhesive strips adhere properly.
- Mount the Sensor: The MyQ sensor typically comes with strong double-sided adhesive strips. Peel off the backing from the adhesive strips on the back of the sensor. Firmly press the sensor onto the cleaned surface on the top panel of your garage door. Hold it in place for 30 seconds to ensure a secure bond.
- Optional Screw Mounting: For added security, you can use the included screws to mount the sensor. Use a drill to create pilot holes if necessary, then secure the sensor with a Phillips head screwdriver. This is especially recommended if your garage experiences extreme temperature fluctuations or high humidity.
Step 5: Test the MyQ System (Time: 5 minutes)
After the physical myq door sensor installation, you must test the entire system to confirm it works correctly.
- Open the App: Open the MyQ app on your smartphone. The app should now display the status of your garage door (open or closed).
- Cycle the Door: Use the MyQ app to open your garage door. Observe if the door opens smoothly and if the app accurately updates its status.
- Close the Door: Use the MyQ app to close your garage door. Again, confirm the door closes and the app reflects the correct closed status. Pay attention to any beeping sounds from the hub, which indicate the door is about to close, a safety feature.
- Manual Override: Manually open and close the garage door a few times to make sure the sensor registers these changes in the app.
If the app does not show the correct status or if the door does not respond, proceed to the troubleshooting section.
Troubleshooting Common MyQ Sensor Installation Issues
Sometimes, issues arise during or after the install myq garage door sensor process. Here are some common problems and their solutions:
Sensor Not Registering Door Status
If the MyQ app does not accurately show your garage door's open or closed status, check these points:
- Sensor Placement: The sensor must be mounted on the top panel of the garage door. If it is on a lower panel, it might not tilt enough to register a status change.
- Battery: The sensor's battery might be low or dead. Replace the AA battery with a fresh one.
- Proximity to Hub: The sensor needs to be within range of the MyQ hub. If your garage is very large, consider repositioning the hub closer to the door.
- Re-pair Sensor: Try removing the sensor from the MyQ app and then adding it again.
Hub Not Connecting to Wi-Fi
A Wi-Fi connection issue prevents the MyQ system from functioning. Consider these fixes:
- Wi-Fi Signal Strength: Make sure the MyQ hub is within good range of your home router. You might need a Wi-Fi extender for larger homes or garages.
- Router Settings: Some routers have strict firewall settings. Temporarily disable any guest networks or advanced security features to see if that resolves the issue.
- Reboot Router and Hub: Power cycle both your Wi-Fi router and the MyQ hub. Unplug them, wait 30 seconds, then plug them back in.
Hub Not Pairing with Garage Door Opener
If the hub fails to communicate with your garage door opener, try these steps:
- 'Learn' Button: Make sure you are pressing the correct 'Learn' button on your opener and that you are doing so within the 30-second window after pressing the hub's 'Learn' button. Different opener brands have different 'Learn' button locations and colors.
- Obstructions: Confirm there are no physical obstructions between the hub and the opener that might block the signal.
- Compatibility: Double-check that your garage door opener is indeed MyQ compatible. Openers made before 1993 generally are not.
- Power Cycle Opener: Unplug your garage door opener for a minute, then plug it back in. This can sometimes reset its communication module. For more troubleshooting on a non-responsive opener, see our guide on Garage Door Opener Not Working: 9 Fixes Before You Call Anyone.
Benefits of a MyQ Smart Garage System
Installing a MyQ garage door sensor offers several practical advantages for homeowners:
- Remote Monitoring: You can check the status of your garage door from anywhere using your smartphone. This eliminates worries about whether you left the door open.
- Remote Control: Open or close your garage door remotely for deliveries, visitors, or to let someone in when you are not home.
- Activity Alerts: Receive real-time notifications on your phone whenever the garage door opens or closes.
- Enhanced Security: Knowing the status of your garage door adds a layer of security to your home. Integration with services like Amazon Key In-Garage Delivery also helps protect packages from theft or weather.
- Convenience: Forgetting your garage door remote is no longer an issue; your phone becomes your universal opener.
When to Call a Professional for MyQ Installation
While myq garage door sensor installation is designed for DIY, some situations might warrant professional assistance. If you encounter persistent Wi-Fi connectivity problems, issues pairing the hub with your opener, or if you are uncomfortable working on a ladder, a professional installer can help. A service call for a smart garage system installation typically costs between $80-$150 for the visit, with labor ranging from $75-$120 per hour. Most installations are quick, often completed within an hour.
Conclusion
Installing a MyQ garage door sensor is a worthwhile upgrade for almost any homeowner seeking added convenience and security.
CHAMBERLAIN Smart Garage Control - Wireless Garage Hub and Sensor with Wifi & Bluetooth - Smartphone Controlled, myQ-G0401-ES,
- “Did I shut the garage” No more worrying.
- Open or close your garage from anywhere. Simply download the free myQ app for iPhone or Android and get.
- Works with Amazon Key In-Garage Delivery,an exclusive Prime member benefit that protects your Amazon packages.
- Give access to family or friends while on the go