A garage door opener that hums loudly, struggles to start, or fails to move the door entirely often has a bad capacitor. Replacing this small electrical component can cost as little as $10-$30 for the part if you handle it yourself.
Understanding the difference in costs and the associated risks helps homeowners decide whether to tackle this repair or call for expert assistance. The capacitor plays a vital role in providing the initial burst of power needed to start the opener's motor. When it weakens, the motor cannot get going, leaving your garage door stuck.
What Does a Garage Door Opener Capacitor Do?
The capacitor is an electrical component designed to store energy and release it quickly. In a garage door opener, it provides the initial surge of electricity to kickstart the motor. This quick jolt is necessary to overcome the inertia of the heavy garage door and its moving parts.
Without a functional capacitor, the motor either won't start at all, or it will hum weakly as it tries to draw power without enough initial force.
Symptoms of a Failing Garage Door Opener Capacitor
Identifying a bad capacitor usually involves observing specific behaviors from your garage door opener. The symptoms are often consistent and clear indicators of an electrical issue within the motor unit.
- Opener Hums But Doesn't Move: This is the most common symptom. You press the remote, hear a distinct humming sound from the motor, but the door remains stationary.
- Slow or Jerky Start: The door may begin to move very slowly or with a noticeable jerk before eventually picking up speed. It often struggles more during the initial few feet of travel.
- Door Opens Partially: The opener might lift the door only a few inches or a foot before stopping, sometimes accompanied by the humming sound.
- Intermittent Operation: The opener works sometimes but not others, or only after several attempts. This can be frustrating and unpredictable.
- Overheating: A struggling motor, due to a weak capacitor, might draw excessive current and generate more heat than usual. This symptom is less common but can occur.
Diagnosing a Bad Capacitor: Is it the Real Culprit?
Before assuming the capacitor is the problem, perform a few checks to rule out other common issues. Many symptoms overlap with other opener malfunctions.
First, make sure the safety sensors are aligned and clear. Misaligned sensors prevent the door from closing and sometimes from opening fully. You can find help with this at Garage Door Sensor Not Working? Align and Fix It in 10 Minutes.
Next, check for any obstructions in the door's path or issues with the door itself. A broken spring, for example, makes the door extremely heavy and difficult for the opener to lift. If you suspect a spring issue, consult Broken Garage Door Spring: What to Do Right Now (And What Not To).
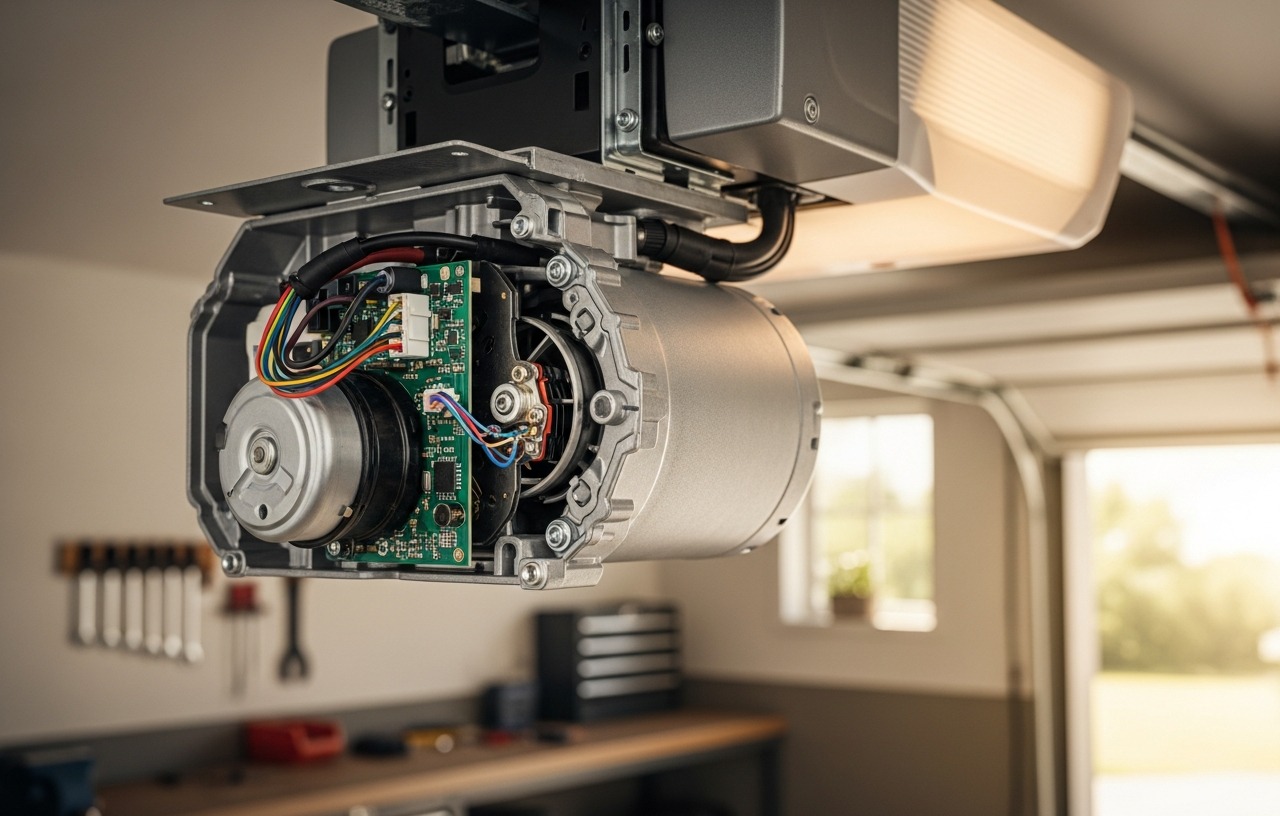
If these checks do not resolve the issue, and the motor still hums without moving the door, the capacitor is a strong suspect. To confirm, you will need to access the opener's circuit board where the capacitor is located. Always disconnect power to the garage door opener at the circuit breaker before opening its housing. Capacitors can store a charge even after power is off, so discharging it safely is important. Many older capacitors can be discharged by shorting the terminals with an insulated screwdriver, but modern ones often self-discharge. Still, exercise caution.
DIY Garage Door Opener Capacitor Replacement Cost
Replacing a garage door opener capacitor yourself is one of the most cost effective repairs you can make. The primary expense is the part itself.
Cost of the Capacitor
- Online Retailers: A replacement capacitor typically costs $10-$25 when purchased online. You will need to match the microfarad (µF) rating and voltage (V) of your existing capacitor. These specifications are printed directly on the capacitor's casing.
- Local Hardware Stores/Parts Suppliers: Some specialized electronics or motor repair shops might stock universal replacement capacitors. Prices can be slightly higher, in the $15-$30 range, but you get the part faster.
Tools Needed
You will need basic hand tools for this repair, most of which homeowners already own. If you need to purchase them, factor in these costs:
- Screwdriver Set: $10-$20 (for opening the opener housing and removing mounting screws).
- Needle-Nose Pliers: $10-$15 (for disconnecting wires).
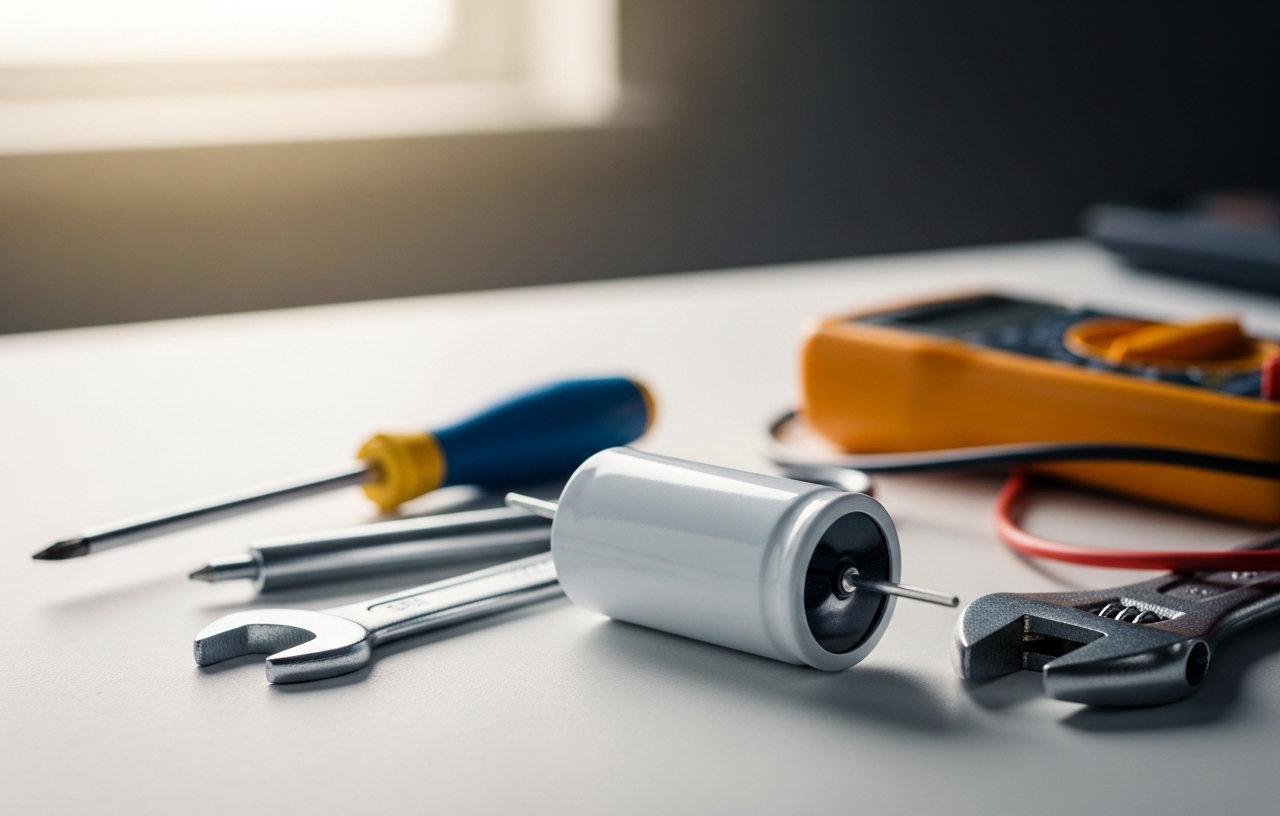
- Multimeter (Optional but Recommended): $20-$50 (to test the old capacitor and confirm the new one is functioning correctly). This tool can also be useful for other electrical troubleshooting around the house.
The total DIY cost, including a new capacitor and perhaps a basic multimeter, usually falls between $30 and $75.
DIY Process Overview (Brief)
- Disconnect Power: Turn off power to the garage door opener at your home's circuit breaker. This is non-negotiable for safety.
- Access the Opener Housing: Remove the cover from the motor unit.
- Locate the Capacitor: It usually looks like a small cylinder, often black or silver, and is connected to the motor's wiring. Note its microfarad (µF) and voltage (V) ratings.
- Discharge the Capacitor: Safely discharge any residual charge. An insulated screwdriver across the terminals usually works, or allow a few minutes for self-discharge.
- Remove the Old Capacitor: Disconnect the wires and unmount the capacitor. Take a photo of the wiring before disconnecting to help with reassembly.
- Install the New Capacitor: Connect the new capacitor, ensuring wires are attached to the correct terminals.
- Reassemble and Test: Replace the housing cover, restore power, and test the garage door opener.
This repair is often considered intermediate difficulty. It involves working with electricity and requires careful attention to detail. If you are uncomfortable with electrical work or unsure about identifying components, professional help is a better option.
Professional Garage Door Opener Capacitor Replacement Cost
Hiring a professional garage door technician provides expertise and safety, but at a higher cost. These costs include service call fees, labor, and the part itself.
Service Call Fees
Most garage door companies charge a service call fee to cover the technician's travel and initial diagnostic time.
Labor Costs
Once on site, the technician's labor rates usually fall between $75 and $150 per hour. Replacing a capacitor is a relatively quick job, often taking 30 minutes to an hour for an experienced professional. This includes diagnosis, accessing the component, replacing it, and testing the system.
Part Mark-up
Professionals often supply the replacement part, which may have a mark-up compared to retail prices. Expect to pay $25-$50 for the capacitor when purchased through a technician.
Total Professional Cost
Combining these factors, the total cost for a professional to replace your garage door opener capacitor generally falls between $150 and $350. This estimate assumes no other issues are discovered during the visit.
When Professional Help is Recommended
Calling a professional is wise in several situations:
- Safety Concerns: If you are uncomfortable working with electricity or opening up electrical components.
- Lack of Tools or Knowledge: If you do not have the necessary tools or are unsure about the diagnostic and replacement process.
- Time Constraints: A professional can often complete the job much faster.
- Warranty Considerations: Some opener warranties might be voided by DIY repairs. Check your specific opener's terms.
- Other Suspected Issues: If you suspect the problem might be more complex than just a capacitor, a professional can diagnose and fix multiple issues. For example, if your Garage Door Opener Not Working: 9 Fixes Before You Call Anyone didn't help, a pro can identify the root cause.
When to Consider a New Garage Door Opener Instead
While a capacitor replacement is a relatively inexpensive fix, sometimes it makes more sense to invest in a new garage door opener. Consider replacement if:
- Age of the Opener: Most garage door openers last 10-15 years. If your opener is nearing or past this age, other components may soon fail.
- Frequent Breakdowns: If you are experiencing frequent issues beyond just the capacitor, the opener might be at the end of its lifespan.
- High Repair Costs: If the technician discovers multiple expensive issues, the combined repair cost might approach the price of a new unit. For context, refer to , which is significantly higher than a capacitor replacement.
- Desire for Upgrades: Modern openers offer features like smart home integration, battery backup, and quieter operation. If you want these enhancements, a new opener is the way to go. Learn more about choosing a new unit in How to Choose a Garage Door Opener: Your Ultimate Guide.
"Even a small component like a capacitor can bring your garage door to a halt. Deciding between a DIY fix and professional service hinges on your comfort with electrical work and the overall condition of your opener."
Safety First: Important Precautions
Working with electricity requires strict adherence to safety protocols. A capacitor stores electrical energy and can deliver a powerful, potentially dangerous shock even after the power supply is disconnected.
- Always Disconnect Power: Before touching any internal components of your garage door opener, turn off the circuit breaker that supplies power to the unit. Confirm it is off with a non-contact voltage tester.
- Discharge the Capacitor: Even with power off, a capacitor can hold a charge. Use a tool with an insulated handle, like an insulated screwdriver, to carefully short the terminals of the capacitor. This will safely discharge any stored energy. Avoid touching the terminals directly.
- Wear Safety Glasses: Protect your eyes from any unexpected sparks or debris.
- Insulated Tools: Use tools with insulated handles when working on electrical components.
- Follow Manufacturer Instructions: Always consult your garage door opener's owner's manual for specific safety warnings and instructions related to internal repairs.
Making Your Decision
Replacing a garage door opener capacitor is a repair that many DIY-savvy homeowners can accomplish. The cost savings are significant, potentially saving you over $100 compared to professional service. The part itself is inexpensive, and the tools are common. However, the job involves working with potentially dangerous electrical components.
If you are confident in your electrical repair skills, understand the safety precautions, and can correctly identify and replace the part, then a DIY replacement is a good option.