A garage door opener that hums loudly but fails to move the door often points directly to a faulty start capacitor. This small, cylindrical component is essential for providing the initial burst of power needed to kickstart the motor. Without it, the motor cannot generate enough torque to lift or lower the heavy garage door.
What is a Garage Door Opener Capacitor?
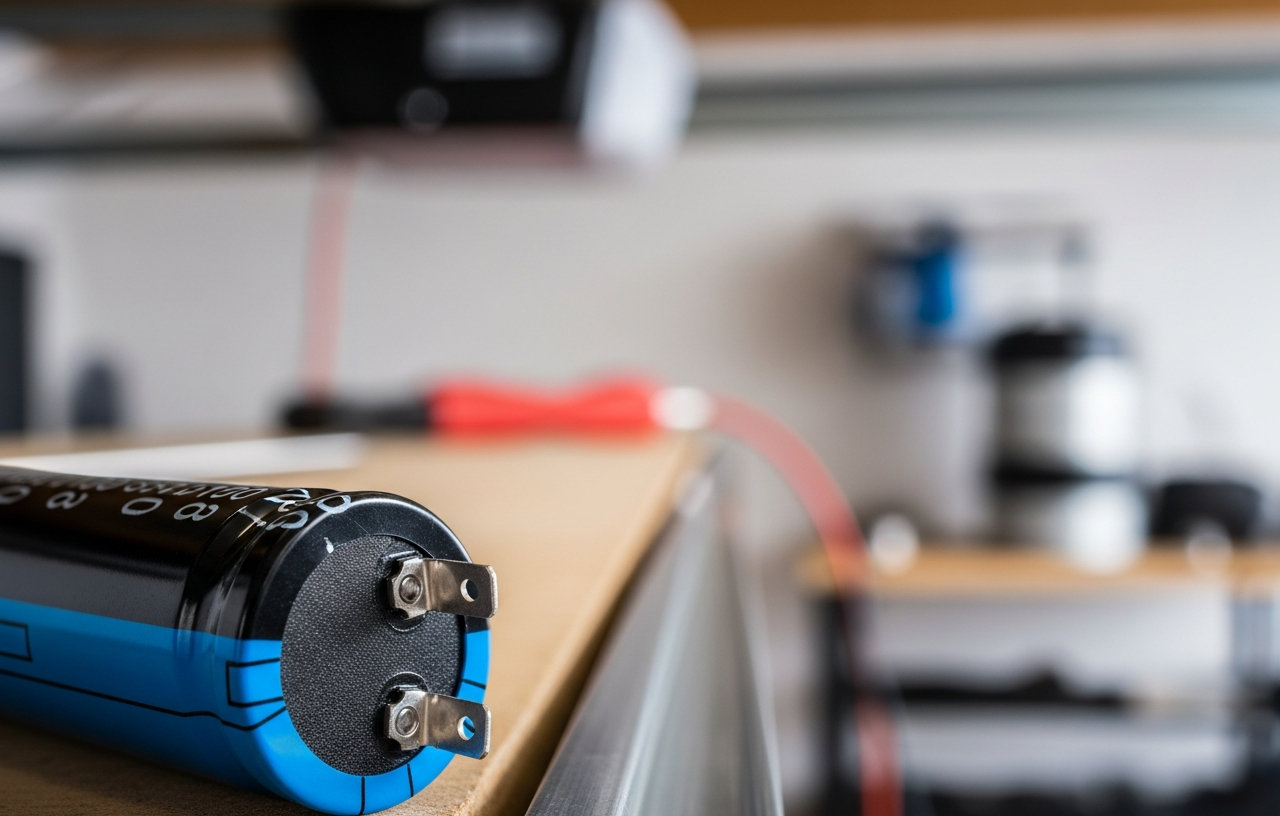
A capacitor in a garage door opener is an electrical component designed to store and rapidly release an electrical charge. Its primary role is to provide a significant surge of power to the motor at startup. This initial jolt helps the motor overcome inertia and begin rotating, especially under the load of a heavy garage door. Most residential garage door openers use AC induction motors, which require this extra push to get going.
Capacitors are rated by their capacitance, measured in microfarads (µF), and their voltage rating, which indicates the maximum voltage they can safely handle. For example, a common garage door opener capacitor might be rated at 70 µF and 220-250 VAC. Matching these specifications is critical for proper operation and safety when replacing a capacitor.
How a Garage Door Opener Capacitor Works
When you activate the opener, electrical current flows into the capacitor. It quickly stores this energy. As the motor attempts to start, the capacitor discharges its stored energy, sending a powerful burst of current to the motor windings. This surge creates a rotating magnetic field, providing the high starting torque necessary to overcome the door's weight and friction.
Once the motor reaches a certain speed, usually around 70-80% of its full RPM, the capacitor's role diminishes. A centrifugal switch or an electronic relay often disconnects the start winding and the capacitor from the circuit. The motor then continues to operate using its main winding. This two-stage process ensures efficient and powerful startup without continuously drawing excessive current.
Types of Capacitors in Garage Door Openers
There are generally two types of capacitors found in AC motors, though most garage door openers primarily use one type for their main function:
- Start Capacitors: These are the most common type found in residential garage door openers. They provide a large surge of current for a very short duration, typically only for a few seconds during motor startup. They are designed for intermittent use and have a relatively high capacitance value. Start capacitors often have a plastic or aluminum casing and are easily identifiable by their cylindrical shape.
- Run Capacitors: While less common as the primary starting component in standard residential garage door openers, some higher-end or industrial motors may use run capacitors. These are designed for continuous operation, helping to maintain motor efficiency and power factor once the motor is running. They have a lower capacitance value than start capacitors and are typically oil-filled, making them more durable for constant use.
For the vast majority of homeowners troubleshooting a malfunctioning garage door opener, the focus will be on the start capacitor.
Symptoms of a Failing Garage Door Opener Capacitor
Recognizing the signs of a failing capacitor can save you time and potential repair costs. Here are the most common indicators:
- Motor Hums But Does Not Move: This is the classic symptom. You press the remote, hear a distinct humming sound from the motor unit, but the door does not move at all, or perhaps it only jerks slightly. The motor is receiving power, but it lacks the initial torque to turn the drive shaft.
- Slow or Sluggish Operation: The garage door moves noticeably slower than usual, especially when starting. It may struggle to get going, indicating the motor is not receiving adequate starting power.
- Door Only Moves Part Way: The opener starts, moves the door a short distance (e.g., a foot or two), and then stops. This suggests the motor is failing to sustain its initial momentum.
- Opener Struggles with Heavy Doors: If your opener consistently struggles with a heavier-than-average garage door, or if the problem only occurs when the door is fully lowered, it might be a capacitor issue. The motor needs more initial force to lift a heavy door from a dead stop.
- Intermittent Operation: The opener works sometimes but fails other times. This can happen as the capacitor degrades, sometimes providing enough charge and sometimes not.
- Tripped Circuit Breaker: In severe cases, a completely failed capacitor can cause the motor to draw excessive current, tripping the circuit breaker. This is less common than the humming symptom but can occur.
If you experience any of these issues, especially the motor humming without movement, inspecting the capacitor is a logical next step in your garage door opener troubleshooting process.
Troubleshooting and Testing a Garage Door Opener Capacitor
Before attempting any repairs, always disconnect power to the garage door opener. Unplug it from the wall outlet or switch off the dedicated circuit breaker. This prevents electrical shock hazards.
Visual Inspection
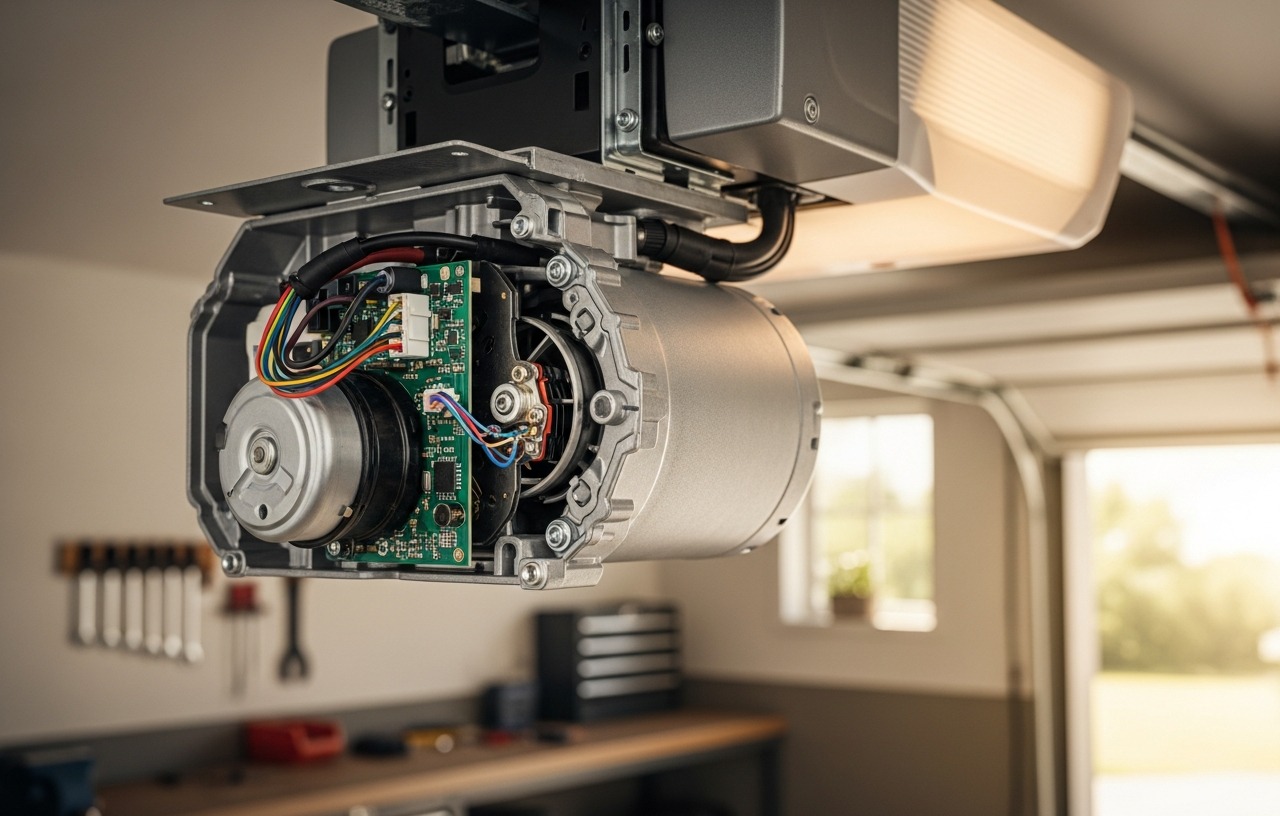
Locate the capacitor, usually a cylindrical component attached to the motor housing or control board. Look for obvious signs of damage:
- Bulging or Swelling: The top or bottom of the capacitor may appear swollen or rounded instead of flat.
- Leaking Fluid: A brown, oily residue on or around the capacitor indicates internal failure.
- Burn Marks: Discoloration or scorch marks on the capacitor or surrounding components.
Any of these visual cues strongly suggest the capacitor has failed and needs replacement.
Testing with a Multimeter
If there are no visible signs of damage, you can test the capacitor with a multimeter that has a capacitance (µF) setting. Important: Capacitors can store a dangerous electrical charge even after power is disconnected. Always discharge the capacitor before handling or testing it. Use a screwdriver with an insulated handle to short the two terminals of the capacitor, making contact with both at once. You may see a spark. Repeat this a few times to ensure full discharge.
Once discharged:
- Remove the capacitor from the opener's circuit. Note how it was connected for reinstallation.
- Set your multimeter to the capacitance (µF) range.
- Touch the multimeter probes to the capacitor's terminals.
- Read the value displayed on the multimeter.
Compare this reading to the capacitor's rated microfarad (µF) value, which is printed on its casing. A healthy capacitor should read within 5-10% of its rated value. If the reading is significantly lower, zero, or shows an open circuit, the capacitor is bad. If the reading is very high or indicates a short circuit, it is also faulty.
Replacing a Garage Door Opener Capacitor
Replacing a faulty capacitor is a common DIY repair. Make sure you have disconnected all power to the opener before you begin.
1. Identify the Correct Replacement
Before buying a new capacitor, carefully note the specifications of the old one:
- Capacitance (µF): It must match the original capacitor's microfarad value exactly. A slight variation (e.g., +/- 5%) is usually acceptable, but avoid large deviations.
- Voltage (VAC): The new capacitor's voltage rating must be equal to or greater than the original's. Never use a capacitor with a lower voltage rating.
- Physical Size: While not a performance factor, make sure the new capacitor fits in the existing space and mounting bracket.
Capacitors are inexpensive components, often costing less than $20. You can typically find replacements at appliance parts stores or online retailers by searching for the µF and VAC ratings.
2. Discharge the Old Capacitor
Even after disconnecting power, the old capacitor can still hold a charge. Safely discharge it by shorting its terminals with an insulated screwdriver, as described in the testing section. This prevents accidental shocks.
3. Remove the Old Capacitor
Carefully note the wiring connections. Some may have four terminals, but often only two are used. Take a photo before disconnecting any wires if you are unsure. Use pliers or a screwdriver to disconnect the wires and unmount the capacitor from its bracket.
4. Install the New Capacitor
Mount the new capacitor in the same location. Reconnect the wires exactly as they were on the old capacitor. Ensure all connections are secure and tight. Double-check your work before proceeding.
5. Restore Power and Test
Once the new capacitor is installed and all connections are secure, restore power to the garage door opener. Test the opener's function. If the capacitor was the sole issue, the motor should now start smoothly and operate the door correctly. If the problem persists, you may have a different issue, such as a failing motor or a problem with the control board.
When to Call a Professional
While replacing a capacitor is a relatively simple DIY task, there are times when calling a professional garage door technician is the best choice.
- Uncertainty: If you are uncomfortable working with electrical components or are unsure about discharging the capacitor safely.
- Persistent Issues: If replacing the capacitor does not resolve the problem, it indicates a more complex issue with the motor, control board, or other mechanical components.
- Lack of Tools: If you do not have a multimeter to accurately test the capacitor.
- Safety Concerns: Any visible damage to wiring, control boards, or other electrical parts beyond the capacitor itself.
A professional service call for garage door opener troubleshooting and repair typically costs between $80-$150, not including parts. If the issue is a faulty capacitor, the labor to replace it is usually minimal, often an additional $50-$100 on top of the service call fee. However, if the motor itself is failing, the cost can increase significantly, potentially leading to a full opener replacement.
Why Do Capacitors Fail?
Capacitors, like most electronic components, have a finite lifespan. Several factors contribute to their degradation and eventual failure:
- Age: Over time, the dielectric material inside the capacitor can break down, reducing its ability to store charge.
- Heat: Garage door openers often operate in environments with significant temperature fluctuations. Prolonged exposure to high temperatures can accelerate the chemical degradation of the capacitor's internal components.
- Voltage Spikes: Power surges or inconsistent voltage from the electrical supply can stress the capacitor beyond its rated limits, leading to premature failure.
- Frequent Use: Openers that are used many times a day experience more frequent charging and discharging cycles, which can wear out the capacitor faster.
- Manufacturing Defects: Although rare, a capacitor can fail prematurely due to a defect from the factory.
Understanding the role of the capacitor simplifies troubleshooting many common garage door opener problems. A simple, inexpensive replacement can often restore full functionality, extending the life of your opener.