Liftmaster 893Max
- The 893 max can be used as a replacement remote control for 80 series, 970 series and 370 series
- Easy programming, can control up to three garage door openers, gate operators or MYQ accessories
- Features security+2.0 rolling code technology that virtually eliminates radio wave interference
- Compatible with : LiftMaster garage door openers manufactured since January 1993 - all models

2 for Chamberlain LiftMaster Craftsman Garage Door Opener Remote 893LM 893Max 971LM
- Universal - Works on LiftMaster, Chamberlain and Craftsman garage door openers manufactured from 1993 to.
- Safe & Reliable - It features latest Security+2.0 rolling code technology that significantly reduces radio.
- Long Distance Remote - CreaCity garage door opener remote works within 120 feet from the garage door.
- Multichannel - 3 button design allows control of up to 3 garage door openers or gate operators at once.

2X 893LM 893Max for Chamberlain Craftsman LiftMaster Universal Garage Door Opener Remote Replacement, 3-Button Gate Opener
- Wide Compatibility to The Universal Garage Door Opener Remote works with Chamberlain, LiftMaster, and.
- Easy Replacement to Fits Garage Door Opener Remote models 891LM, 893MAX, 890MAX, 371LM, 373LM, 971LM.
- Secure Technology to Security+ 2.0 rolling code sends a new code every use. Ideal for Lift Masters Garage.
- Multi-Door Access to Control up to 3 doors or gates with one device. Compatible with Garage Door Remote.
A blinking LED light on your LiftMaster garage door opener or wall control indicates a specific error. Understanding these blink patterns can help you diagnose and often fix common garage door problems without calling a technician. Each blink pattern corresponds to a particular issue, ranging from simple sensor obstructions to more complex internal motor faults. Knowing what these blinks mean saves time and money.
Understanding LiftMaster Blink Codes
LiftMaster garage door openers use a diagnostic system that communicates problems through a series of blinks. These blinks typically appear on the opener's motor unit, often near the 'learn' button, or on the wall control panel. The number of blinks, followed by a pause, then a repeat, tells you the specific error. Pay close attention to how many times the LED blinks before pausing.
1 Up / 1 Down Blink: Safety Sensors Misaligned or Blocked
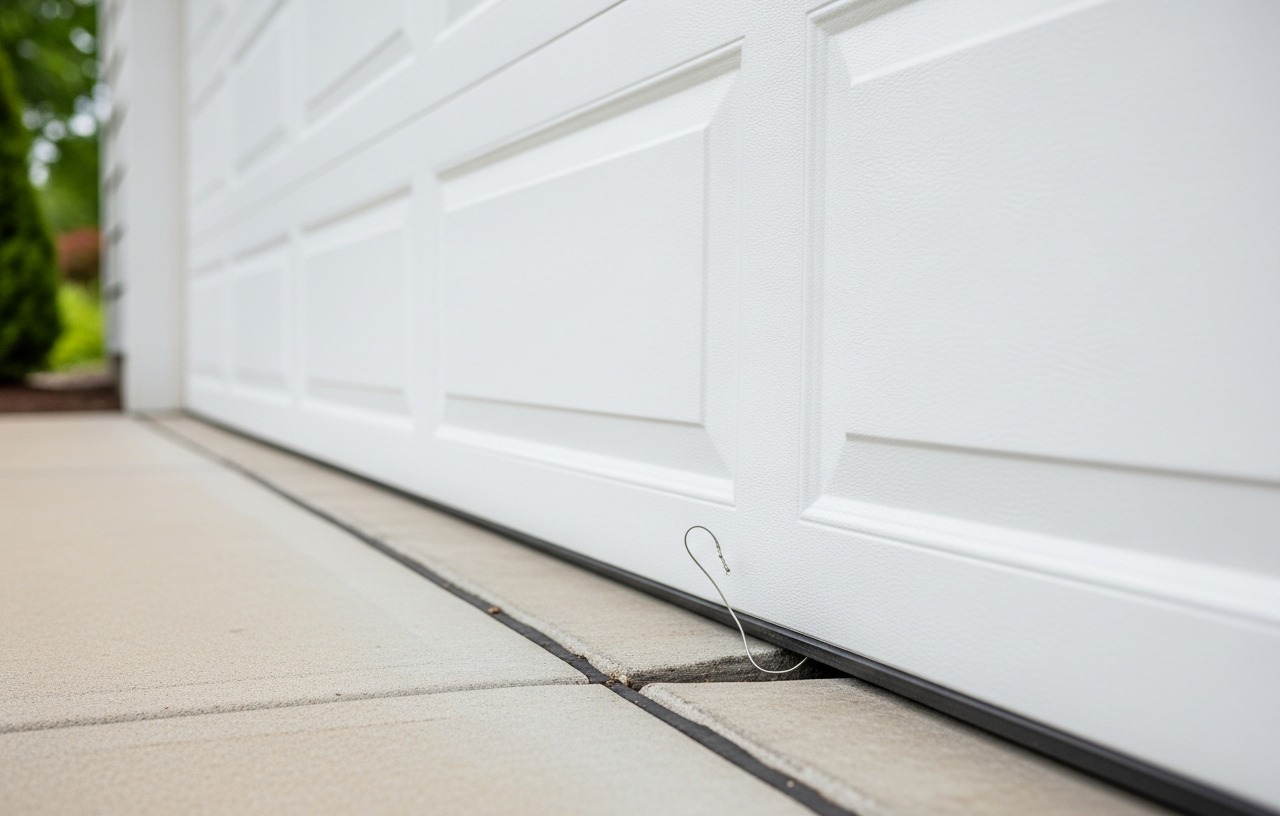
This is the most common LiftMaster error code. One blink up and one blink down indicates that the safety reversing sensors are either misaligned, blocked, or have dirty lenses. These sensors, located on each side of your garage door opening, create an invisible beam. If anything breaks this beam while the door is closing, the door reverses to prevent injury or damage.
To fix this, first check for any obstructions in the path of the sensors, such as leaves, dirt, or spiderwebs. Wipe the lenses clean with a soft, dry cloth. Next, inspect the alignment. The LED light on one sensor (the sending sensor) should be steadily lit, and the LED on the other sensor (the receiving sensor) should also be steadily lit. If either is blinking or off, they are out of alignment. Gently adjust the sensors until both lights glow solid. Sometimes, the brackets holding the sensors can bend. Straighten them if needed. For a detailed guide on troubleshooting sensor issues, see our article on Garage Door Sensor Not Working? Align and Fix It in 10 Minutes.
If the sensors appear aligned and clean, check the low-voltage wires running from the sensors to the motor unit. Look for cuts, pinches, or loose connections. Damaged wires might need replacement. This means electricity is bypassing the intended path. Start by inspecting the wires running from the wall control to the motor unit. Look carefully for any points where the insulation might be damaged, exposing the copper wire, especially where staples secure the wire to the wall.
Disconnect the wall control wires at the motor head. Then, try to operate the door using your remote control. If the door works with the wall control disconnected, the problem is either the wall control unit or its wiring. You can temporarily connect a short piece of wire directly to the wall control terminals on the motor unit to test if the wall control is the issue. If the door operates, the original wiring is the problem. If it does not operate, the wall control unit itself might be faulty. Replacing a wall control is a simple DIY task. A professional electrical diagnosis can cost $150-$300, depending on the complexity of tracing the short.
3 Up / 3 Down Blinks: Motor Overheating or Bad Logic Board
Three blinks up and three blinks down can indicate a few things, primarily related to the motor unit itself. A common cause is motor overheating. If you have operated your garage door many times in a short period, the motor can get too hot and shut down as a safety measure. Give the opener at least 15-30 minutes to cool down. Check for any obstructions that might be forcing the motor to work harder, such as a binding door or broken springs. For issues with the door not opening, refer to Garage Door Won't Open? 8 Causes and How to Fix Each One.
Another possibility for three blinks is a faulty logic board. The logic board is the 'brain' of your opener, controlling all its functions. If it malfunctions, it can send incorrect signals or fail to send any at all. This is a more complex repair. Replacing a logic board can cost $150-$400 for the part, plus $100-$250 for professional labor. If the motor itself is failing due to internal issues, replacement costs for the motor unit could range from $300-$600 for parts and $150-$300 for labor.
4 Up / 4 Down Blinks: Safety Sensor Wire Open Circuit
Four blinks up and four blinks down signifies an open circuit in the safety sensor wiring. This means the circuit is broken, and no signal is reaching the opener from the sensors. This differs from a short circuit (2 blinks) where current is flowing incorrectly. An open circuit implies a complete break in the wire. Carefully inspect the entire length of the safety sensor wires, paying close attention to any areas where they might be stretched, cut, or disconnected. Check the connections at both the sensors and the motor unit. Ensure all wire nuts or terminal connections are tight and secure. Sometimes, a tiny break inside the wire's insulation can be hard to spot. If you find a break, you can usually splice in a new section of wire or replace the entire run. This fix is often DIY, but if you are uncomfortable with electrical work, a technician can address it for a service call fee of $80-$150.
5 Up / 5 Down Blinks: RPM Sensor Error / Motor Issues
Five blinks up and five blinks down indicates a problem with the RPM (Revolutions Per Minute) sensor or an issue with the motor itself. The RPM sensor monitors the speed of the motor. If it sends an inconsistent signal or no signal at all, the opener will stop operating. This can happen if the sensor itself is dirty, damaged, or if its connection is loose. First, try cleaning the sensor and checking its wiring. If the issue persists, it often points to a failing motor or a logic board that is not correctly interpreting the RPM sensor's input. This usually requires professional diagnosis. A new motor assembly or logic board is often the solution. These repairs are significant, potentially costing $250-$600 for parts and $150-$300 for labor, depending on the specific component and opener model.
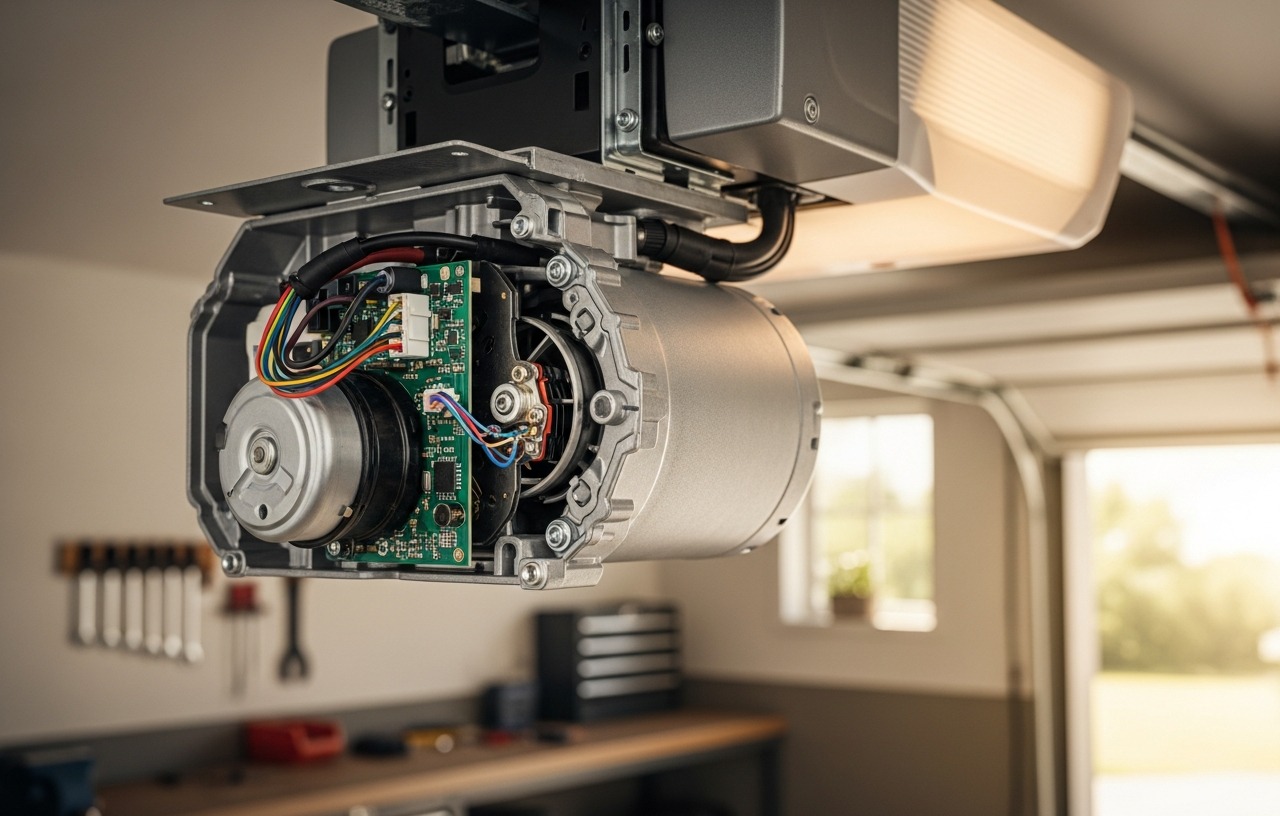
6 Up / 6 Down Blinks: Motor Circuit Overload or Internal Motor Fault
Six blinks up and six blinks down is a more serious indicator, pointing to a motor circuit overload or an internal motor fault. This means the motor is drawing too much current, or there's a significant electrical problem within the motor unit itself. The opener will typically shut down to prevent damage. This can be caused by a seized motor, worn-out internal gears, or a major electrical component failure within the motor assembly. It is rare for this to be a simple fix. In most cases, the motor unit will need to be replaced. This is a job best left to professionals due to the electrical components and the weight of the motor unit. Expect motor replacement costs to be in the range of $300-$600 for parts, plus $150-$300 for professional installation. These systems often have their own diagnostic lights, separate from the main error codes. If your battery backup unit is blinking, it typically indicates:
- One long blink, then three short blinks: The battery is missing or disconnected.
- One long blink, then four short blinks: The battery needs to be replaced.
- Solid green light: Battery is fully charged.
- Solid yellow light: Battery is charging.
Check the battery connections first. If the battery is old (typically 3-5 years), it might be time for a replacement. Replacing the battery backup is usually a simple DIY task, often involving just a few screws and reconnecting terminals.
No Error Code, But Remote Not Working
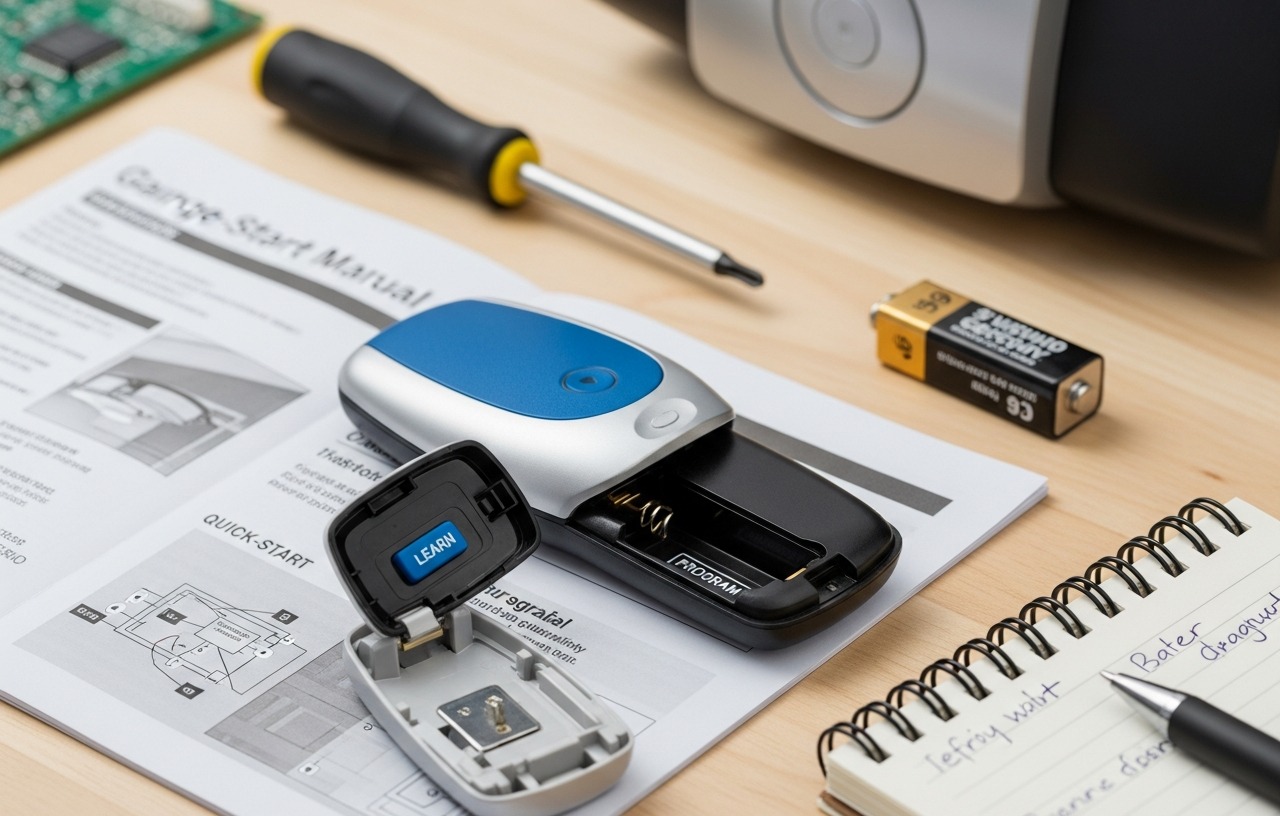
If your LiftMaster opener does not show any error codes, but your remote control fails to operate the door, the issue might be with the remote itself, its battery, or its programming. First, replace the remote's battery. If that does not help, try reprogramming the remote. Our article How to Program a Garage Door Opener: Every Brand Explained offers detailed instructions.
If reprogramming fails, you may need a new remote. The Liftmaster 893Max is a top pick for many homeowners. It can be used as a replacement remote control for 80 series, 970 series, and 370 series LiftMaster openers. This model offers easy programming and can control up to three garage door openers, gate operators, or MYQ accessories. It features Security+2.0 rolling code technology that virtually eliminates radio wave interference, enhancing security and reliability. Another excellent choice is the 2 for Chamberlain LiftMaster Craftsman Garage Door Opener Remote 893LM 893Max 971LM, which is universal and works on openers manufactured from 1993 to the current year. It also features Security+2.0 rolling code technology and works within 120 feet from the garage door. A third option, the 2X 893LM 893Max for Chamberlain Craftsman LiftMaster Universal Garage Door Opener Remote Replacement, 3-Button Gate Opener, offers wide compatibility and secure Security+ 2.0 rolling code technology, sending a new code with every use.
General Troubleshooting (No Power, Obstructions)
Sometimes, what appears to be an error code might actually be a symptom of a more basic problem. If your opener has no power at all, check your circuit breaker. A tripped breaker will cut power to the opener. Reset it if necessary. Ensure the outlet where the opener is plugged in is working by testing it with another appliance. If the door moves a little then reverses, or strains to move, check for physical obstructions in the door's tracks or binding issues with the door itself. A stiff or heavy door can put excessive strain on the opener, leading to motor problems over time. For more general troubleshooting, refer to Garage Door Opener Not Working: 9 Fixes Before You Call Anyone.
When to Call a Professional
While many LiftMaster error codes can be diagnosed and fixed by a homeowner, some issues require professional expertise. If you have tried the troubleshooting steps for a specific error code and the problem persists, or if you are uncomfortable working with electrical components or heavy garage door parts, it is time to call a qualified garage door technician. This fee usually covers the initial diagnosis. Labor rates often range from $75-$150 per hour, in addition to the cost of any parts needed for the repair. Always obtain a detailed estimate before any work begins.
Preventative Maintenance Tips
Regular maintenance can help prevent many common LiftMaster error codes. Keep your safety sensors clean and properly aligned. Periodically inspect all wiring for damage. Lubricate your garage door's moving parts, such as rollers, hinges, and springs, to ensure smooth operation and reduce strain on the opener. A well maintained door places less stress on the motor, extending the life of your opener and reducing the likelihood of error codes appearing.
Liftmaster 893Max
- The 893 max can be used as a replacement remote control for 80 series, 970 series and 370 series
- Easy programming, can control up to three garage door openers, gate operators or MYQ accessories
- Features security+2.0 rolling code technology that virtually eliminates radio wave interference
- Compatible with : LiftMaster garage door openers manufactured since January 1993 - all models
2 for Chamberlain LiftMaster Craftsman Garage Door Opener Remote 893LM 893Max 971LM
- Universal - Works on LiftMaster, Chamberlain and Craftsman garage door openers manufactured from 1993 to.
- Safe & Reliable - It features latest Security+2.0 rolling code technology that significantly reduces radio.
- Long Distance Remote - CreaCity garage door opener remote works within 120 feet from the garage door.
- Multichannel - 3 button design allows control of up to 3 garage door openers or gate operators at once.
2X 893LM 893Max for Chamberlain Craftsman LiftMaster Universal Garage Door Opener Remote Replacement, 3-Button Gate Opener
- Wide Compatibility to The Universal Garage Door Opener Remote works with Chamberlain, LiftMaster, and.
- Easy Replacement to Fits Garage Door Opener Remote models 891LM, 893MAX, 890MAX, 371LM, 373LM, 971LM.
- Secure Technology to Security+ 2.0 rolling code sends a new code every use. Ideal for Lift Masters Garage.
- Multi-Door Access to Control up to 3 doors or gates with one device. Compatible with Garage Door Remote.