
myQ Smart Garage Door Video Keypad with Wide-Angle Camera,Customizable PIN Codes,and Smartphone Control to Take Charge of Your
- Wide-Angle Surveillance Camera: Capture a comprehensive view of your garage area, from driveway to doorway.
- Real-Time Notifications: Receive timely and meaningful notifications via the myQ app to ensure the safety.
- Premium Smart Features (Subscription Required): Upgrade to a myQ subscription for advanced AI-powered.
- Two-Way Audio: Engage in live conversations while also monitoring ambient sounds in the area around your.
Opening your garage door without a remote control or smartphone can be convenient for guests, children, or service providers. A smart garage door opener keypad adds this function along with modern security features. This DIY task generally takes about 30-60 minutes, assuming you have the necessary tools.
Tools and Materials You Will Need
Before you begin, gather these items:
- New smart garage door opener keypad (e.g., myQ Smart Garage Door Video Keypad)
- Drill with appropriate drill bits (usually 1/8-inch and 1/4-inch)
- Phillips head screwdriver
- Pencil or marker
- Measuring tape
- Level
- Safety glasses
- Small hammer (optional, for wall anchors)
- Step ladder (if mounting high)
Safety First: Important Precautions
Working around garage doors requires attention to safety. Even though this project involves minimal contact with the main opener mechanism, always observe these precautions:
- Disconnect Power: Unplug your garage door opener from the electrical outlet before starting any work. This prevents accidental activation of the door.
- Wear Safety Glasses: Protect your eyes from dust or debris when drilling.
- Read Instructions: Always review the specific installation manual for your keypad model. Manufacturers often have unique requirements.
- Clear the Area: Make sure no people, pets, or objects are in the path of the garage door during any testing.
Choosing the Right Location for Your Keypad
The placement of your smart garage door keypad affects both convenience and security. Consider these factors:
- Height: Mount the keypad at a height accessible to all users, typically between 5 and 6 feet from the ground. This keeps it out of reach for small children but easy for adults to use.
- Distance from Door: Place the keypad at least 5 feet away from the garage door opening. This prevents someone from reaching under the door to activate it.
- Visibility: Choose a location that is somewhat discreet but still easy for authorized users to find. Avoid placing it in direct, prolonged sunlight if possible, as this can affect battery life and screen visibility over time.
- Wall Type: Most keypads mount on wood or masonry. Identify if you will be drilling into siding, brick, or a wooden door frame.
step by step Installation Guide
Follow these steps to install your new smart garage door opener keypad. The entire process should take about 30 minutes for an experienced DIYer, or up to an hour for a beginner.
Step 1: Mark the Mounting Holes
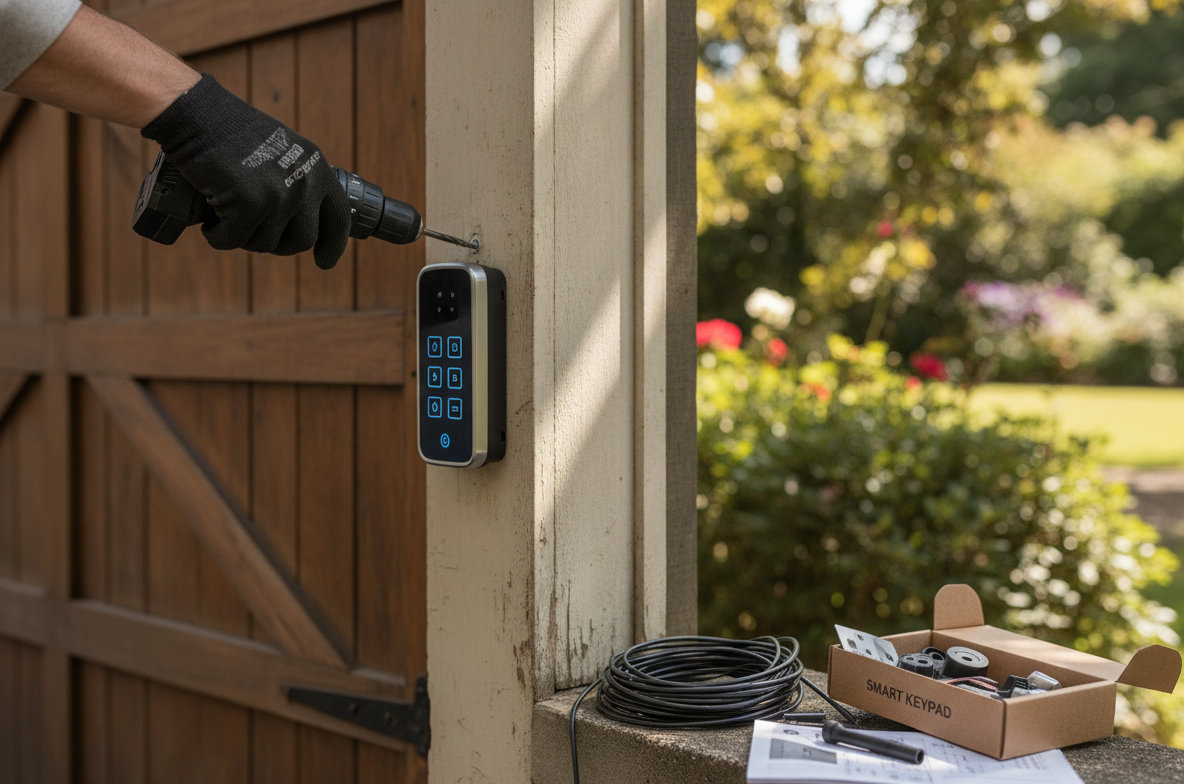
Hold the keypad's mounting bracket (or the keypad itself, if it serves as the template) against the chosen installation location. Use a level to make sure it is perfectly straight. With a pencil or marker, mark the positions for the mounting screws. Most keypads use two screws, one at the top and one at the bottom.
Step 2: Drill Pilot Holes
Using your drill and the appropriate drill bit (usually 1/8-inch or 3/16-inch, check your keypad's manual), drill pilot holes at the marks you just made. Drill deep enough to accommodate the full length of the mounting screws. If drilling into masonry or brick, you will need a masonry bit and plastic wall anchors.
Step 3: Secure the Mounting Bracket (or Keypad Back)
Align the mounting bracket with the pilot holes. Insert the provided mounting screws and tighten them with your Phillips head screwdriver. If your keypad does not use a separate bracket, secure the back housing of the keypad directly to the wall.
Step 4: Install Batteries
Open the battery compartment on the keypad (usually on the back or bottom). Insert the recommended batteries, making sure to match the positive (+) and negative (-) terminals correctly. Most keypads use AA or AAA batteries. Close the compartment securely.
Step 5: Attach the Keypad to the Bracket
Carefully slide or snap the main keypad unit onto its mounting bracket. Many keypads have a tab at the top and a screw at the bottom to hold them in place. Secure the bottom screw, if applicable, to prevent the keypad from being easily removed.
Consider the myQ Smart Garage Door Video Keypad with Wide-Angle Camera for enhanced security. This product offers a wide-angle surveillance camera, capturing a comprehensive view of your garage area. It also provides real-time notifications via the myQ app, keeping you informed about activity at your garage door. Premium smart features, such as advanced AI-powered alerts, are available with a subscription.
Step 6: Program the Keypad to Your Garage Door Opener
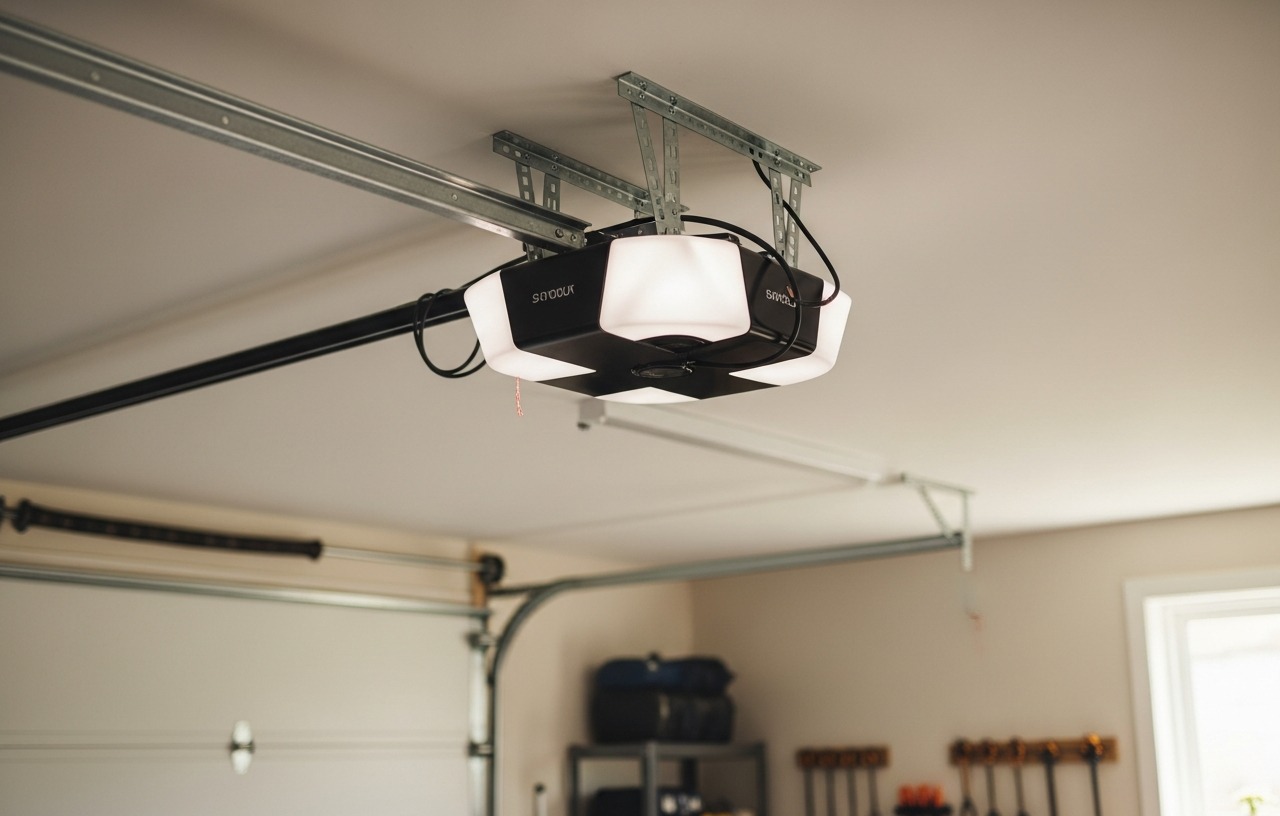
This is the most critical step. Programming methods vary by garage door opener brand and model. You will typically need to locate the 'Learn' or 'Smart' button on your garage door opener motor unit. This button is often found near the antenna wire or the light bulb housing.
- Locate the Learn Button: On your garage door opener motor unit, find the 'Learn' or 'Smart' button. It is usually colored (red, orange, green, purple, yellow) and clearly labeled.
- Press the Learn Button: Press and immediately release the learn button. The LED indicator light next to it will usually illuminate or begin to blink, indicating it is in programming mode. You typically have about 30 seconds to complete the next step.
- Enter Your PIN on the Keypad: Go to your new keypad. Enter a personal 4-digit PIN (Personal Identification Number) of your choice. Then, press the 'Enter' or 'Program' button on the keypad.
- Confirm Programming: The garage door opener lights should flash, or you might hear a click, indicating successful programming. Test the keypad by entering your PIN and pressing 'Enter'. The garage door should activate.
If you encounter issues during programming, or if you have an older opener, you might need specific instructions. Our guide on How to Program a Garage Door Opener: Every Brand Explained offers detailed steps for various manufacturers.
Testing Your New Smart Keypad
After programming, test the keypad thoroughly:
- Enter your PIN and press 'Enter'. Make sure the door opens and closes reliably.
- Test the range by walking a few feet away and trying again.
- Try entering an incorrect PIN to confirm it does not activate the door.
- If your smart keypad has app connectivity, check if it registers activity on your smartphone.
Troubleshooting Common Keypad Issues
Most keypad problems are minor and easy to fix:
- Keypad Not Responding: Check the batteries first. Replace them if they are old or dead. Make sure the battery compartment is clean and free of corrosion.
- Door Not Activating: Reprogram the keypad. Sometimes the connection is lost. Make sure you are pressing the 'Learn' button on your opener and entering the PIN on the keypad within the specified timeframe (usually 30 seconds).
- Weak Signal: If the keypad is too far from the garage door opener, it might have trouble communicating. While rare, consider moving the keypad closer or checking for metal obstructions.
- Obstructions: Make sure nothing is blocking the garage door's safety sensors. If the sensors are misaligned, the door will not close. Learn how to align garage door sensors in 5 minutes.
When to Call a Professional
While installing a smart garage door keypad is a common DIY project, there are times when professional help is best. If you have an older garage door opener that is not compatible with modern keypads, or if you are uncomfortable with the electrical aspects of programming, a technician can help. Professional garage door technicians typically charge $80-$150 for a service call, plus labor for installation and programming. This service can add to your overall cost but ensures correct and safe operation.
Maintaining Your Smart Keypad
A smart keypad requires minimal maintenance. Replace the batteries annually, or sooner if the keypad becomes unresponsive or displays a low battery indicator. Keep the keypad surface clean, wiping away dirt or grime with a soft, damp cloth. Avoid harsh chemicals, which can damage the electronics or finish.
Installing a smart garage door opener keypad enhances convenience and security for your home.
myQ Smart Garage Door Video Keypad with Wide-Angle Camera,Customizable PIN Codes,and Smartphone Control to Take Charge of Your
- Wide-Angle Surveillance Camera: Capture a comprehensive view of your garage area, from driveway to doorway.
- Real-Time Notifications: Receive timely and meaningful notifications via the myQ app to ensure the safety.
- Premium Smart Features (Subscription Required): Upgrade to a myQ subscription for advanced AI-powered.
- Two-Way Audio: Engage in live conversations while also monitoring ambient sounds in the area around your.