
2 for Chamberlain Craftsman LiftMaster Garage Door Opener Remote Replacement, Replaces 891LM 893LM 893MAX 370LM 371LM 373LM 971LM
- Wide Compatibility: 891LM garage door remote is only compatible with Chamberlain, Lift Master/Craftsman.
- Advanced Security: The system is equipped with Security rolling code encryption technology, which.
- Easy to Program: 2 Garage door opener remote comes with two LED status indicators (SOLID or FLASHING). The.
- Long Distance Remote: The Garage Door Remote Control works up to 160 feet from the garage door opener for.

Garage Outlet Garage Door Opener Wall Button, Wired 1-Button Push Control Replacement for LiftMaster 883LM, Chamberlain &
- Wired replacement wall button designed for compatible LiftMaster, Chamberlain, and Craftsman garage door.
- Ideal for shoppers looking for a LiftMaster 883LM replacement, this 1-button wall switch offers simple.
- Optimized for common replacement needs including Chamberlain garage door button, Chamberlain garage door.
- This is a wired wall-mounted push button, not a visor remote and not a wireless keypad, making it a better.

Push Button Garage Door Opener Control for Liftmaster 883LM
- Compatible with Security+ 2.0 LiftMaster garage-door openers
- Operates both garage doors and opener lights
- Mounting hardware included
- Installation instructions provided
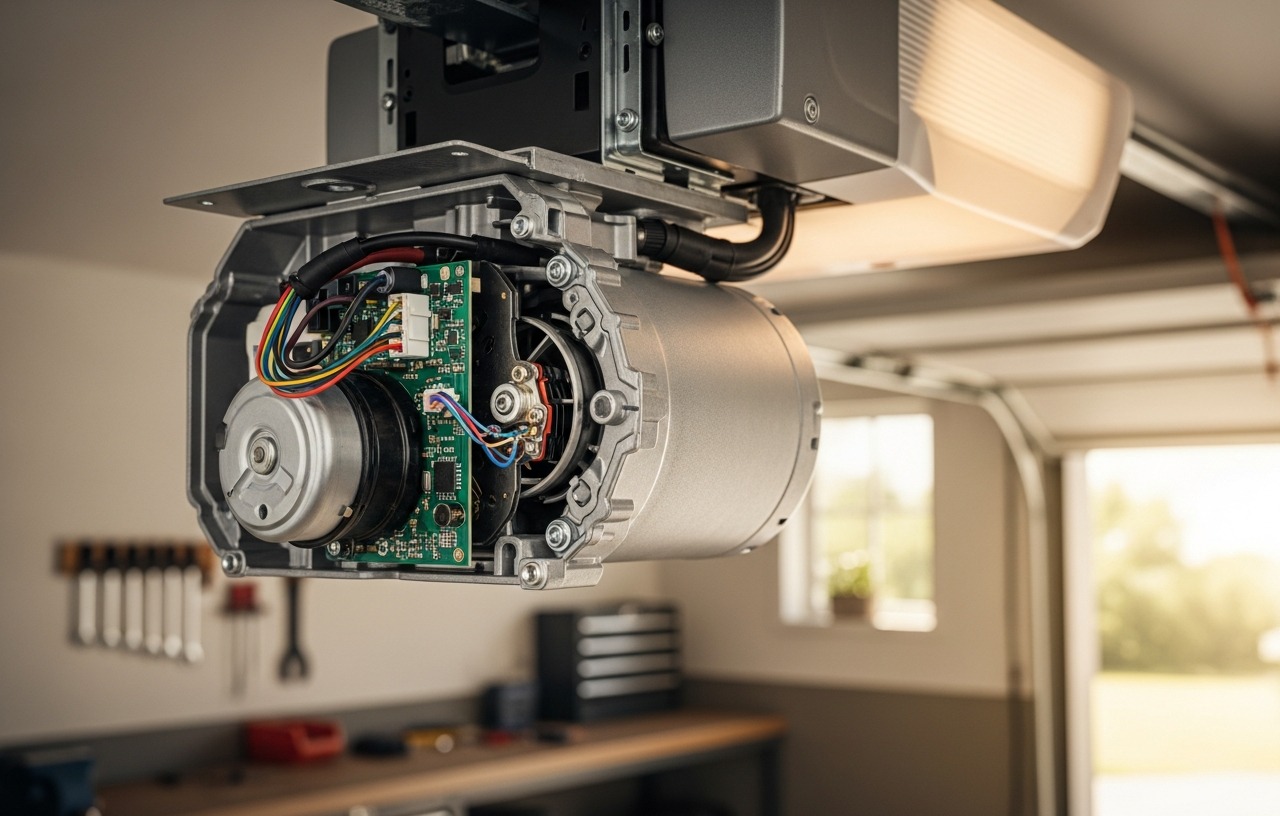
A garage door opener motor that stops responding or behaves erratically can be frustrating. Motors sometimes develop minor software glitches. These often happen after power fluctuations, a lightning strike, or even just a prolonged period of continuous use. When this occurs, a simple reset procedure can often clear the error codes and restore normal operation. This process forces the system to restart, much like rebooting a computer, allowing it to re-establish its settings and connections.
Before you consider costly repairs or replacements, a motor reset is a practical first step. It addresses issues like unresponsive remotes, erratic opening and closing, or the motor running without moving the door. Understanding how to perform this reset yourself can save you time and money.
When a Motor Reset Helps
Many common garage door opener problems stem from a temporary system glitch that a reset can fix. Look for these signs that indicate a reset might be all you need:
- The remote controls stop working, even after changing batteries.
- The wall control button does not operate the door.
- The door opens or closes only partially.
- The motor makes a humming noise but the door does not move.
- The safety sensors seem to be misaligned or unresponsive, causing the door to reverse unexpectedly. You can learn more about fixing sensor issues by reading our guide on Garage Door Sensor Not Working? Align and Fix It in 10 Minutes.
- The opener lights flash, indicating an error code, but no obvious mechanical problem exists.
- The opener acts inconsistently after a power outage or surge.
Safety First: Important Warnings
Working with garage door openers involves electrical components and heavy moving parts. Always prioritize safety to prevent injury or further damage.
- Disconnect Power: Always unplug the garage door opener from its power source before performing any work. This prevents accidental activation.
- Beware of Moving Parts: Keep hands, hair, and loose clothing away from the door and opener components when the power is connected.
- Manual Operation: Understand how to manually disconnect your garage door from the opener. This is usually done by pulling a red emergency release cord.
- Springs: Garage door springs are under extreme tension. Never attempt to adjust, repair, or replace springs yourself unless you are a trained professional. Damaged springs can cause serious injury. If you suspect a broken spring, consult our guide on Broken Garage Door Spring: What to Do Right Now (And What Not To).
Tools and Materials Required
You will need only a few basic items for this task:
- A sturdy stepladder or extension ladder.
- A pen and paper for noting down settings (optional, but helpful).
- A work light or flashlight (optional, for better visibility).
step by step Guide to Resetting Your Garage Door Opener Motor
The entire reset process typically takes between 15 and 30 minutes, depending on how quickly you can complete the reprogramming steps.
Step 1: Disconnect Power to the Opener
Locate the power cord for your garage door opener. It usually plugs into an outlet on the ceiling of your garage, near the opener unit. Unplug the cord completely from the electrical outlet. If the outlet is difficult to reach, or if you prefer an alternative, you can trip the circuit breaker that controls the garage power. Make sure the power is fully off before proceeding.
Step 2: Wait for a Few Minutes
After disconnecting the power, wait for approximately 5 to 10 minutes. This waiting period allows any residual electrical charge to dissipate from the opener's internal memory. It ensures a complete system reset, clearing out temporary errors or corrupted settings.
Step 3: Reconnect Power to the Opener
Plug the opener's power cord back into the electrical outlet. If you tripped a circuit breaker, reset it now. The opener unit should power back on. You might hear a click or see a light illuminate on the unit, indicating it has power.
Step 4: Reprogram Your Garage Door Remotes
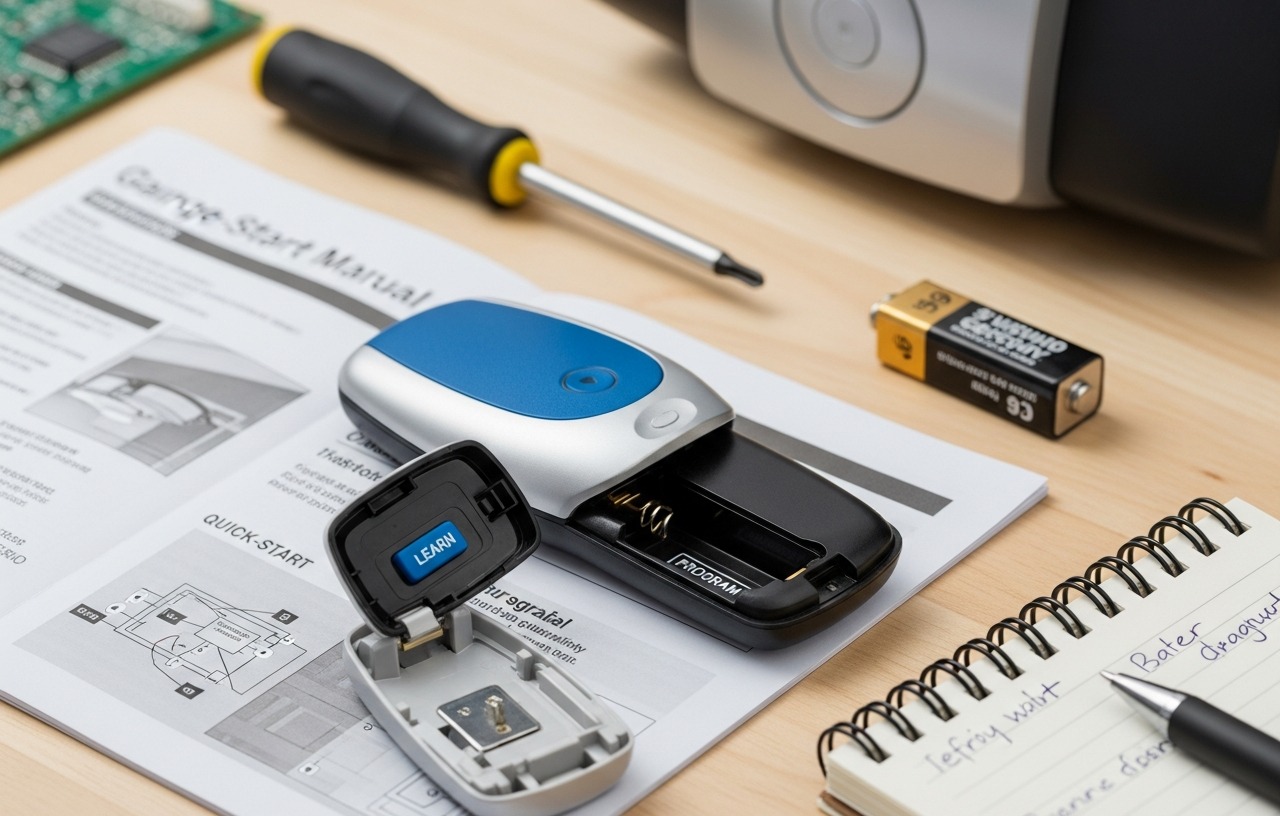
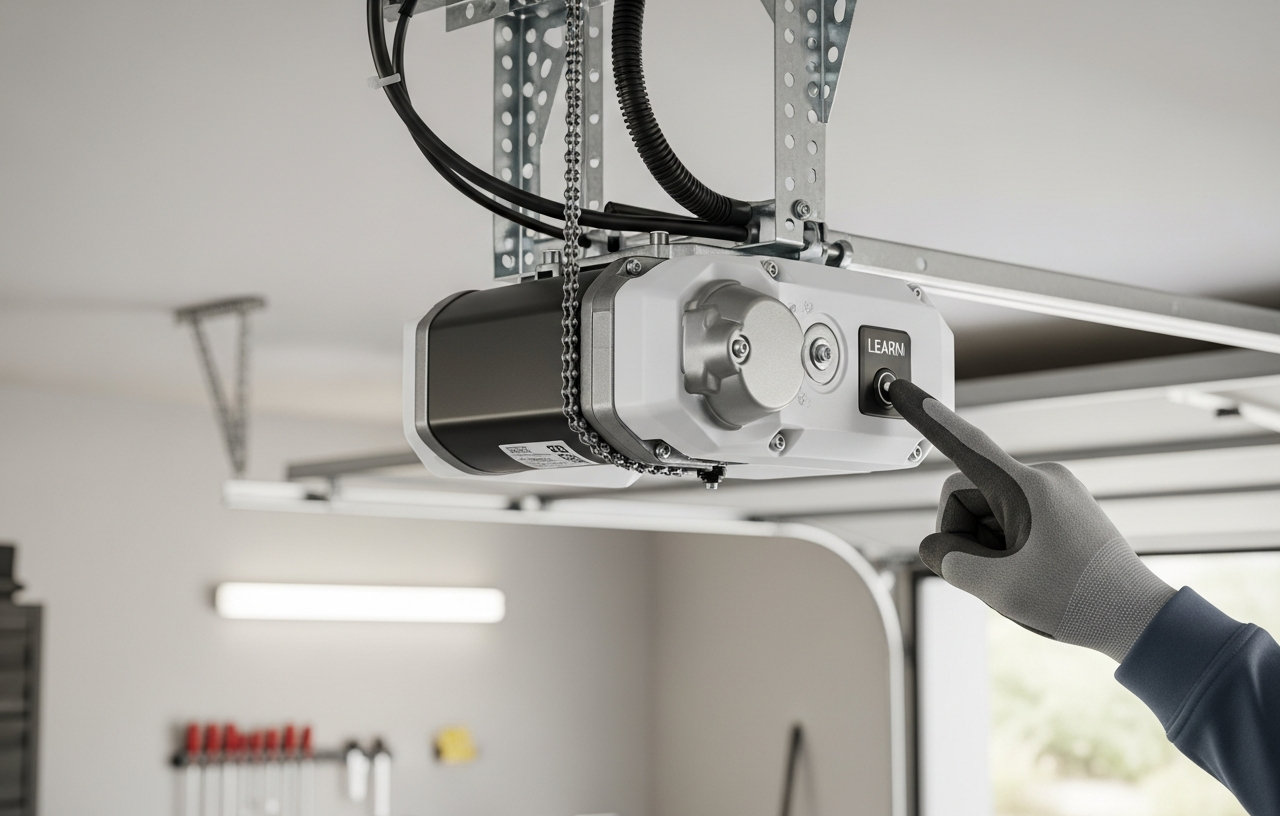
After a power reset, your remote controls may lose their programming. You will need to reprogram them to work with the opener again. The exact steps vary by manufacturer (Chamberlain, LiftMaster, Craftsman, Genie, etc.), but the general process involves locating the 'Learn' button on your opener unit.
Press and hold the 'Learn' button for a few seconds until an LED light illuminates or flashes. Then, press the desired button on your remote control. Release the remote button once the opener's light flashes or makes a click sound. This confirms successful programming. If you have multiple remotes, repeat this step for each one.
For a detailed guide on programming various brands, refer to our article How to Program a Garage Door Opener: Every Brand Explained.
If you need new or replacement remotes, consider the 2 for Chamberlain Craftsman LiftMaster Garage Door Opener Remote Replacement. These remotes offer wide compatibility with Chamberlain, Lift Master, and Craftsman openers. They use Security rolling code encryption technology, providing advanced security for your garage. Programming is simple, with clear LED status indicators to guide you.
Step 5: Adjust Travel Limits (If Necessary)
Some garage door openers may lose their programmed travel limits after a reset. Travel limits define how far the door opens and closes. If your door does not open fully or close completely, you will need to reset these limits. Consult your opener's owner's manual for specific instructions, as this process differs significantly between models. Generally, it involves using adjustment screws or buttons on the opener unit.
Step 6: Test the Safety Reversal System
The safety reversal system is a critical safety feature. It makes the door reverse if it encounters an obstruction while closing. To test it, place a 2x4 piece of wood flat on the garage floor directly in the path of the closing door. Activate the door to close. When the door contacts the wood, it should immediately reverse and open fully. If it does not reverse, or struggles to reverse, immediately stop using the opener and consult your owner's manual or a professional. This system is non-negotiable for safety.
Step 7: Test the Wall Control Button
After successfully reprogramming your remotes and setting travel limits, test your wired wall control button. Press the button to open and close the door, ensuring it responds correctly. If the wall button still does not work, it might need replacement. The Garage Outlet Garage Door Opener Wall Button is a wired 1-button push control replacement compatible with LiftMaster 883LM, Chamberlain, and Craftsman garage door openers. It is an ideal replacement for common needs, including Chamberlain garage door buttons.
Another option is the Push Button Garage Door Opener Control for Liftmaster 883LM. This control is compatible with Security+ 2.0 LiftMaster garage door openers and operates both garage doors and opener lights. Mounting hardware is included for easy installation.
Troubleshooting After a Reset
If your garage door opener still exhibits problems after a full reset, consider these common troubleshooting steps:
- Check Power: Make sure the opener is receiving consistent power. Test the outlet with another appliance. If the outlet has no power, check your circuit breaker.
- Inspect Safety Sensors: Even if you aligned them, ensure the safety sensors on either side of the garage door opening are clean and properly aligned. A small obstruction or misalignment can prevent the door from closing.
- Remote Batteries: Confirm your remote controls have fresh batteries, even if they worked before the reset.
- Manual Operation: Disconnect the opener from the door using the emergency release cord. Try to open and close the door manually. If the door moves smoothly, the issue is likely with the opener. If it is stiff, binds, or is excessively heavy, there might be a mechanical problem with the door itself, such as worn rollers or unbalanced springs.
- Listen for Sounds: Pay attention to any unusual grinding, clicking, or whirring noises from the motor. These could indicate mechanical wear or damage. Our article on Garage Door Opener Grinding Noise: Causes and Fixes provides more insight.
If the door still will not open, even after a reset and basic checks, our guide Garage Door Won't Open? 8 Causes and How to Fix Each One offers additional troubleshooting steps.
When to Call a Professional
If you have followed all the reset and troubleshooting steps and your garage door opener motor still malfunctions, it is time to call a qualified garage door technician. Persistent issues might indicate a more serious problem, such as a faulty circuit board, a worn motor, or damaged internal gears. Trying to fix complex electrical or mechanical problems without proper training can be dangerous and may cause further damage.
A professional technician can diagnose the exact cause of the problem and recommend the appropriate repair. This fee usually covers the diagnosis. Any necessary repairs, such as replacing parts or the entire motor, will incur additional costs. A full garage door opener motor replacement can range from $250 to $500 for parts and labor, depending on the opener type and complexity. For more details on these costs, you can consult our article .
A professional can also make sure all safety features are working as intended and that the door is properly balanced. Their expertise ensures the longevity and safe operation of your garage door system.
Keeping Your Opener Running Smoothly
Regular maintenance can prevent many of the issues that necessitate a motor reset. Periodically inspect the moving parts, lubricate rollers and hinges, and make sure safety sensors are clean. Check the balance of your garage door by disconnecting it from the opener and manually lifting it halfway. It should stay in place without assistance. If it falls or rises rapidly, your springs may need adjustment by a professional. These small steps can extend the life of your opener and minimize unexpected problems.
2 for Chamberlain Craftsman LiftMaster Garage Door Opener Remote Replacement, Replaces 891LM 893LM 893MAX 370LM 371LM 373LM 971LM
- Wide Compatibility: 891LM garage door remote is only compatible with Chamberlain, Lift Master/Craftsman.
- Advanced Security: The system is equipped with Security rolling code encryption technology, which.
- Easy to Program: 2 Garage door opener remote comes with two LED status indicators (SOLID or FLASHING). The.
- Long Distance Remote: The Garage Door Remote Control works up to 160 feet from the garage door opener for.
Garage Outlet Garage Door Opener Wall Button, Wired 1-Button Push Control Replacement for LiftMaster 883LM, Chamberlain &
- Wired replacement wall button designed for compatible LiftMaster, Chamberlain, and Craftsman garage door.
- Ideal for shoppers looking for a LiftMaster 883LM replacement, this 1-button wall switch offers simple.
- Optimized for common replacement needs including Chamberlain garage door button, Chamberlain garage door.
- This is a wired wall-mounted push button, not a visor remote and not a wireless keypad, making it a better.
Push Button Garage Door Opener Control for Liftmaster 883LM
- Compatible with Security+ 2.0 LiftMaster garage-door openers
- Operates both garage doors and opener lights
- Mounting hardware included
- Installation instructions provided