
41A5034 Safety Sensor Kit, Replacement for Craftsman/Chamberlain/Liftmaster Garage Door Sensor, Compatible with
- Universal Compatibility: Replacement for craftsman/Chamberlain/Liftmaster garage door sensor, Compatible.
- Easy to Install and Program: 41a5034 Garage Door Opener Safety Beam Kit with Brackets can replace: 820CB .
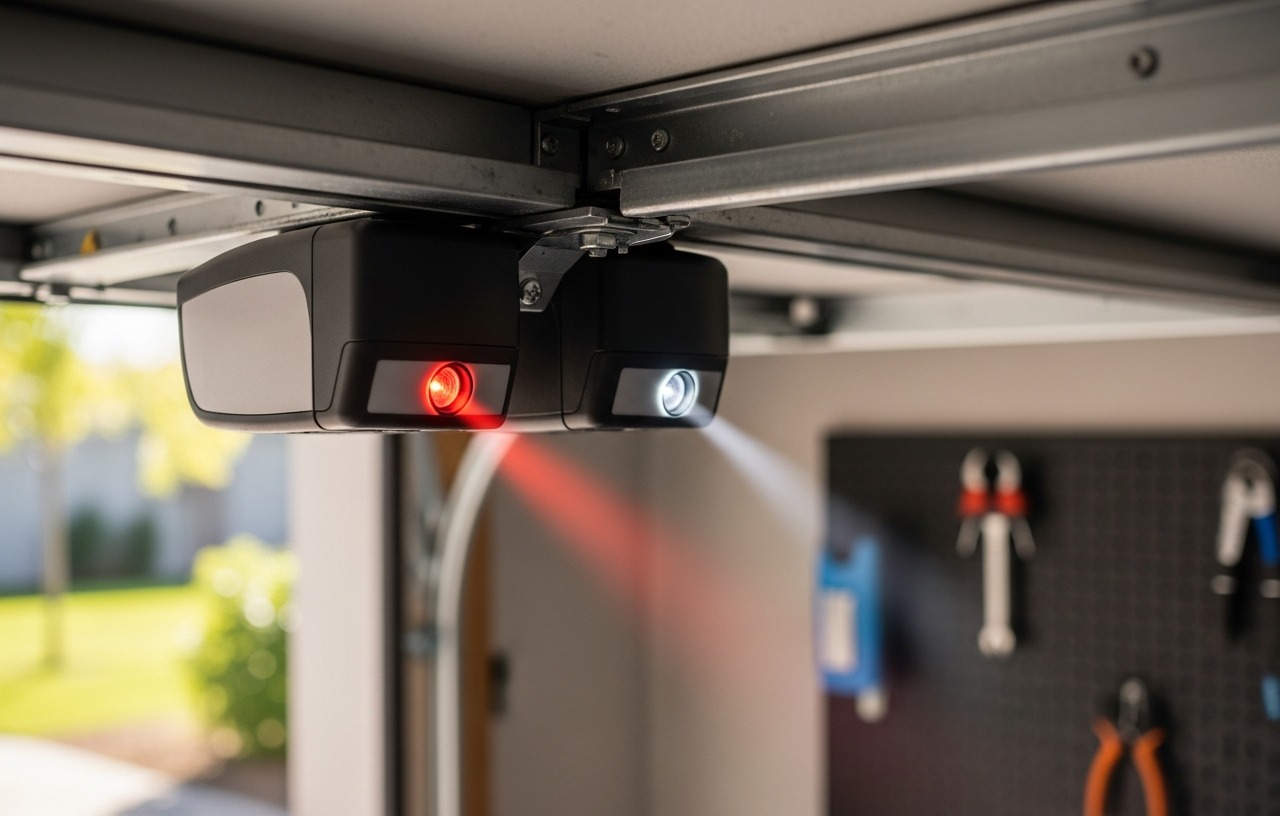
- Updated Design: 041A5034 Safety sensor emits an invisible beam of light on the inside of the garage door.
- Package Includes: Detailed installation instructions*1, Sending sensor *1(with an amber LED), Receiving.

Garage Door Sensors for Genie & Overhead GSTB-R/STB-BL (Receiving&Sending)
- Compatibility: GSTB-R STB-BL Replacement for genie garage door sensors, Compatible with all garage door.
- Easy to Install and Program: garage door sensor replacement genie Garage Door Opener sensor. A detailed.
- Updated Design: GSTB-R STB-BL Garage Door Opener Safety Beam Kit with Brackets .GSTB-R STB-BL safety.
- Package Includes: Detailed installation manual *1, Sending sensor *1(with a red LED), Receiving sensor *1.

Chamberlain 820CB Garage Door Safety Sensor Replacement, 2-Pack
- For use with every Chamberlain garage door opener manufactured after 1997
- Enhanced troubleshooting, most intuitive safety reversing sensors
- Low profile reduces risk of being knocked out of alignment
- Whenever there is an obstruction, the garage door will automatically reverse
A garage door that reverses suddenly or refuses to close completely often points to a problem with its safety sensors. These small but important devices prevent the door from closing on people, pets, or objects. When the invisible beam between them is broken or misaligned, the door's safety system activates, stopping its descent. Fixing garage door sensor alignment problems is a common DIY task.
Many homeowners can diagnose and fix common sensor issues without calling a professional. Understanding how these garage door electric eye alignment systems work helps in effective troubleshooting. A professional service call for garage door repairs typically costs $80-$150, plus parts. Knowing the common fixes can save that expense.
How Garage Door Safety Sensors Work
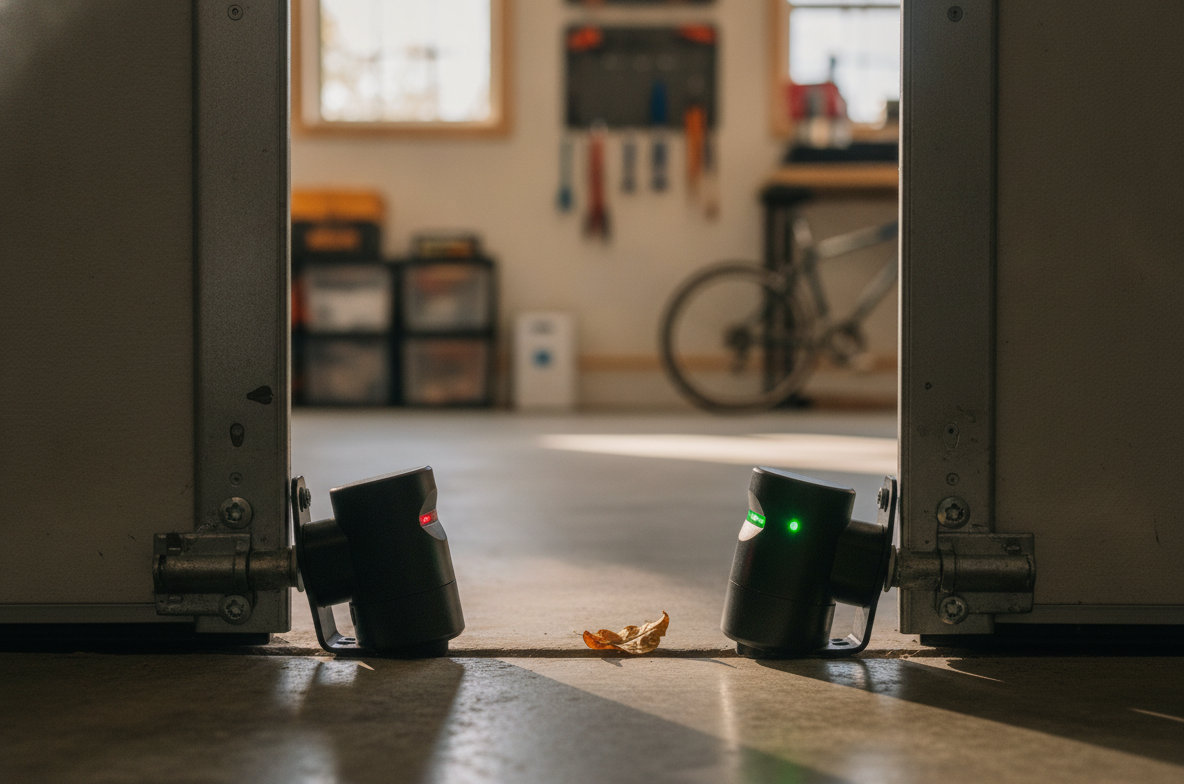
Every garage door opener manufactured since 1993 includes safety sensors, a federal requirement. These sensors consist of two units mounted on opposite sides of the garage door track, usually about six inches above the floor. One unit sends an invisible infrared light beam, and the other receives it.
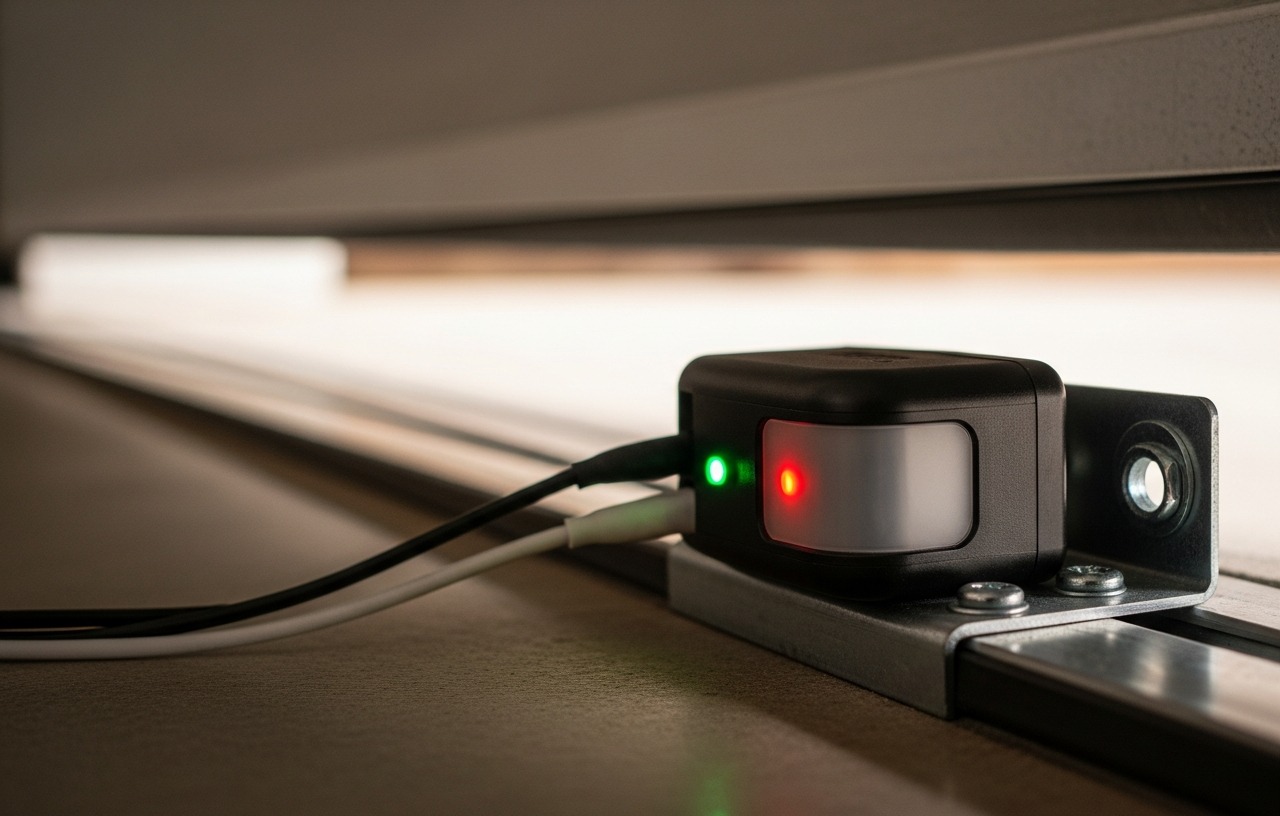
When the garage door begins to close, the opener checks if the beam is unbroken. If anything obstructs the beam, the opener assumes an object or person is in the door's path. It will then stop or reverse the door's movement. This safety feature prevents serious injury or damage. The sending sensor typically has a green light, and the receiving sensor has an amber or red light. These indicator lights help diagnose issues.
Symptoms of Misaligned Garage Door Eye Alignment
Observing specific behaviors from your garage door system can indicate a sensor problem. Recognizing these signs helps narrow down the troubleshooting process for your garage door opener eye alignment.
- Door Reverses Immediately: The most common sign. The door starts to close, then reverses to the open position, often accompanied by the opener light flashing ten times.
- Door Won't Close At All: The door refuses to move from the open position. You might hear a clicking sound from the opener, and the safety sensor lights will often be off or blinking.
- Opener Light Flashes: Most garage door openers, especially LiftMaster and Chamberlain models, flash their main light ten times when a sensor issue is detected. This is a diagnostic signal.
- Sensor Lights Are Off or Flickering: The indicator lights on the sensors themselves provide direct feedback. A solid light means the sensor is powered and functioning. A flickering or off light suggests a power issue, obstruction, or misalignment.
Common Causes of Garage Door Sensor Alignment Problems
Several factors can disrupt the invisible beam between your garage door sensors. Most causes are minor and easy to correct.
1. Obstructions in the Beam Path
This is the simplest and most frequent cause. Anything blocking the beam, even something small, will trigger the safety reversal. Common culprits include:
- A stray broom or gardening tool.
- Fallen leaves or debris.
- Children's toys or sports equipment.
- Even spiderwebs or insects can sometimes be enough to break the beam.
Before doing anything else, visually inspect the area between the sensors. Remove any items that could be interfering.
2. Dirty or Damaged Sensor Lenses
Over time, dust, dirt, grime, or moisture can accumulate on the sensor lenses. This buildup can diffuse or block the infrared beam, making it difficult for the receiving sensor to detect the signal. A smudged lens acts like a partial obstruction.
Use a soft, clean cloth to gently wipe the lenses on both sensor units. Avoid abrasive cleaners or materials that could scratch the plastic. This quick cleaning often restores full functionality.
3. Misaligned Sensors
This is the core issue for most sensor problems. The sensors must point directly at each other for the beam to connect. Even a slight bump can knock them out of alignment. Kids playing, parked cars, or even vibrations from the door itself can shift a sensor.
You can adjust most sensors by hand. Look for the indicator lights. The sending sensor (green light) should be solid. The receiving sensor (amber/red light) should also be solid when aligned. If the receiving light is off or flickering, gently pivot the sensor until the light becomes solid. Some models have a small wing nut or screw to loosen and tighten for adjustment. For a detailed visual guide, refer to How to Align Garage Door Sensors in 5 Minutes (No Tools Needed).
4. Loose Mounting Brackets
The brackets holding the sensors to the garage door track can loosen over time. A loose bracket allows the sensor to shift position easily, leading to frequent misalignment. Check the screws or bolts that secure the brackets. Tighten them with a screwdriver or wrench if they feel loose. Make sure the brackets are firmly attached and stable.
5. Wiring Issues
The sensors connect to the garage door opener motor unit via low-voltage wiring. Damage to these wires can interrupt power or signal transmission. Look for:
- Frayed or exposed wires, especially near the sensor units or where they connect to the opener.
- Loose connections at the terminal screws on the back of the opener motor or at the sensors themselves.
- Wires accidentally severed or pinched by the garage door itself.
If you find damaged wiring, you might need to splice and insulate the wires or replace the entire run. Always disconnect power to the opener before working with electrical components.
6. Direct Sunlight Interference
Sometimes, direct sunlight shining into the receiving sensor's lens can interfere with its ability to detect the infrared beam from the sending sensor. This is more common in mornings or late afternoons when the sun is low in the sky.
To test this, try to close the door when the sun is not directly hitting the sensor. If it works, consider installing a small shield or hood over the receiving sensor to block direct sunlight. Many sensor kits come with small visors for this purpose.
7. Faulty or Damaged Sensors
If you have checked for obstructions, cleaned the lenses, aligned the sensors, tightened brackets, and inspected wiring, but the problem persists, one or both sensors might be faulty. Sensors can fail due to age, water damage, electrical surges, or physical impact.
A common sign of a faulty sensor is one where the indicator light never illuminates or always flickers, even after proper alignment and power checks. Replacing a sensor pair is a relatively simple DIY project. Many universal kits are available. The 41A5034 Safety Sensor Kit is a popular TOP PICK replacement option, compatible with Craftsman, Chamberlain, and Liftmaster garage door openers. It comes with brackets and is easy to install.
For Genie and Overhead brand openers, the Garage Door Sensors for Genie & Overhead GSTB-R/STB-BL offers direct compatibility. If you have a Chamberlain opener manufactured after 1997, the Chamberlain 820CB Garage Door Safety Sensor Replacement is another strong choice. Its low-profile design reduces the risk of accidental misalignment.
Steps for Replacing Sensors:
- Disconnect power to your garage door opener.
- Loosen the wing nuts or screws holding the old sensors to their brackets.
- Carefully disconnect the wires from the old sensors. Note which wire goes to which terminal (usually color coded or labeled).
- Attach the new sensors to the existing brackets or use the new brackets provided in the kit.
- Connect the wires to the new sensors, making sure to match the connections.
- Restore power to the opener.
- Align the new sensors until both indicator lights are solid.
8. Opener Logic Board Issues
In rare cases, the issue might not be the sensors themselves but the garage door opener's logic board. The logic board interprets the signals from the sensors. If the board is faulty, it might incorrectly register a broken beam even when the sensors are perfectly aligned and working.
This is a less common and more expensive problem. If you have exhausted all other troubleshooting steps, and the opener still flashes its light ten times, a logic board issue is a possibility. Replacing a logic board can cost $100-$300 for parts alone, plus labor if you hire a professional. This is a situation where professional diagnosis is often best.
When to Call a Professional for Garage Door Sensor Alignment
While many sensor problems are fixable by homeowners, some situations warrant professional assistance. You should consider calling a garage door technician if:
- You have followed all troubleshooting steps, including replacing the sensors, and the problem persists.
- You suspect complex wiring issues within the wall or ceiling that you are uncomfortable addressing.
- The issue seems to stem from the opener's motor unit or logic board.
- You are unsure about any step and prefer expert help to avoid further damage.
Professional garage door technicians typically charge $80-$150 for a service call. This fee usually covers diagnosis and minor adjustments. Additional costs for parts like new sensors or a logic board, plus labor for installation, would apply. For example, replacing a logic board might add another $100-$300 to the total cost.
"Even a small misalignment can prevent your garage door from closing. Most people can fix this quickly by simply adjusting the sensor's angle."
Preventative Maintenance for Garage Door Sensors
Regular maintenance can help prevent future garage door sensor alignment problems. Incorporate these simple steps into your routine:
- Keep the Area Clear: Regularly clear the path between the sensors of any obstructions.
- Clean Lenses Periodically: Wipe the sensor lenses with a soft cloth every few months to remove dust and dirt.
- Check Alignment Regularly: Briefly check the sensor lights each month to make sure they are solid. If one is flickering, gently adjust it back into place.
- Inspect Wiring: Annually, examine the sensor wiring for any signs of wear, fraying, or loose connections.
- Tighten Brackets: Periodically check and tighten the mounting screws or bolts on the sensor brackets.
Taking these small steps can significantly extend the life and reliability of your garage door safety sensors. A functional garage door opener eye alignment system is key to both convenience and safety.
Conclusion
Troubleshooting garage door sensor alignment problems often involves a series of simple checks and adjustments. Start with the easiest fixes, like clearing obstructions and cleaning lenses. Most homeowners can resolve these issues quickly, restoring their garage door's safe operation. Knowing when to call a professional saves time and potentially prevents bigger problems.
41A5034 Safety Sensor Kit, Replacement for Craftsman/Chamberlain/Liftmaster Garage Door Sensor, Compatible with
- Universal Compatibility: Replacement for craftsman/Chamberlain/Liftmaster garage door sensor, Compatible.
- Easy to Install and Program: 41a5034 Garage Door Opener Safety Beam Kit with Brackets can replace: 820CB .
- Updated Design: 041A5034 Safety sensor emits an invisible beam of light on the inside of the garage door.
- Package Includes: Detailed installation instructions*1, Sending sensor *1(with an amber LED), Receiving.
Garage Door Sensors for Genie & Overhead GSTB-R/STB-BL (Receiving&Sending)
- Compatibility: GSTB-R STB-BL Replacement for genie garage door sensors, Compatible with all garage door.
- Easy to Install and Program: garage door sensor replacement genie Garage Door Opener sensor. A detailed.
- Updated Design: GSTB-R STB-BL Garage Door Opener Safety Beam Kit with Brackets .GSTB-R STB-BL safety.
- Package Includes: Detailed installation manual *1, Sending sensor *1(with a red LED), Receiving sensor *1.
Chamberlain 820CB Garage Door Safety Sensor Replacement, 2-Pack
- For use with every Chamberlain garage door opener manufactured after 1997
- Enhanced troubleshooting, most intuitive safety reversing sensors
- Low profile reduces risk of being knocked out of alignment
- Whenever there is an obstruction, the garage door will automatically reverse