
Garage Door Sensors, Replacement for Genie/Overhead Garage Door sensors, GSTB-R STB-BL Garage Sensor for Genie Garage Door
- GSTB-R STB-BL Garage door sensor compatible with genie 7155 stealth drive connect garage door opener.
- Why choose our garage door sensor? When your family members or pets accidentally approach the garage door.
- high quality materials: The garage door safety sensor is made of high-strength ABS engineering plastic.
- Installation and inspection steps for garage doors: First, the power supply needs to be cut off. Determine.

41A5034 Safety Sensor Kit, Replacement for Craftsman/Chamberlain/Liftmaster Garage Door Sensor, Compatible with
- Universal Compatibility: Replacement for craftsman/Chamberlain/Liftmaster garage door sensor, Compatible.
- Easy to Install and Program: 41a5034 Garage Door Opener Safety Beam Kit with Brackets can replace: 820CB .
- Updated Design: 041A5034 Safety sensor emits an invisible beam of light on the inside of the garage door.
- Package Includes: Detailed installation instructions*1, Sending sensor *1(with an amber LED), Receiving.

for Genie Garage Door Sensor, Replacement for Genie/Overhead Garage Door Sensor, Compatible with Genie/Overhead Garage Door
- Compatibility: GSTB-R STB-BL Replacement for genie garage door sensors, Compatible with all garage door.
- Easy to Install and Program: garage door sensor replacement genie Garage Door Opener sensor. A detailed.
- Updated Design: GSTB-R STB-BL Garage Door Opener Safety Beam Kit with Brackets .GSTB-R STB-BL safety.
- Package Includes: Detailed installation manual *1, Sending sensor *1(with a red LED), Receiving sensor *1.
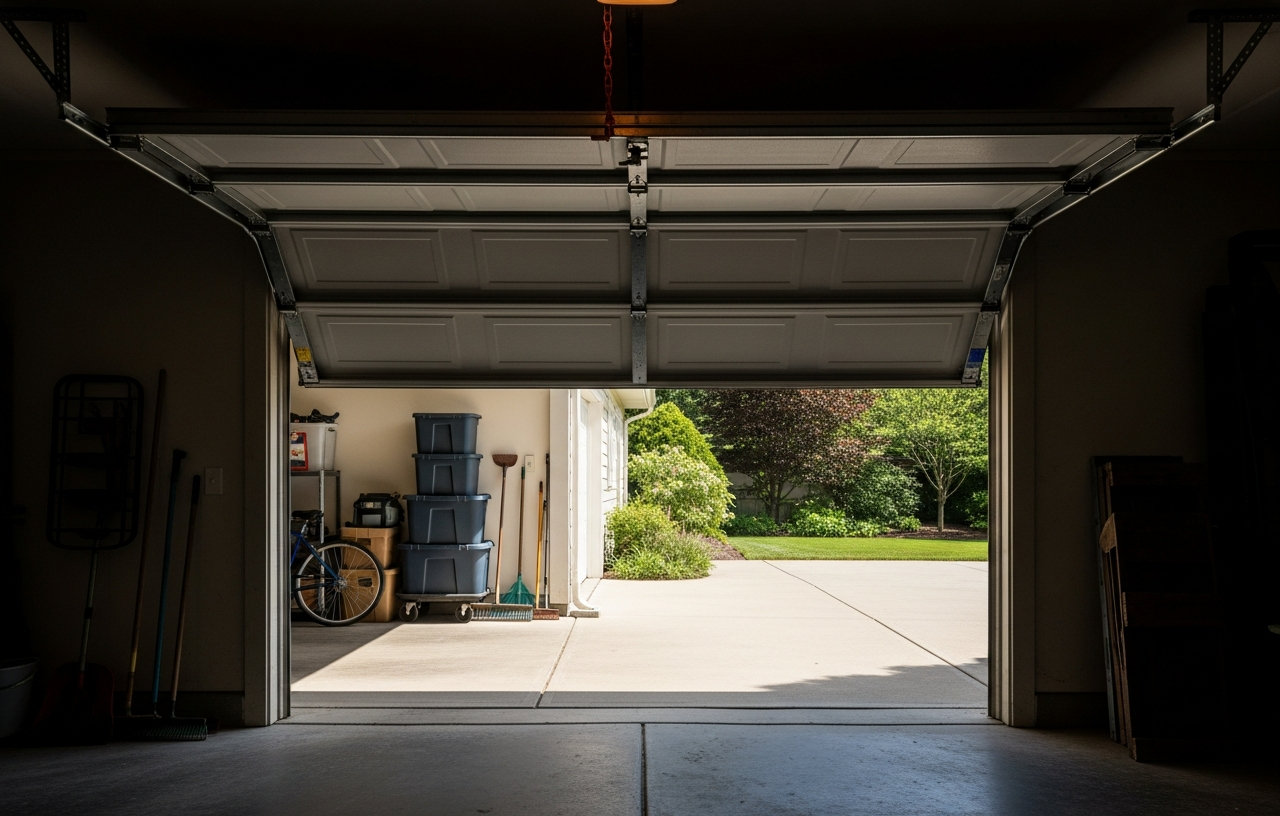
A garage door that reverses direction before closing completely usually points to one of several safety mechanisms or settings being out of adjustment. This behavior is often a deliberate safety response, preventing the door from closing on an obstruction. Understanding the common causes can help you diagnose and fix the issue, potentially saving a service call fee.
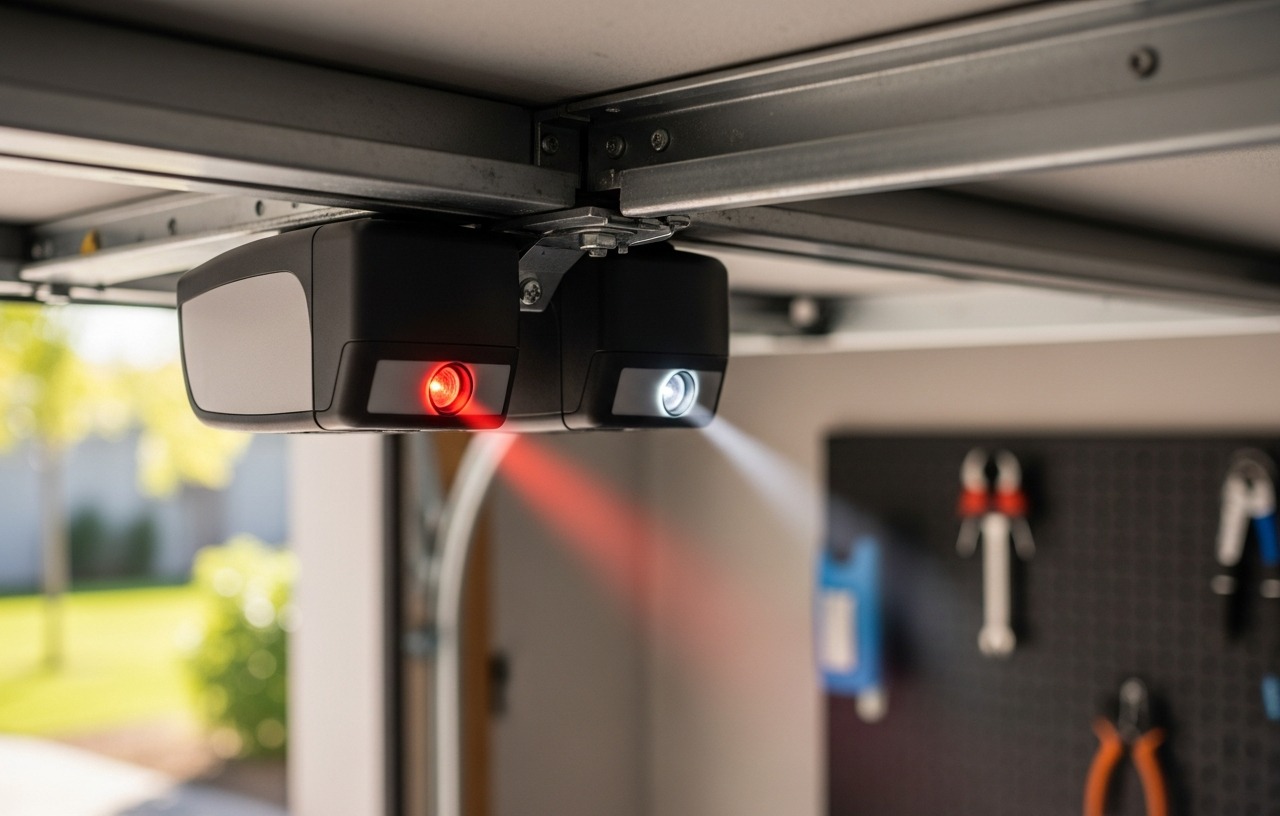
Most garage door openers have built-in safety features. These include photoelectric sensors that detect objects in the door's path and force settings that reverse the door if it encounters too much resistance. Incorrectly calibrated limit settings can also make the opener believe the door has hit the floor prematurely.
Misaligned or Dirty Safety Sensors
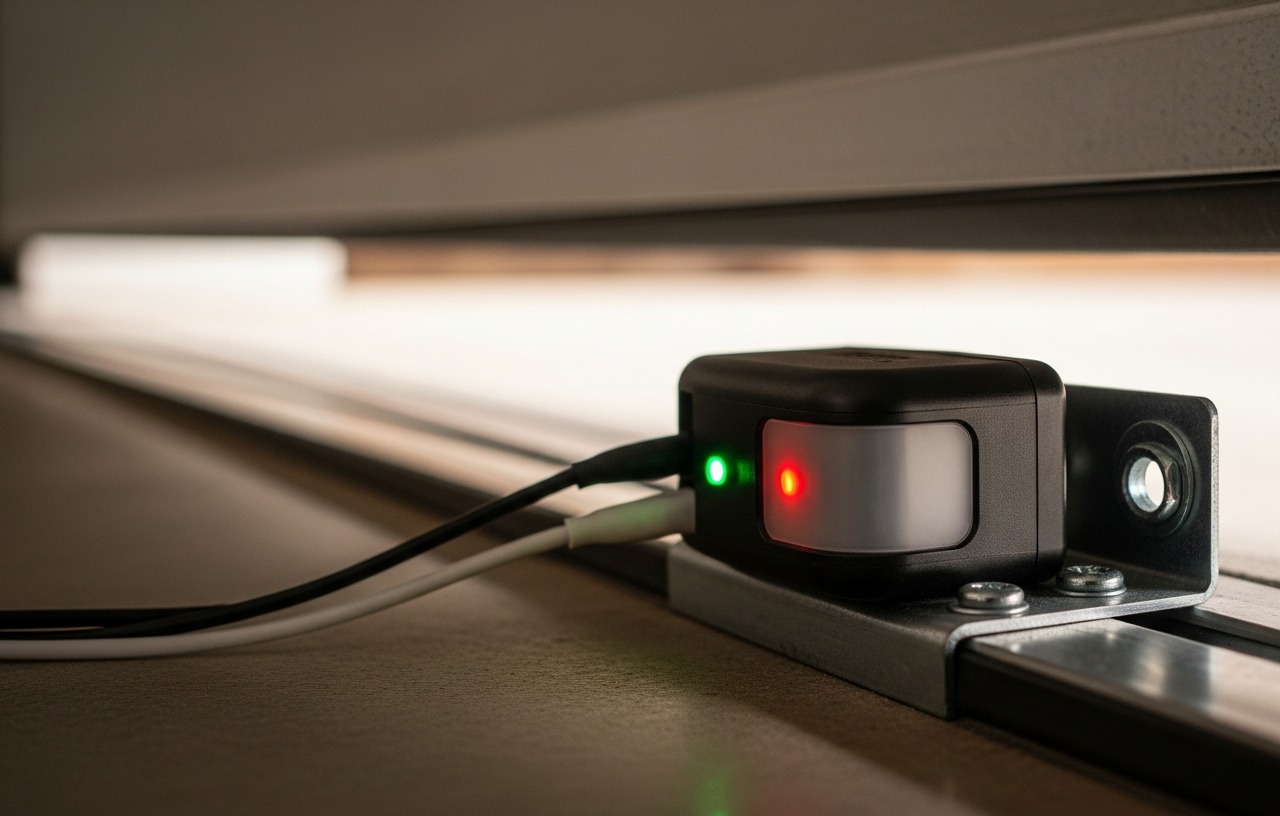
The most frequent cause of a garage door reversing before it closes is a problem with the safety sensors. These small units, typically located about six inches off the floor on either side of the garage door opening, emit an invisible beam. If anything breaks this beam while the door is closing, the opener will automatically reverse the door to prevent injury or damage.
Checking and Cleaning Sensors
Look at the LED lights on both sensor units. One sensor usually has a steady green light, indicating power, while the other has a steady amber or red light, indicating the beam is aligned. If either light is off, blinking, or flickering, the sensors are likely misaligned or obstructed. Even a small amount of dirt, dust, spiderwebs, or debris on the sensor lenses can block the beam. Use a soft, clean cloth to wipe the lenses thoroughly.
Aligning Safety Sensors
After cleaning, if the lights are still not steady, the sensors might be out of alignment. Carefully adjust each sensor by hand, gently moving it until the indicator lights glow steadily. You might need to loosen a wing nut or screw to reposition the sensor, then tighten it once the beam is re-established. Sometimes, the brackets holding the sensors can bend. Straightening them can resolve alignment issues. For a detailed guide, see our article on How to Align Garage Door Sensors in 5 Minutes (No Tools Needed).
Replacing Damaged Sensors
If the sensor units are physically damaged, cracked, or simply fail to respond after cleaning and alignment, replacement is necessary. New sensors typically cost $30-$60 for the parts. For Genie and Overhead Garage Door systems, a popular choice is the GSTB-R STB-BL Garage Sensor for Genie Garage Door, compatible with models like the Genie 7155 Stealth Drive Connect. Another reliable option for Genie and Overhead Garage Door systems is the Genie Garage Door Sensor, Replacement for Genie/Overhead Garage Door Sensor, which also includes detailed installation instructions. If you have a Craftsman, Chamberlain, or Liftmaster opener, the 41A5034 Safety Sensor Kit offers broad compatibility and replaces various models.
Incorrect Limit Settings
Garage door openers use limit settings to define how far the door should open and close. If the down limit setting is too high, the opener will think the door has reached the floor before it actually does. This causes the safety reversal system to activate, preventing the door from attempting to close past its perceived stopping point.
Adjusting Down Limit
Most garage door openers have adjustment screws or digital buttons for setting the travel limits. Look for labels like "Down Limit" or arrows indicating direction. For screw-drive openers, turning the down limit screw clockwise typically increases the closing travel, allowing the door to go further down. For digital openers, follow your owner's manual for specific programming steps. Make small adjustments, then test the door. You want the door to close fully, making firm contact with the floor, without exerting excessive force. Setting the limit too low can cause the door to bind or put undue stress on the opener motor.
Obstruction in the Door Path
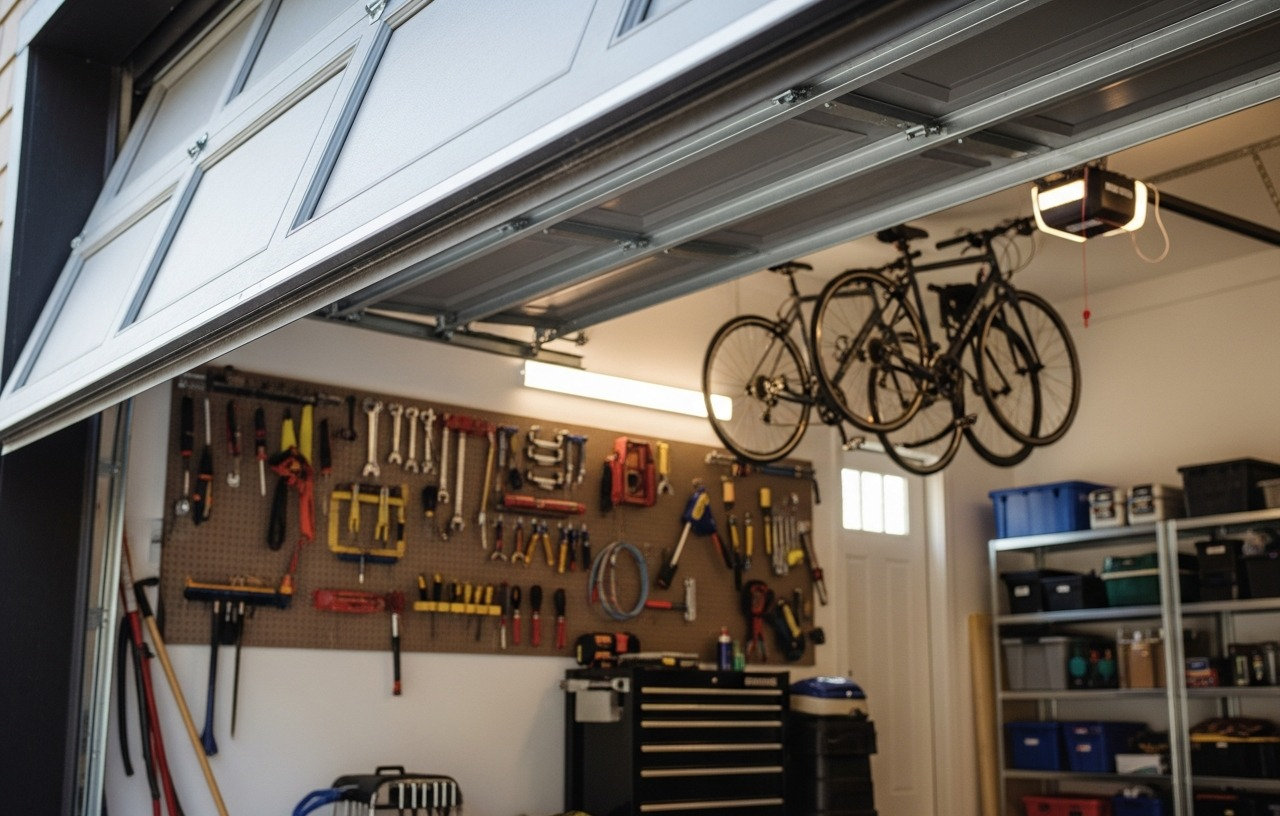
Sometimes, the problem is as simple as something physically blocking the door's path. Even a small item, like a garden tool, a child's toy, or a pile of leaves, can be enough to trigger the safety reversal system. Before troubleshooting complex issues, always perform a quick visual inspection.
Check the entire area where the garage door closes, from the floor to the tracks. Look for any objects that might be in the way. Also, inspect the tracks themselves for debris, loose wiring, or anything that could interfere with the rollers' smooth movement. Remove any obstructions you find.
Excessive Force Settings
Your garage door opener has adjustable force settings that dictate how much resistance the door can encounter before it reverses. These are a critical safety feature. If the down force setting is too sensitive, the door might reverse even with minor resistance, such as cold weather making the door stiffer or worn components causing slight friction.
Adjusting Down Force
Locate the force adjustment dials or buttons on your opener unit. They are often labeled "Force" or "Down Force." Turn the down force setting slightly to increase the amount of pressure the opener applies before reversing. Be cautious with these adjustments. Never set the force too high, as this could disable the safety reversal mechanism. A door with excessive force can cause serious injury or damage if it closes on an obstruction. After adjustment, test the door by placing a 2x4 piece of wood flat on the floor in the door's path. The door should reverse upon contact with the wood.
Worn Rollers or Damaged Tracks
Over time, garage door components can wear out or become damaged. Worn rollers, bent tracks, or misaligned tracks can create excessive friction or cause the door to bind during its downward travel. This increased resistance can trick the opener's safety system into thinking there is an obstruction, causing the door to reverse.
Inspecting Rollers and Tracks
Visually inspect the rollers for signs of wear, cracks, or flat spots. Check the tracks for any bends, dents, or accumulation of dirt and grease. Make sure all fasteners holding the tracks are tight. Lubricate rollers and tracks if they appear dry. If tracks are significantly bent or damaged, professional repair is usually required. Repair costs for track or roller issues can range from $100-$300, depending on the extent of the damage and parts needed.
Broken Springs
While less common as a direct cause for immediate reversal, a broken garage door spring can lead to the opener struggling to lift or lower the door. If a spring breaks while the door is closing, the opener might sense the sudden increase in weight as an obstruction, triggering a reversal. A broken spring often results in a loud bang. The door will feel extremely heavy if you try to lift it manually.
Operating a garage door with a broken spring is dangerous and can cause significant damage to the opener. If you suspect a broken spring, do not attempt to operate the door. Call a professional technician immediately. For more information, read Broken Garage Door Spring: What to Do Right Now (And What Not To).
Logic Board or Motor Issues
In rare cases, the problem might stem from the garage door opener's internal components, such as the logic board or motor. A faulty logic board can send incorrect signals, causing erratic behavior, including premature reversal. A failing motor might struggle to move the door, triggering the force reversal mechanism.
Signs of these issues include intermittent operation, strange grinding noises from the opener unit when the door moves, or the opener failing to respond to commands. Diagnosing logic board or motor problems often requires specialized tools and expertise. Replacement of an opener motor can cost $200-$400 for parts alone, with professional installation adding another $150-$300 in labor.
When to Call a Professional
While many garage door reversal issues can be fixed with basic DIY troubleshooting, some situations warrant calling a professional garage door technician. If you are uncomfortable working with electrical components, dealing with heavy springs, or if your attempts to fix the problem have been unsuccessful, a professional can provide a safe and effective solution.
A service call from a garage door technician typically costs $80-$150, which usually includes diagnosis and minor adjustments. Any necessary parts or extensive labor will be an additional cost. Technicians have the experience and specialized tools to quickly identify and repair complex issues, ensuring your garage door operates safely and reliably.
Garage Door Sensors, Replacement for Genie/Overhead Garage Door sensors, GSTB-R STB-BL Garage Sensor for Genie Garage Door
- GSTB-R STB-BL Garage door sensor compatible with genie 7155 stealth drive connect garage door opener.
- Why choose our garage door sensor? When your family members or pets accidentally approach the garage door.
- high quality materials: The garage door safety sensor is made of high-strength ABS engineering plastic.
- Installation and inspection steps for garage doors: First, the power supply needs to be cut off. Determine.
41A5034 Safety Sensor Kit, Replacement for Craftsman/Chamberlain/Liftmaster Garage Door Sensor, Compatible with
- Universal Compatibility: Replacement for craftsman/Chamberlain/Liftmaster garage door sensor, Compatible.
- Easy to Install and Program: 41a5034 Garage Door Opener Safety Beam Kit with Brackets can replace: 820CB .
- Updated Design: 041A5034 Safety sensor emits an invisible beam of light on the inside of the garage door.
- Package Includes: Detailed installation instructions*1, Sending sensor *1(with an amber LED), Receiving.
for Genie Garage Door Sensor, Replacement for Genie/Overhead Garage Door Sensor, Compatible with Genie/Overhead Garage Door
- Compatibility: GSTB-R STB-BL Replacement for genie garage door sensors, Compatible with all garage door.
- Easy to Install and Program: garage door sensor replacement genie Garage Door Opener sensor. A detailed.
- Updated Design: GSTB-R STB-BL Garage Door Opener Safety Beam Kit with Brackets .GSTB-R STB-BL safety.
- Package Includes: Detailed installation manual *1, Sending sensor *1(with a red LED), Receiving sensor *1.