
Garage Door Torsion Spring Set, Pair of 2" Electrophoresis Coated Garage Door Spring Replacement with 2 Non-Slip Winding Bars and
- [ GARAGE DOOR SPRING DIMENSION ] - The garage door torsion spring replacement is standard residential.
- [ high quality & DURABLE ] - These garage door torsion springs are made from heat treated professional.
- [ HOW TO CHOOSE THE RIGHT GARAGE DOOR SPRINGS? ] - Generally, you can checking the original supplier label.
- [ ABOUT INSTALLATION ] - Installing garage door springs requires experience and skills. If you do not have.

Pair of 2" Garage Door Torsion Springs Set with Non-Slip Winding Bars & Gloves, High Quality Precision Electrophoresis Black
- One Pair of 262” wire size x 2” inside dimension x 30” length Garage Door Torsion Spring. (left & right)
- A pair of Garage Door Torsion Spring, A pair of 17.2’’ Non-Slip Winding Bars and Gloves, and Installation.
- Made of heat-treated professional spring steel coils with aluminum cones to make sure they are extremely.
- Made of heat-treated professional spring steel coils with aluminum cones to make sure they are extremely.

Pair of 2" Garage Door Torsion Springs Set with Non-Slip Winding Bar & Gloves,High Precision Electrophoresis Black Coated, for
- One Pair of 207” wire size x 2” inside dimension x 22” length Garage Door Torsion Spring. (left & right)
- A pair of Garage Door Torsion Spring, A pair of 17.2’’ Non-Slip Winding Bars and Gloves, and Installation.
- Made of heat-treated professional spring steel coils with aluminum cones to make sure they are extremely.
- Use KaiMinDogz high quality garage door torsion springs to replace old broken garage door springs.Having.
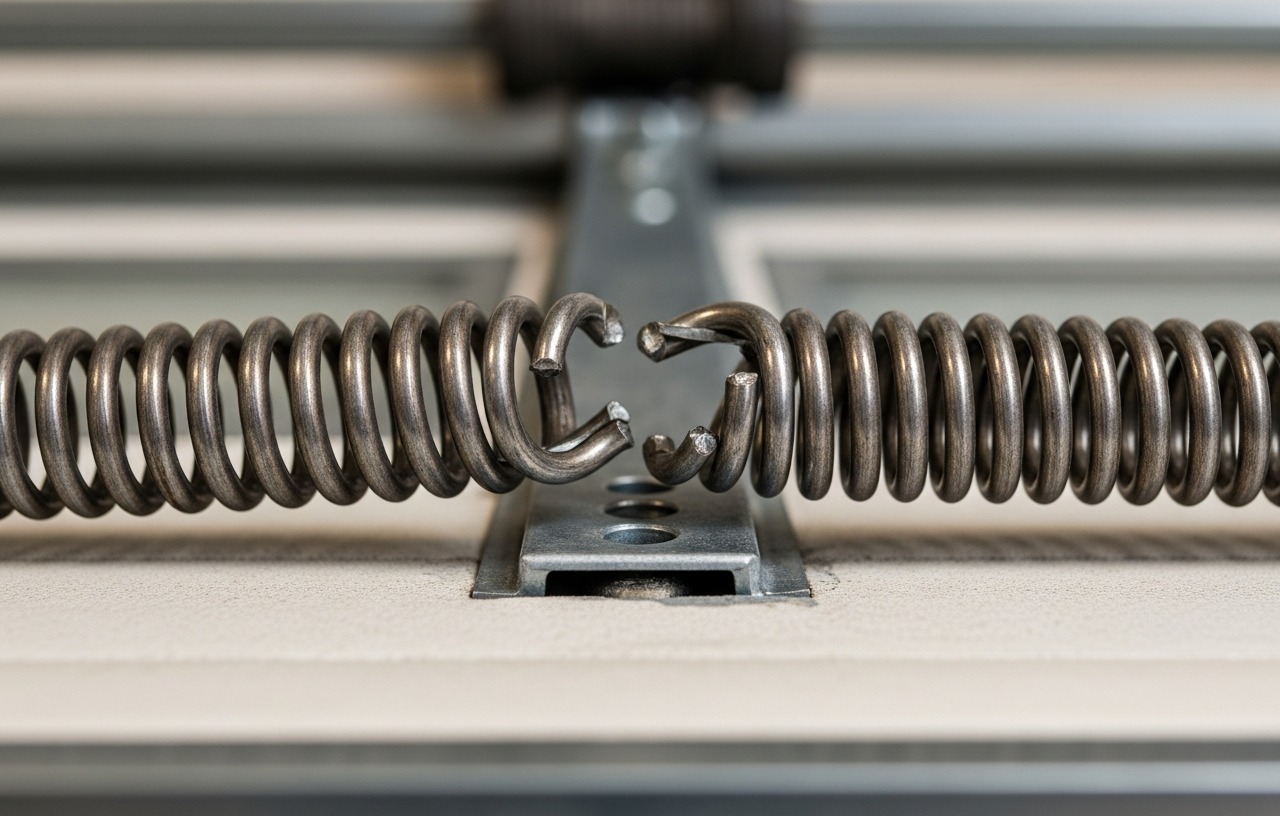
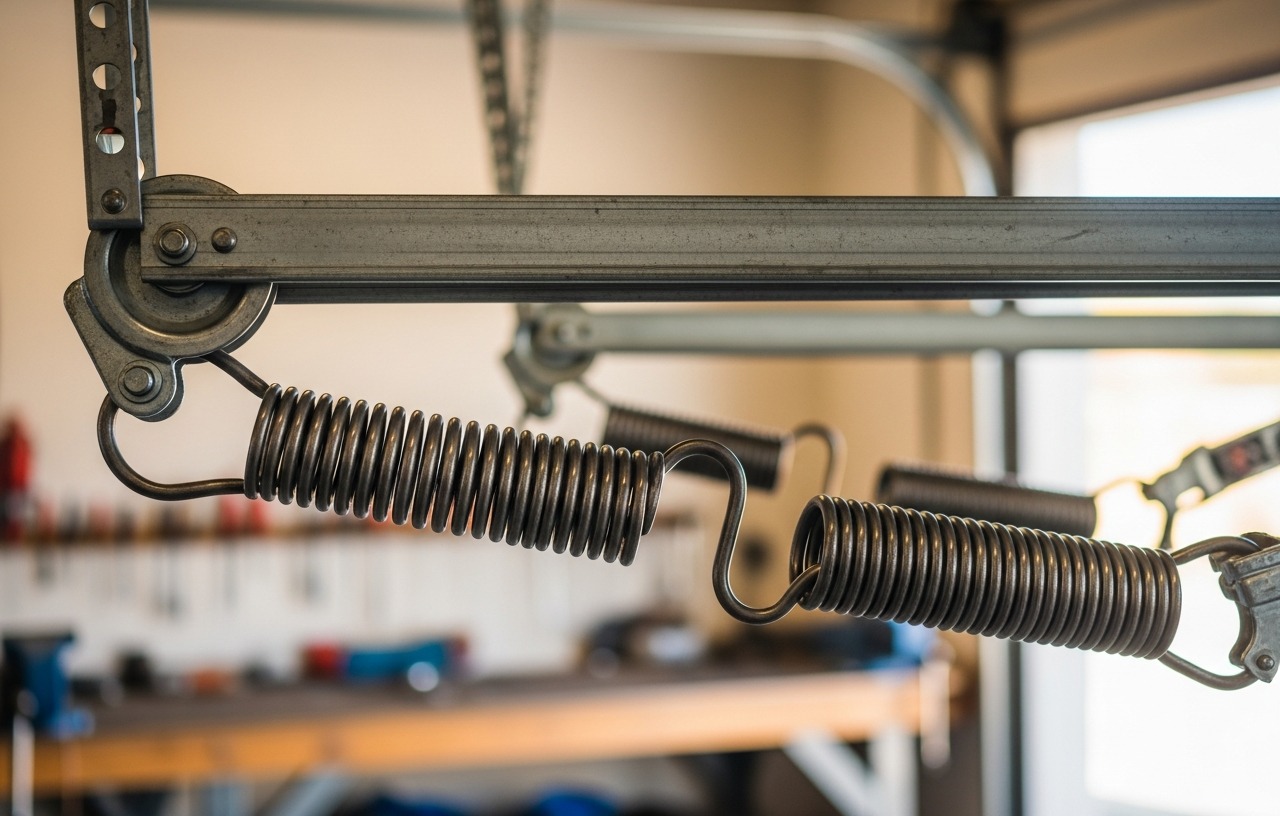
A loud bang from the garage often signals a broken extension spring, leaving your garage door heavy and difficult to lift. While extension springs are common on older or smaller doors, many homeowners choose to convert extension spring to torsion systems for improved performance and safety. Torsion springs mount directly above the door opening on a metal shaft, distributing the door's weight more evenly and offering a longer lifespan compared to extension springs, which stretch along the tracks.
However, working with garage door springs is extremely dangerous due to the high tension involved. This project requires careful attention to safety protocols and a solid understanding of mechanical principles. If you are not comfortable with the steps or do not have the proper tools, consider hiring a qualified technician.
Understanding the Benefits of Torsion Springs
Converting your garage door from extension springs to a torsion system offers several advantages. Torsion springs are generally safer because they are contained on a shaft, reducing the risk of a spring flying loose if it breaks. Extension springs, when they fail, can whip violently, posing a significant hazard. Torsion systems also provide smoother and quieter operation, as the weight is more balanced across the door.
They also tend to last longer. Extension springs typically have a lifespan of 7,000 to 10,000 cycles, while torsion springs often last 15,000 to 20,000 cycles, or even more with high-cycle options. This means fewer replacements and less maintenance over time. Many homeowners find the overall experience of a torsion-spring-equipped door more reliable and user friendly.
Required Tools and Materials
Before you begin your extension spring to torsion spring conversion, gather all necessary tools and materials. This preparation makes the process smoother and safer.
Tools:
- Sturdy stepladder or scaffolding
- C-clamps or vise grips (at least two)
- Socket wrench set
- Open-end wrenches
- Measuring tape
- Level
- Drill with appropriate bits
- Marker or pencil
- Gloves
- Safety glasses
- Winding bars (typically 18-24 inches long, usually included with new torsion springs)
Materials:
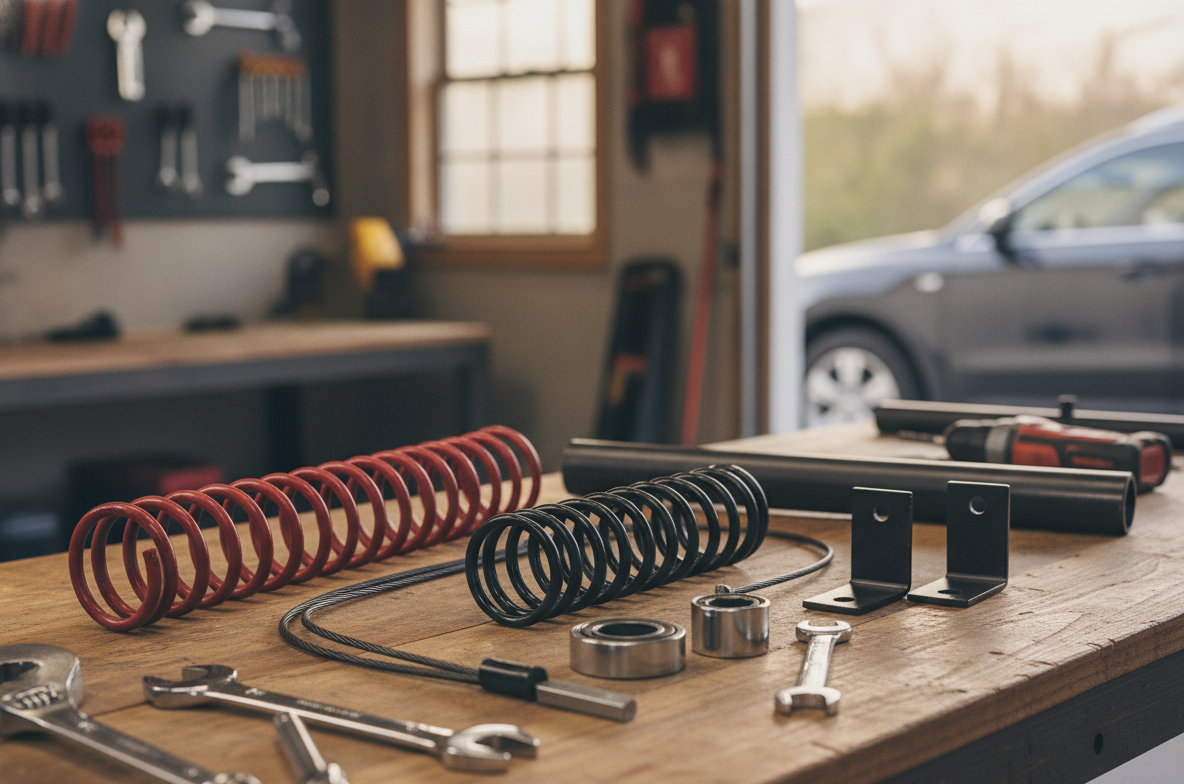
- Garage door torsion spring conversion kit from extension springs (includes torsion tube, springs, winding cones, stationary cones, cable drums, end bearing plates, center bearing plate, cables, and fasteners)
- New garage door cables (sized for torsion system)
- Lubricant for moving parts
When selecting a torsion spring set, consider options like the Garage Door Torsion Spring Set, Pair of 2" Electrophoresis Coated Garage Door Spring Replacement with 2 Non-Slip Winding Bars. This set provides high quality, heat-treated professional spring steel coils and includes the essential non-slip winding bars, making it a suitable choice for this conversion. Based on product specs, these springs are designed for standard residential garage doors and offer durability.
Safety First: Critical Warnings
Working with garage door springs is one of the most dangerous DIY tasks a homeowner can undertake. Springs are under extreme tension and can cause serious injury or even death if mishandled. Pay close attention to these warnings:
- Never attempt this project alone. Always have a helper present.
- Wear safety glasses and gloves throughout the entire process.
- Do not use screwdrivers or other improvised tools for winding springs. Only use proper winding bars.
- Always stand to the side when winding or unwinding springs. Never position your head or body directly in front of the winding cones.
- Make sure the garage door is fully down and secured before starting any work on the springs.
- Disconnect power to the garage door opener. Unplug it from the outlet to prevent accidental activation.
"Garage door spring work is not for the faint of heart. The forces involved are immense. If you have any doubts about your ability to safely complete this conversion, calling a professional is the smartest and safest decision."
step by step Garage Door Extension Spring Conversion
This guide outlines the process to convert extension spring to torsion. Allow 4-8 hours for this project, depending on your experience level and door size.
Step 1: Prepare and Secure the Garage Door
Lower the garage door completely. Unplug the garage door opener from its power source to prevent accidental operation. Use C-clamps or vise grips to secure the door to the track just above the bottom rollers on both sides. This prevents the door from moving while you work on the springs. Double-check that the door is firmly held in place.
Step 2: Remove Existing Extension Springs and Hardware
Carefully unhook the extension springs from their pulleys and tracks. Be aware that even when fully extended, these springs can still have residual tension. Detach the cables from the bottom brackets and remove them. Take down all the old hardware associated with the extension spring system: pulleys, cables, safety cables, and mounting brackets. You will not reuse these components. Removing these items clears the way for the new torsion system installation.
For more information on dealing with broken springs, you can refer to our guide: Broken Garage Door Spring: What to Do Right Now (And What Not To).
Step 3: Install End Bearing Plates
The end bearing plates support the torsion tube at each end of the garage door opening. Position them at the top corners of the door frame, aligning them with the vertical tracks. Use a level to make sure they are plumb and secure them with appropriate fasteners. These plates typically bolt into the wood framing or concrete.
Step 4: Install the Center Bearing Plate and Torsion Tube
Locate the center of your garage door opening. Mark the position for the center bearing plate, which will support the torsion tube in the middle. Secure it firmly to the header above the door. Slide the torsion tube through one end bearing plate, then through the center bearing plate, and finally into the other end bearing plate. The tube should be centered and level.
Step 5: Mount Cable Drums and Torsion Springs
Slide the cable drums onto the torsion tube, one on each side, just inside the end bearing plates. Make sure the side marked 'L' is on the left and 'R' is on the right, facing the inside of the garage. Then, slide the torsion springs onto the tube. The winding cones of the springs should face the center bearing plate. The stationary cones will butt against the end bearing plates or directly against the cable drums, depending on the specific kit design. Secure the stationary cones to the end bearing plates or the tube as directed by your kit's instructions. Secure the center winding cones to the torsion tube with set screws, ensuring they are tightly fastened.
Step 6: Attach New Cables
Feed the new torsion cables through the pulleys on the bottom brackets of the garage door. Loop the cable ends around the cable drums. The cables should be taut, but not under tension at this stage. Make sure the cables are correctly routed and seated in the drum grooves. This step is critical for proper door balance.
Step 7: Wind the Torsion Springs
This is the most dangerous part of the conversion. Double-check that the door is still secured with C-clamps. Refer to your specific spring manufacturer's instructions for the correct number of turns. Typically, a standard 7-foot high door requires about 7.5 to 8 full turns per spring. An 8-foot door might require 9-10 turns.
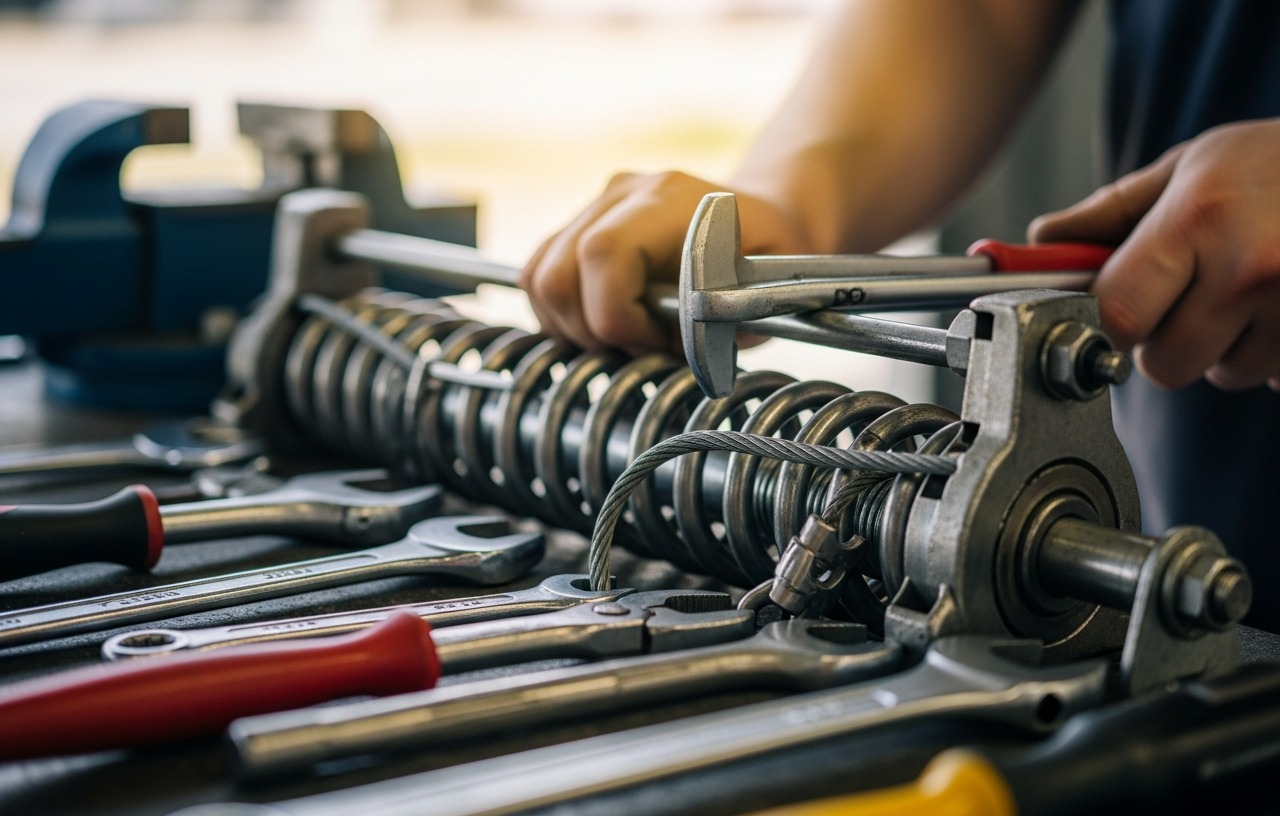
Insert a winding bar into one of the winding cone holes. Hold it firmly. Insert the second winding bar into the next hole and use it to turn the spring a quarter turn. Remove the first bar and insert it into the next available hole. Continue this process, alternating bars, until you reach the specified number of turns. As you wind, the spring will shorten and tension will build. Repeat for the second spring, ensuring both springs receive the same number of turns. Keep your hands clear of the winding cones and bars as they rotate. Once wound, tighten the set screws on the winding cone to secure it to the torsion tube.
Step 8: Test and Adjust the Door
Carefully remove the C-clamps securing the door. Slowly lift the door manually about halfway. It should stay in place without assistance. If it rises on its own, the springs are too tight. If it falls, they are too loose. Adjust the spring tension by adding or removing quarter turns. Only make adjustments with the door fully down and secured with clamps, and always use two winding bars. Once the door is balanced, reconnect the garage door opener power and test its operation. The door should open and close smoothly and quietly.
Cost to Convert Extension Spring to Torsion
The cost to convert extension spring to torsion can vary significantly based on whether you do it yourself or hire a professional.
- DIY Cost: This includes the torsion tube, springs, cables, drums, and bearing plates. The Pair of 2" Garage Door Torsion Springs Set with Non-Slip Winding Bars & Gloves, for example, is a cost effective option for many homeowners.
- Professional Cost: This includes the parts and labor. Service call fees alone can range from $80-$150. While more expensive, a professional ensures the job is done correctly and safely, which is a significant advantage given the risks involved.
For a deeper dive into the overall expenses associated with garage door spring work, see our article: .
Maintaining Your New Torsion System
After your extension spring to torsion spring conversion, regular maintenance helps prolong the life of your new system. Lubricate the springs and other moving parts, like rollers and hinges, every 3-6 months with a silicone-based garage door lubricant. Inspect the cables for fraying and the springs for any signs of wear. Make sure all fasteners are tight. A well maintained torsion system will provide many years of reliable service.
When to Call a Professional
While an extension spring to torsion conversion is a common DIY project, there are situations where calling a professional is the best course of action. If your garage door is exceptionally heavy (e.g., solid wood or oversized), if you lack the necessary tools, or if you feel uncomfortable at any point during the process, do not hesitate to contact a qualified garage door technician. Their expertise ensures the conversion is performed safely and correctly, preventing potential injuries or damage to your door system. A professional can also help if you are struggling to accurately size your torsion springs, which is a common challenge. They can also advise if your door's structure can handle the change from extension to torsion system.
Garage Door Torsion Spring Set, Pair of 2" Electrophoresis Coated Garage Door Spring Replacement with 2 Non-Slip Winding Bars and
- [ GARAGE DOOR SPRING DIMENSION ] - The garage door torsion spring replacement is standard residential.
- [ high quality & DURABLE ] - These garage door torsion springs are made from heat treated professional.
- [ HOW TO CHOOSE THE RIGHT GARAGE DOOR SPRINGS? ] - Generally, you can checking the original supplier label.
- [ ABOUT INSTALLATION ] - Installing garage door springs requires experience and skills. If you do not have.
Pair of 2" Garage Door Torsion Springs Set with Non-Slip Winding Bars & Gloves, High Quality Precision Electrophoresis Black
- One Pair of 262” wire size x 2” inside dimension x 30” length Garage Door Torsion Spring. (left & right)
- A pair of Garage Door Torsion Spring, A pair of 17.2’’ Non-Slip Winding Bars and Gloves, and Installation.
- Made of heat-treated professional spring steel coils with aluminum cones to make sure they are extremely.
- Made of heat-treated professional spring steel coils with aluminum cones to make sure they are extremely.
Pair of 2" Garage Door Torsion Springs Set with Non-Slip Winding Bar & Gloves,High Precision Electrophoresis Black Coated, for
- One Pair of 207” wire size x 2” inside dimension x 22” length Garage Door Torsion Spring. (left & right)
- A pair of Garage Door Torsion Spring, A pair of 17.2’’ Non-Slip Winding Bars and Gloves, and Installation.
- Made of heat-treated professional spring steel coils with aluminum cones to make sure they are extremely.
- Use KaiMinDogz high quality garage door torsion springs to replace old broken garage door springs.Having.