
3 Pack Garage Door Brush Seal, 39.37" L x 3" W Door Sweep Brush for Roll Up Doors, Net Hair Brush Strip with Aluminum Holder,
- Aluminum holder, PP hair
- This garage door brush seal helps block dust, dirt, leaves, wind, drafts, insects, and light from entering.
- Made with a strong 6063 aluminum holder, wear-resistant PP net hair brush, and SUS304 stainless steel.
- This door sweep brush is suitable for garage doors, roll up doors, exterior doors, storage units, sheds.

Contact Lens Cleaner, Portable Ultrasonic Contact Lens Cleaning Machine with USB Charger and Solution Soak Case Kit for Soft
- Ultrasonic Technology Cleaner - This contact lens cleaner with high frequency ultrasonic sound wave, which.
- Lightweight & Portable - Cute Compact Contact Lens Case with size 3.4x3.5x1.3 inch is travel friendly.
- Easy to Use & Rechargeable - 3 or 5 minutes quick cleaning with one button start, and automatic shutdown.
- Individual & Rustless Design - The polymer material 2 in 1 cleaning and storage case effectively solve the.

5 Pack Garage Door Brush Seal, 39.37" L x 3" W Door Sweep Brush for Roll Up Doors, Net Hair Brush Strip with Aluminum Holder,
- This garage door brush seal helps block dust, dirt, leaves, wind, drafts, insects, and light from entering.
- Made with a strong 6063 aluminum holder, wear-resistant PP net hair brush, and SUS304 stainless steel.
- This door sweep brush is suitable for garage doors, roll up doors, exterior doors, storage units, sheds.
- Each brush strip can be mounted quickly with the included SUS304 screws. Simply measure, align, and fasten.
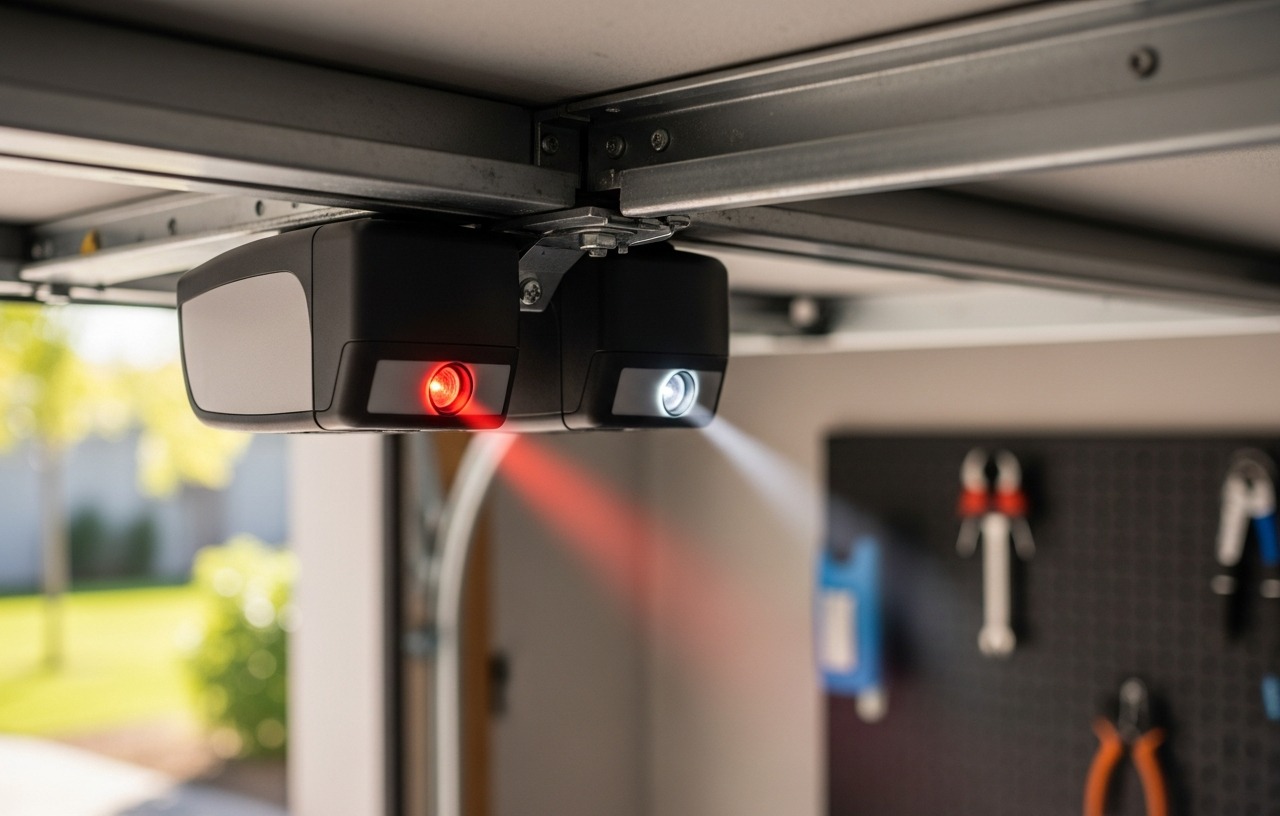
A garage door that opens but refuses to close, or reverses abruptly, is a common and frustrating issue. Often, the cause lies with the garage door safety sensors, specifically obstructions or dirt on their lenses. These small, rectangular devices, typically located about six inches from the garage floor on either side of the door opening, form an invisible infrared beam. If anything breaks this beam while the door is closing, the opener automatically reverses the door to prevent injury or damage.
Dust, dirt, spiderwebs, leaves, or even direct sunlight can interfere with this beam, causing your garage door to malfunction. Learning how to clean garage door sensors can resolve many closing problems without needing a professional service call. This DIY task is quick, requires minimal tools, and significantly improves your garage door's safety and functionality.
When to Clean Your Garage Door Sensors
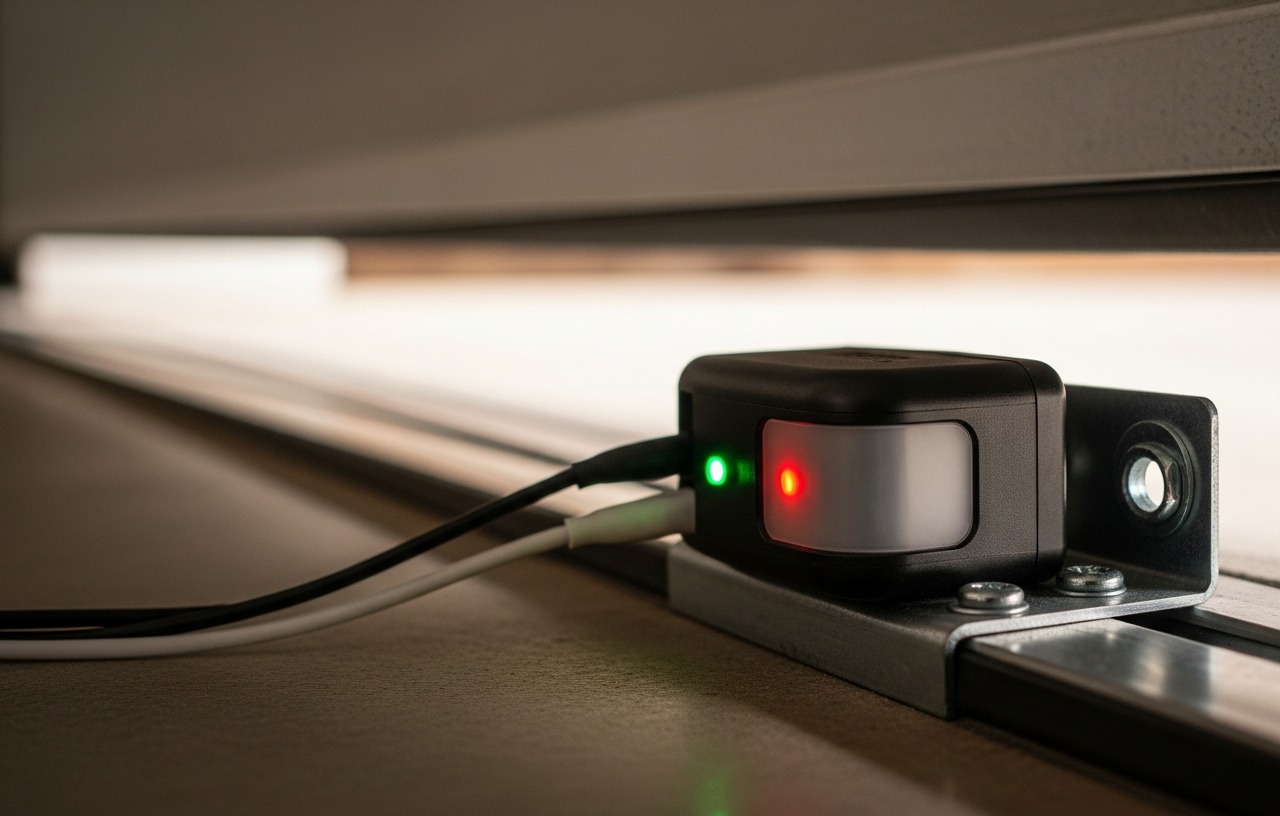
Several indicators suggest your garage door sensors need attention. The most obvious sign is a garage door that will not close fully, instead reversing immediately after starting its descent. You might also notice the door closing partway and then reversing, or opening without issue but refusing to close at all. Check the indicator lights on your sensors. Typically, one sensor will have a green light, indicating power, and the other a yellow or red light, indicating the beam is aligned. If these lights are off, blinking, or one is not illuminated, it often means the sensors are dirty, misaligned, or faulty.
Tools and Materials for Cleaning Garage Door Sensors
Gathering these items before you begin will make the cleaning process smooth and efficient:
- Soft, clean cloth (microfiber works well)
- Mild all-purpose cleaner or glass cleaner
- Warm water and a small amount of dish soap (as an alternative to cleaner)
- Cotton swabs or Q-tips (for tight spaces)
- Small, soft-bristled brush (like a toothbrush or paintbrush)
- Stepladder (if sensors are mounted higher than comfortable reach)
- Canned air or an air compressor (optional, for stubborn dust)
- Gloves and safety glasses (optional, for personal protection)
Safety First: Disconnecting Power
Before touching any part of your garage door opener system, disconnect its power. This prevents accidental activation of the door during cleaning, which could cause injury. Locate the power cord for your garage door opener, typically plugged into an outlet on the garage ceiling, and unplug it. If the outlet is difficult to reach, switch off the corresponding circuit breaker in your home's electrical panel.
step by step Guide: How to Clean Garage Door Sensors
This process should take approximately 15-30 minutes, depending on the level of dirt and any initial troubleshooting needed.
Step 1: Locate and Inspect the Sensors
Find the two safety sensors mounted on the inside of your garage door tracks, near the bottom. They are usually positioned about four to six inches off the ground. Visually inspect both sensors for obvious obstructions. Look for spiderwebs, leaves, twigs, dirt, or even insects blocking the lenses. Sometimes, a simple obstruction is the only problem.
Step 2: Remove Large Obstructions and Debris
Use your hands or a small, soft-bristled brush to gently clear away any large debris. A toothbrush works well for dislodging spiderwebs or caked-on mud. Be careful not to bump or move the sensors from their brackets during this process. Their alignment is critical for proper function.
To prevent future debris buildup, consider installing a garage door brush seal. Products like the 3 Pack Garage Door Brush Seal, with its aluminum holder and PP net hair brush, effectively block dust, dirt, leaves, and insects from entering your garage, thereby reducing how often your sensors get dirty.
Step 3: Clean the Sensor Lenses
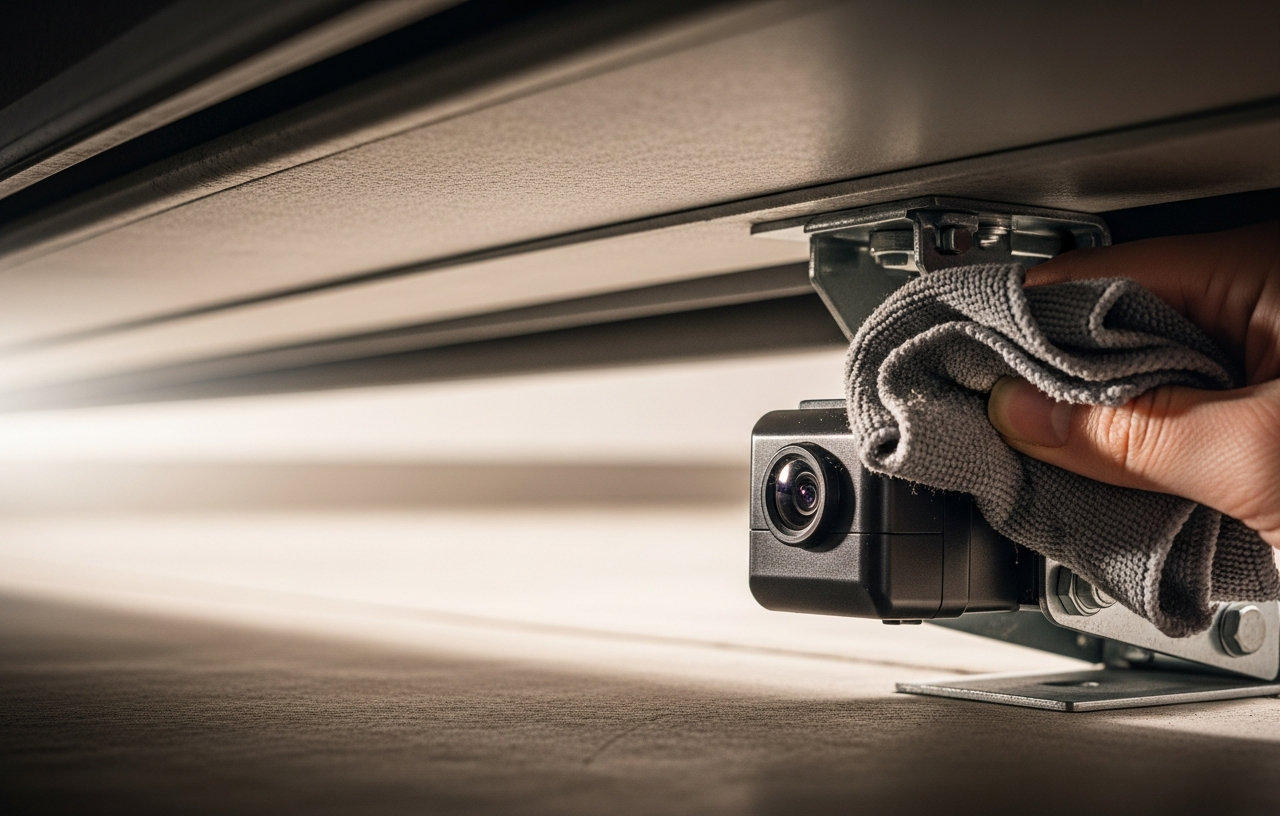
Dampen a soft, clean cloth with your mild all-purpose cleaner or warm soapy water. Gently wipe the lenses of both sensors. Make sure you clean both the transmitting sensor (usually with a yellow or red light) and the receiving sensor (usually with a green light). Wipe all sides of the sensor casing as well. For any grime stuck in crevices or around the lens, use a cotton swab lightly dampened with cleaner.
For extremely delicate or hard-to-reach dust, some users have found success with specialized cleaners. While not designed for garage sensors, the gentle ultrasonic action of devices like the Contact Lens Cleaner, Portable Ultrasonic Contact Lens Cleaning Machine can dislodge fine particles without direct scrubbing. Use this with caution, applying the cleaning solution to a cloth, not directly to the sensor unit itself.
Step 4: Clean Sensor Brackets and Wiring
While you are at the sensors, take a moment to dust off their mounting brackets. Also, check the wiring connected to each sensor. Make sure the wires are securely attached and show no signs of fraying, cuts, or damage. Damaged wiring can prevent the sensors from working correctly, even if they are clean.
Step 5: Reconnect Power and Test the Door
Once both sensors are clean and free of obstructions, plug the garage door opener back into its power outlet or flip the circuit breaker back on. Observe the indicator lights on the sensors. They should both be steadily lit, with no blinking. If the lights are solid, try closing your garage door. Place a sturdy, non-damaging object (like a cardboard box or a roll of paper towels) directly in the path of the garage door sensors on the floor. Attempt to close the garage door. The door should immediately reverse its direction upon sensing the obstruction, preventing it from closing on the object. If the door fails to reverse, or if it makes contact with the object before reversing, do not use the garage door opener. The sensors are not functioning correctly, and further troubleshooting or professional assistance is needed.
Troubleshooting After Cleaning
If your garage door still malfunctions after cleaning the sensors, consider these additional steps:
-
Check Alignment: Even a slight bump can knock sensors out of alignment. If the indicator lights are blinking or one is off, the sensors are likely misaligned. You can often fix this by gently adjusting the sensor's angle until the indicator light becomes solid. For detailed instructions, refer to our guide on How to Align Garage Door Sensors in 5 Minutes (No Tools Needed).
-
Inspect Wiring: Thoroughly examine the wires running from the sensors to the garage door opener. Look for kinks, cuts, or loose connections. Secure any loose wires and repair damaged ones if you are comfortable with basic electrical work. If the wiring is severely damaged, replacement might be necessary.
-
Sunlight Interference: Direct sunlight can sometimes interfere with the infrared beam. Try shading the receiving sensor with a piece of cardboard to see if the problem resolves. If it does, you might need to install a small shield around the sensor to block the sun.
-
Faulty Sensors: If cleaning and alignment do not fix the issue, the sensors themselves might be faulty and require replacement. Most garage door openers use universal safety sensors, making replacement a relatively simple DIY task. Our article Garage Door Sensor Not Working? Align and Fix It in 10 Minutes offers more troubleshooting steps.
-
Other Opener Issues: Sometimes, the problem lies not with the sensors but with the garage door opener itself. For a broader look at opener problems, consult Garage Door Opener Not Working: 9 Fixes Before You Call Anyone.
Maintenance Tips to Prevent Future Issues
Regular maintenance helps keep your garage door operating reliably and safely:
- Schedule Regular Cleaning: Make it a habit to clean your garage door sensors every three to six months. More frequent cleaning might be necessary in dusty environments or during seasons with heavy leaf fall.
- Keep the Path Clear: Do not store items near the garage door tracks that could obstruct the sensor beam. Children's toys, gardening tools, or trash cans are common culprits.
- Install Brush Seals: To further protect your sensors and garage interior, consider installing a high quality brush seal. The 5 Pack Garage Door Brush Seal, made with strong aluminum and wear-resistant PP net hair, creates an effective barrier against dust, debris, and pests. This reduces the amount of dirt that can accumulate on your sensors and inside your garage.
- Check Wiring Periodically: During your regular cleaning routine, quickly inspect the sensor wiring for any signs of wear or damage.
When to Call a Professional
If you have cleaned your garage door sensors, checked their alignment, and inspected the wiring, but the problem persists, it might be time to call a professional garage door technician. They possess the tools and expertise to diagnose more complex issues, such as a faulty control board in the opener or internal sensor damage. If the sensors need replacement, parts and labor usually add another $100-$250 to the total cost.
Cleaning your garage door sensors is a simple yet vital maintenance task. It contributes significantly to the safety and longevity of your garage door system.
3 Pack Garage Door Brush Seal, 39.37" L x 3" W Door Sweep Brush for Roll Up Doors, Net Hair Brush Strip with Aluminum Holder,
- Aluminum holder, PP hair
- This garage door brush seal helps block dust, dirt, leaves, wind, drafts, insects, and light from entering.
- Made with a strong 6063 aluminum holder, wear-resistant PP net hair brush, and SUS304 stainless steel.
- This door sweep brush is suitable for garage doors, roll up doors, exterior doors, storage units, sheds.
Contact Lens Cleaner, Portable Ultrasonic Contact Lens Cleaning Machine with USB Charger and Solution Soak Case Kit for Soft
- Ultrasonic Technology Cleaner - This contact lens cleaner with high frequency ultrasonic sound wave, which.
- Lightweight & Portable - Cute Compact Contact Lens Case with size 3.4x3.5x1.3 inch is travel friendly.
- Easy to Use & Rechargeable - 3 or 5 minutes quick cleaning with one button start, and automatic shutdown.
- Individual & Rustless Design - The polymer material 2 in 1 cleaning and storage case effectively solve the.
5 Pack Garage Door Brush Seal, 39.37" L x 3" W Door Sweep Brush for Roll Up Doors, Net Hair Brush Strip with Aluminum Holder,
- This garage door brush seal helps block dust, dirt, leaves, wind, drafts, insects, and light from entering.
- Made with a strong 6063 aluminum holder, wear-resistant PP net hair brush, and SUS304 stainless steel.
- This door sweep brush is suitable for garage doors, roll up doors, exterior doors, storage units, sheds.
- Each brush strip can be mounted quickly with the included SUS304 screws. Simply measure, align, and fasten.