When a garage door refuses to close, or reverses unexpectedly, the problem often lies with its safety sensors. Understanding the components, the symptoms of failure, and the repair options can help you decide whether to tackle the job yourself or call a technician.
If these vital components fail, your garage door opener may interpret the issue as an obstruction, preventing the door from closing completely. This guide details the costs involved for both do-it-yourself replacement and professional service, helping you make an informed decision for your home.
Understanding Garage Door Safety Sensors
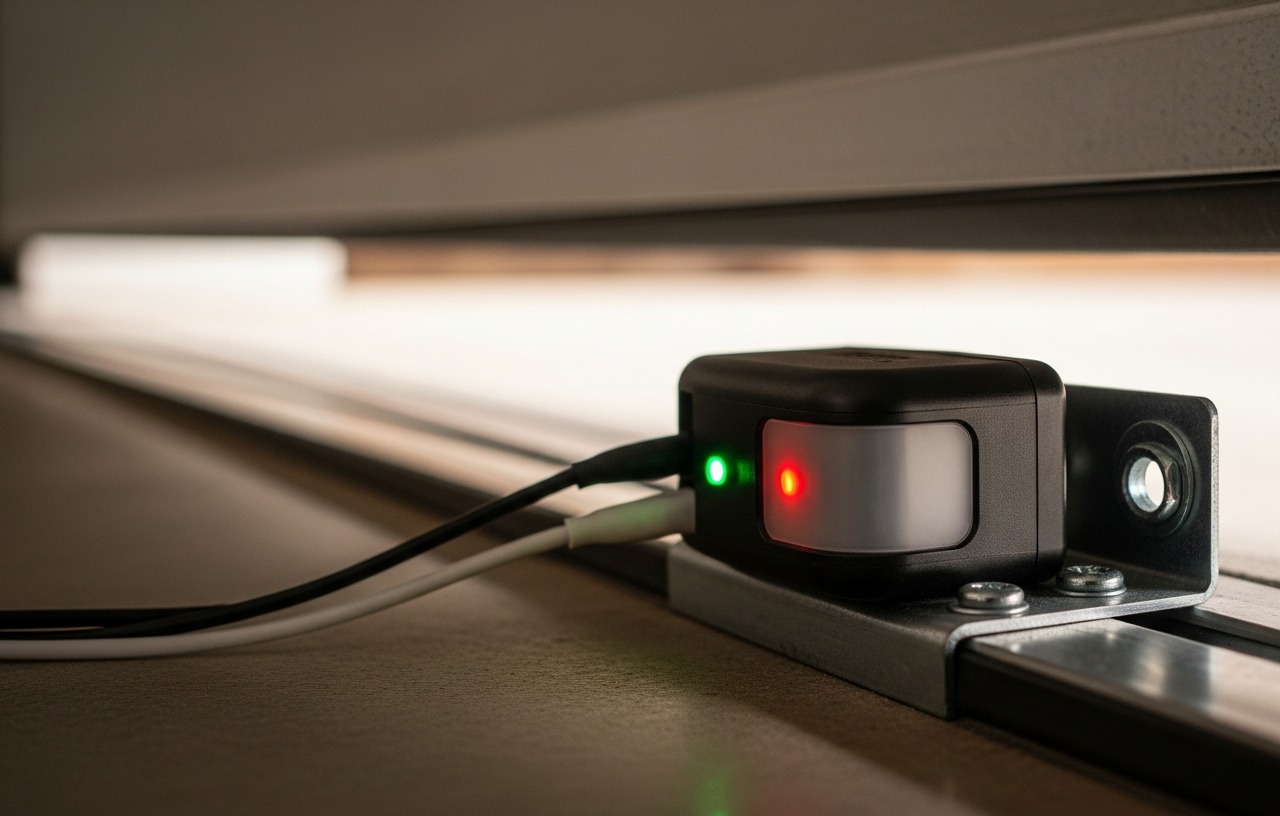
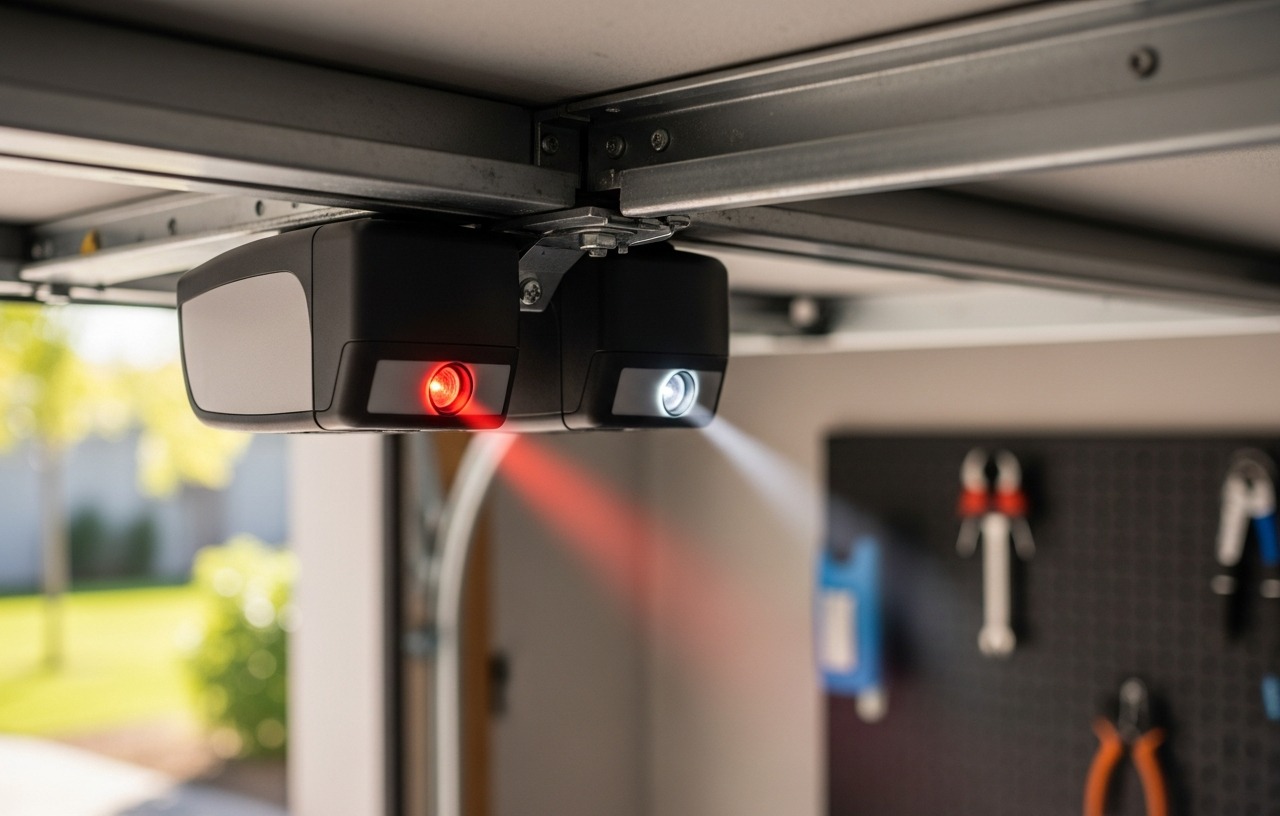
Garage door safety sensors are small, electronic eyes mounted near the bottom of your garage door tracks, typically 4 to 6 inches above the garage floor. They consist of two units: a sending unit and a receiving unit. The sending unit emits an invisible infrared beam across the garage door opening to the receiving unit. If anything breaks this beam while the door is closing, the garage door opener automatically reverses, preventing injury to people, pets, or damage to property.
These safety devices are a mandatory feature on all garage door openers manufactured since 1993, adhering to UL 325 safety standards. Major brands like LiftMaster, Chamberlain, Genie, and Craftsman all incorporate these sensors into their systems. Their design is simple, but their function is critical for safe garage operation.
Symptoms of Faulty Garage Door Safety Sensors
Recognizing the signs of failing safety sensors can save you time and frustration. The symptoms are usually clear indicators that something is wrong with these units. Here are the most common signs:
- Garage door will not close: This is the most common symptom. The door might start to close and then immediately reverse, or it might not move at all.
- Opener lights flashing: Many garage door openers, especially LiftMaster and Chamberlain models, will flash their main light 10 times when a safety sensor issue prevents the door from closing.
- Door only closes when holding down the wall button: If you must hold the wall control button down continuously for the door to close, it bypasses the safety sensors. This indicates the sensors are not working correctly.
- One sensor light off or flickering: Both sensors have indicator lights. Typically, the sending unit has a steady amber light, and the receiving unit has a steady green light. If either light is off, flickering, or dim, it points to a problem with that sensor or its alignment.
- Garage door reverses unexpectedly: While less common, a faulty sensor could cause the door to reverse mid-descent without any obstruction in its path.
Initial Troubleshooting: Is it Alignment or Failure?
Before purchasing new sensors, it is essential to determine if the existing ones are genuinely faulty or simply misaligned. A common mistake is replacing sensors when they only need realignment. This initial troubleshooting step can save you money.
First, inspect both sensor lenses for dirt, dust, spiderwebs, or any physical obstruction. Wipe them clean with a soft cloth. Next, examine the wiring connected to each sensor for obvious breaks, fraying, or loose connections. Sometimes, a wire can get pinched or chewed by a pest.
Check the indicator lights on both sensors. The sending unit should have a steady amber light, and the receiving unit a steady green light when correctly aligned and functioning. If either light is off, flickering, or dim, it suggests misalignment or a blockage. To realign, gently adjust the sensor brackets until both lights are solid. You might need to loosen the wing nut on the bracket, pivot the sensor slightly, and then retighten. This process often fixes the problem without any cost. For detailed instructions, refer to our guide on How to Align Garage Door Sensors in 5 Minutes. If realignment does not restore the lights, or if the door still struggles to close, then a sensor replacement may be necessary.
Cost of DIY Garage Door Safety Sensor Replacement
Replacing garage door safety sensors yourself is a cost effective solution for homeowners comfortable with basic electrical wiring and hand tools. The primary cost for DIY replacement is the price of the new safety sensors.
Parts Cost for DIY
A new pair of garage door safety sensors typically costs between $45 and $80. Universal sensor kits, compatible with most major garage door opener brands (LiftMaster, Chamberlain, Genie, Craftsman), are widely available. Specific brand sensors might be slightly more expensive, usually in the $60 to $100 range. You can find these parts at local hardware stores, home improvement centers, or online retailers. Online purchases often offer competitive pricing, but local stores provide immediate availability.
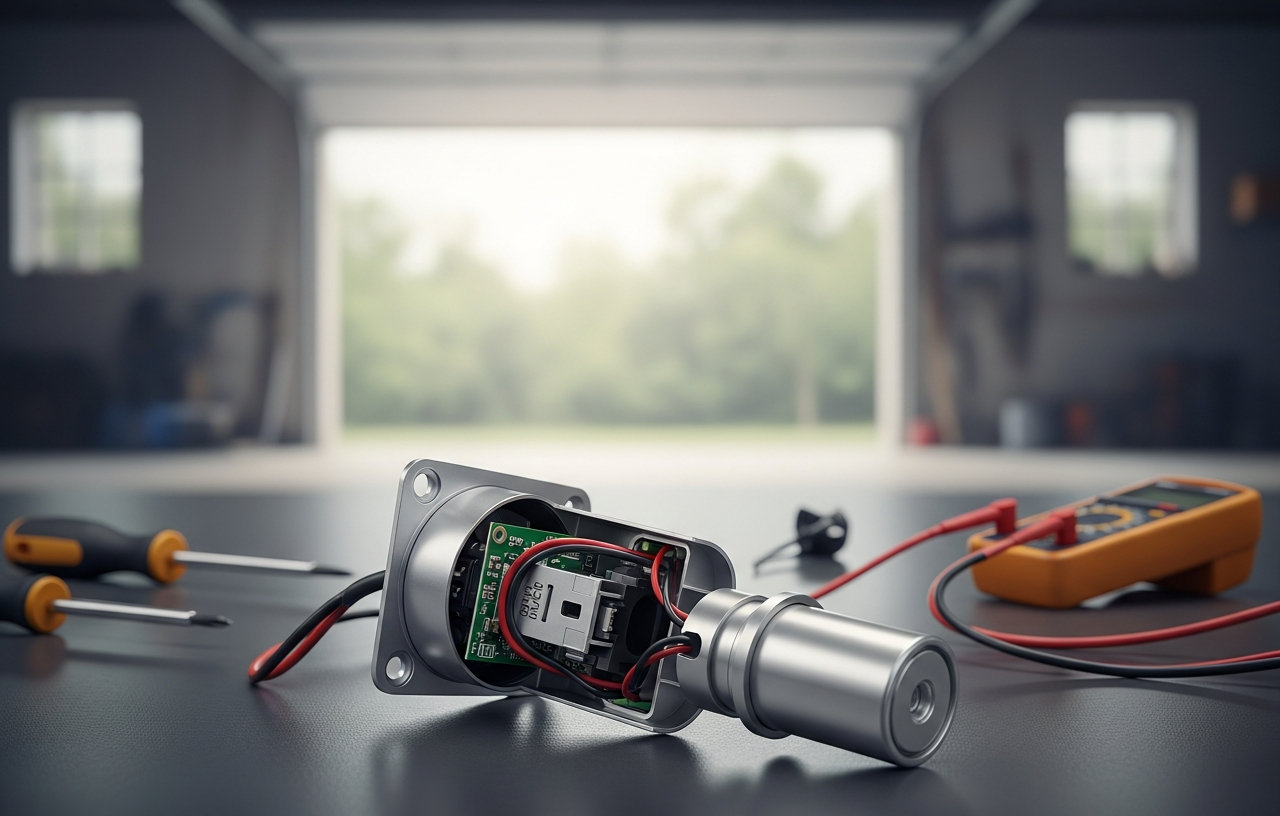
Tools Required for DIY
The tools needed for this repair are minimal and commonly found in most households:
- Phillips head screwdriver
- Flathead screwdriver
- Wire strippers/cutters
- Small adjustable wrench or pliers (for sensor brackets)
If you already own these basic tools, your only expense will be the new sensors. The time commitment for a DIY replacement is typically 30 minutes to 1 hour.
When DIY Makes Financial Sense
DIY replacement is an excellent option if you:
- Are comfortable working with low-voltage electrical wiring.
- Possess basic hand tools.
- Can easily access the sensor wires, and they are not hidden within walls.
- Have clear instructions for your specific garage door opener model.
- Desire to save money on labor costs.
DIY Garage Door Safety Sensor Replacement Steps
Replacing garage door safety sensors is a manageable task for most homeowners with basic tools and a bit of patience. This process typically takes about 30 to 60 minutes.
- Disconnect Power: Always begin by unplugging your garage door opener from the ceiling outlet. This prevents accidental activation and electrical shock during the repair. Safety is critical when working with electrical components.
- Identify and Remove Old Sensors: Locate both safety sensors near the bottom of your garage door tracks. Observe how they are mounted and wired. Each sensor usually has two low-voltage wires connecting it to the opener motor unit. Use a screwdriver to loosen the terminal screws on the sensor, then gently pull the wires free. Next, unbolt or unscrew the sensor brackets from the garage door track or wall. Carefully remove both the sending and receiving sensors.
- Install New Sensor Brackets: If your new sensors come with new mounting brackets, install these first. Position them at the same height and location as the old brackets. Make sure they are securely fastened to the garage door track or wall. The sensors should be approximately 4-6 inches above the garage floor, as mandated by safety standards.
- Mount New Sensors: Attach the new sending and receiving sensors to their respective brackets. Ensure they face each other directly across the garage door opening. Do not tighten the mounting screws completely yet; you will need to adjust them for alignment.
- Wire the New Sensors: This is a critical step. The wires from your garage door opener typically have two distinct colors or a striped pattern (e.g., white and white/black stripe, or red and white). The new sensors will also have two wires. Match the colors carefully. Strip about 1/2 inch of insulation from the ends of the sensor wires. Twist the corresponding wires together securely, then insert them into the correct terminals on the new sensor. Some sensors might have screw terminals, while others use push-in connectors. Repeat this for both the sending and receiving sensors. Double-check all connections to make sure they are tight and correct. Loose connections can cause intermittent problems.
- Align the Sensors: Plug the garage door opener back into the power outlet. The indicator lights on the sensors should illuminate. One sensor (often the sending unit) will have a steady amber or red light, and the other (the receiving unit) will have a steady green light. If a light is off or flickering, gently adjust the sensor's position until both lights are solid. This means the infrared beam is correctly aligned. You may need to slightly pivot the sensor or adjust its height. Once aligned, tighten the mounting screws or wing nuts on the brackets to secure the sensors in place.
- Test the Garage Door: With the sensors aligned and secured, test the garage door operation. First, press the wall control button to close the door. It should close smoothly without reversing. Next, test the safety reversal feature. Place a small object (like a cardboard box) in the door's path. Press the close button. The door should stop and reverse when it detects the obstruction. If it does not, immediately unplug the opener and recheck the alignment and wiring. Never operate the garage door if the safety reversal system is not working correctly.
Cost of Professional Garage Door Safety Sensor Replacement
Hiring a professional garage door technician provides convenience, expertise, and often a warranty on parts and labor. The cost will be higher than a DIY approach, but it eliminates the need for you to acquire tools, diagnose the problem, or perform the repair yourself.
Service Call Fee
Most garage door companies charge a service call fee, which covers the technician's travel to your home and initial diagnosis. This is a baseline cost you will pay regardless of the repair performed.
Parts Cost (Professional)
Technicians usually carry common replacement parts, including safety sensors. While the sensors themselves might retail for $45-$80, a professional will typically charge a marked-up price for the part, reflecting their inventory costs and convenience. Expect to pay between $70 and $120 for the sensors when provided by a technician.
Labor Cost
Labor rates for garage door technicians generally range from $70 to $150 per hour. Replacing safety sensors is a quick job, often taking only 30 to 60 minutes. Therefore, you will likely be charged for a minimum labor increment, which could be 30 minutes or an hour.
Total Professional Cost
Combining the service call fee, parts cost, and labor, the total cost for a professional to replace your garage door safety sensors typically falls between $150 and $300. In cases of complex wiring issues or if other problems are discovered during the visit, the total could extend to $350.
When Professional Repair is Recommended
Opting for a professional technician is a wise choice if you:
- Are uncomfortable with electrical work or working at heights.
- Lack the necessary tools for the job.
- Suspect the wiring is complex, hidden, or extensively damaged.
- Are experiencing multiple issues with your garage door system, not just the sensors. A technician can diagnose all problems comprehensively. If your garage door opener is not working at all, a sensor issue might be one of several causes. Our guide on Garage Door Opener Not Working: 9 Fixes Before You Call Anyone details other potential problems.
- Have limited time to dedicate to the repair.
- Desire a professional warranty on both parts and labor.
- Are concerned about safety and prefer an expert handling the repair.
Breaking Down the Cost: DIY vs. Professional
The choice between DIY and professional repair for garage door safety sensors often comes down to cost versus convenience and expertise. Here is a direct comparison:
- DIY Cost: $45 - $100 (parts only). Requires your time and basic skills.
- Professional Cost: $150 - $300 (includes service call, parts, and labor). Provides expert service, speed, and a warranty.
For a relatively simple repair like sensor replacement, the financial savings of DIY can be substantial. However, if you are unsure about any step or if the problem persists after your attempt, calling a professional is the safer and more reliable option.
Factors Influencing Professional Costs
Several variables can affect the final price you pay for a professional garage door sensor replacement:
- Geographic Location: Labor rates vary significantly by region. Urban and metropolitan areas generally have higher service costs than rural ones.
- Time of Service: Emergency, after-hours, or weekend service calls typically incur additional fees compared to standard weekday appointments.
- Brand and Type of Opener: While most sensors are fairly universal, some older or less common garage door opener brands might require specific, harder-to-find sensors, potentially increasing the parts cost.
- Additional Repairs: If the technician identifies other problems during their visit, such as a broken spring or an issue with the opener motor, the overall repair cost will increase. For example, a broken garage door spring is a separate, more complex, and more costly repair. You can learn more about those costs in our guide, .
Extending the Lifespan of Your Garage Door Safety Sensors
With proper care, your garage door safety sensors can last for many years. Simple maintenance can help prevent premature failure and keep your garage door operating safely:
- Regular Cleaning: Periodically wipe down the sensor lenses with a soft, clean cloth. Dust, dirt, and spiderwebs are common culprits for beam obstruction.
- Check Alignment: If your garage door experiences a bump or vibration, check the sensor alignment. Make sure the indicator lights are solid.
- Secure Wiring: Inspect the sensor wires for any signs of damage or loose connections. Secure any dangling wires to the garage door track or wall to prevent them from being snagged or chewed.
- Protect from Physical Impact: Avoid placing objects near the sensors that could accidentally knock them out of alignment or damage them.
- Keep Pets Away: Pets, especially curious dogs and cats, can sometimes trigger or even damage sensors by rubbing against them or chewing on wires.
Final Thoughts
A malfunctioning garage door safety sensor is a common issue that homeowners face. A DIY replacement for a pair of safety sensors typically costs $45 to $80 for parts. By understanding the symptoms, performing initial troubleshooting, and evaluating your comfort level with home repairs, you can confidently choose the best course of action to restore your garage door's safe and proper function.