
Jin&Bao Universal Garage Door Threshold Seal Strip 20FT Kit, Bottom Waterproof Rubber Weather Stripping Replacement(Yellow, 2
- Keep Garage Clean and Dry: The Jin&Bao Garage door weatherproofing universal sealing strip can keeps.
- Outstanding Durability: Specifically designed to withstand extreme temperature exposures. Stays perfect.
- Do-It-Yourself Installation: Quick and easy to install, you could cut this strip to adapt if your floor.
- Reliable Customer Support:We are always here to help. If you have any questions or need assistance at any.

Garage Door Seals Bottom Rubber to 16.5FT EPDM Weatherproof Seal with Pre-Drilled Aluminum Track Retainer Kit, Fits 8-20FT Doors,
- heavy duty Weather Protection: Keeps your garage dry and secure. Effectively blocks drafts, water, dust.
- Tear-Resistant EPDM Rubber: Our garage door seal is made from EPDM rubber, designed to withstand frequent.
- Quick & Easy Installation: This garage door seal kit comes with a pre-drilled aluminum retainer track.
- Universal Fit for 8-20FT Doors: Whether you have a sectional, roll-up, or hinged garage door, this garage.

Garage Door Seal Top and Sides - 36 FT TPE Weather Stripping Garage Door Seal Replacement Weatherproofing Universal Sealing, Black
- Tightly Sealed: The garage door seal top and sides prevents leaves, drafts, dust, rain and bugs from.
- Long-Lasting Durability: Garage door seal crafted from premium UV-resistant TPE that remains flexible and.
- Firmly mounted: Peel off the adhesive strip, stick it in the desired position and reinforce it with the.
- Energy & Noise Savings: Garage door weather stripping top and sides effectively blocks drafts and dampens.
A cold draft creeping under your garage door, standing water after a rainstorm, or even small pests finding their way inside are clear signs of compromised weather stripping. The garage door seal, also known as a garage door gasket, plays a vital role in protecting your garage from the elements and unwanted guests. Replacing garage door weather stripping is a practical DIY project that can save you money on energy bills and extend the life of your garage contents.
Why Replacing Your Garage Door Seal Matters
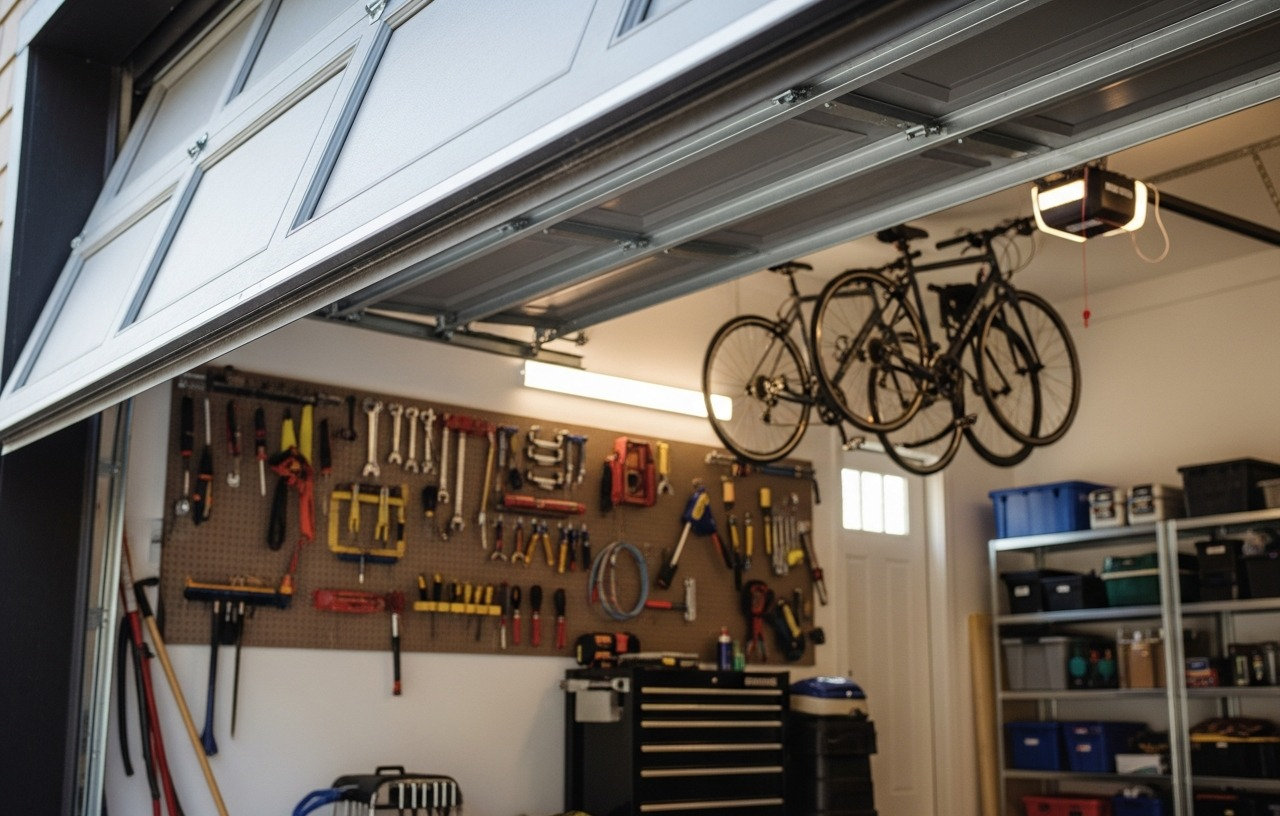
Your garage door is one of the largest openings in your home. Without an effective seal, it becomes a major source of heat loss in winter and heat gain in summer. This directly impacts your energy consumption, especially if your garage is attached to your home or if you use it as a workshop.
Beyond energy savings, a proper garage door seal replacement offers several benefits:
- Pest Control: It creates a barrier against rodents, insects, and other critters seeking shelter.
- Moisture Protection: It prevents rain, snow, and melting ice from entering your garage, protecting stored items from water damage and reducing the risk of mold growth.
- Debris Prevention: It stops leaves, dust, and dirt from blowing into your garage, keeping it cleaner.
- Improved Comfort: A sealed garage is a more comfortable space, whether for parking your car or working on projects.
Types of Garage Door Weather Stripping
To effectively change garage door seal components, you must first identify the types needed. Garage doors typically use three main types of weather stripping:
1. Garage Door Bottom Seal
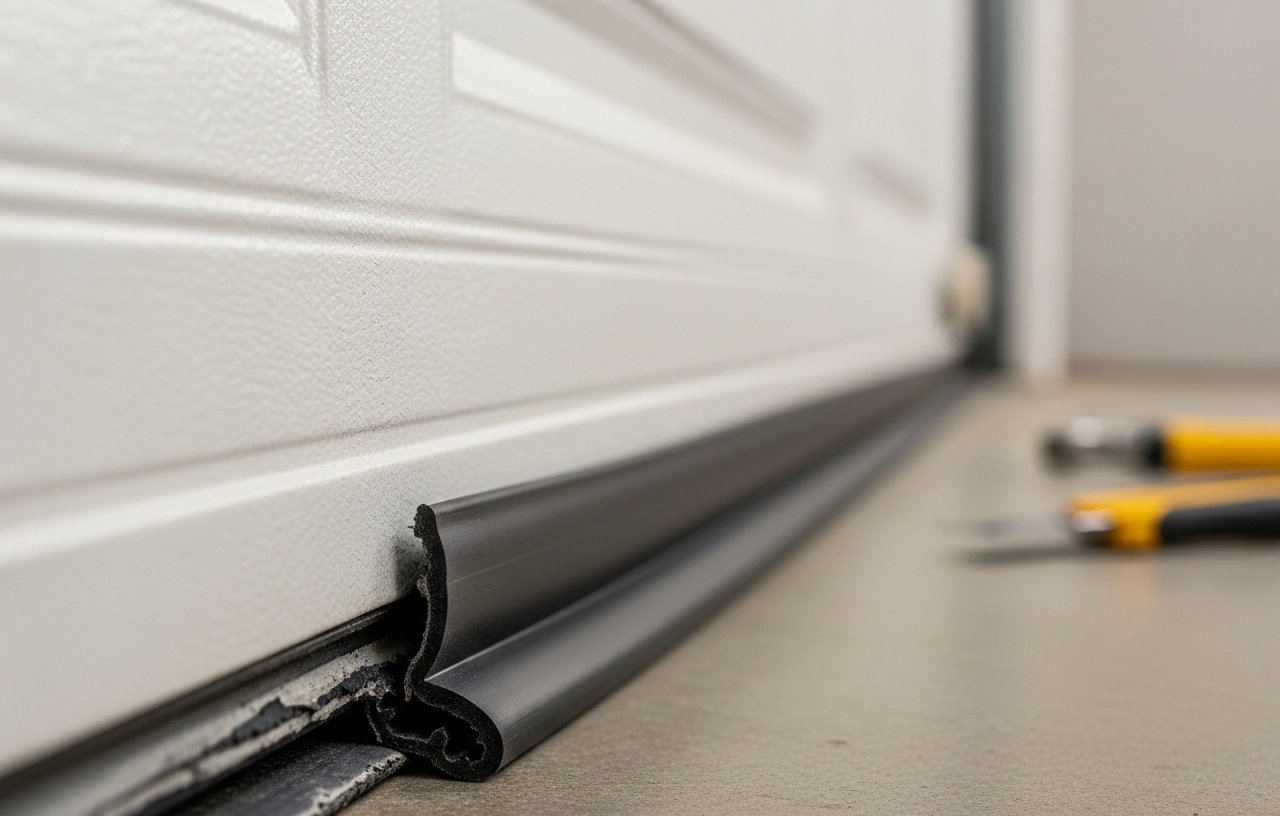
This is the most common type of weather stripping. It attaches to the bottom edge of the garage door itself. Its purpose is to create a tight seal against the garage floor, compensating for any unevenness in the concrete. These seals come in various profiles, such as bulb, T-end, and P-end, designed to fit different retainer tracks on the door.
2. Garage Door Top and Side Seals
These seals, often made of vinyl or rubber, attach to the exterior door frame. They fit snugly against the top and sides of the garage door when it is closed. They block drafts, rain, and dust from entering around the perimeter of the door opening.
3. Garage Door Threshold Seal
Unlike the other types, the threshold seal installs directly onto the garage floor, underneath where the garage door closes. It forms a raised barrier that the bottom seal presses against. This type is particularly effective for very uneven floors or when significant amounts of water tend to pool just outside the garage.
Choosing the Right Garage Door Weather Stripping for Replacement
Selecting the correct replacement seal is vital for a successful garage door gasket replacement. Consider these factors:
- Material: Most seals are made from rubber, vinyl, or EPDM (ethylene propylene diene monomer) rubber. EPDM offers superior durability and temperature resistance, making it a good choice for extreme climates. Vinyl is more affordable but may not last as long.
- Profile: The bottom seal's profile must match the existing retainer track on your garage door. Common shapes include T-ends (single or dual), P-ends, and bulb shapes. Remove a small section of your old seal to confirm its profile.
- Length: Measure the width of your garage door accurately for bottom seals. For top and side seals, measure the total perimeter. It is always better to buy slightly more than you need and trim it.
For a robust floor solution, consider the Jin&Bao Universal Garage Door Threshold Seal Strip. This option creates a waterproof barrier on your garage floor, designed for outstanding durability against extreme temperatures. If you need to replace your garage door bottom seal, products like the Garage Door Seals Bottom Rubber with Pre-Drilled Aluminum Track Retainer Kit offer heavy duty EPDM rubber for weather protection and come with an aluminum retainer for easier installation.
Tools and Materials Needed
Gather these items before beginning your garage door seal replacement:
- Replacement weather stripping (bottom, top/side, or threshold)
- Measuring tape
- Utility knife or heavy duty scissors
- Pencil or marker
- Drill (for top/side seals with screws, or threshold seals if reinforcing)
- Screws or nails (for top/side seals)
- Caulking gun and exterior-grade caulk (optional, for top/side seals)
- Adhesive (for threshold seals)
- Cleaning supplies (rag, mild detergent, brush)
- Safety glasses
- Work gloves
Safety First
Working around a garage door requires caution. Heavy springs and cables are under extreme tension. Before working on any part of your garage door, disconnect the power to the opener by unplugging it from the outlet or flipping the circuit breaker. Wear safety glasses and gloves. If you suspect issues with springs or cables, contact a professional. They can be very dangerous.
How to Replace Garage Door Bottom Seal
This process typically takes 1 to 2 hours.
Step 1: Open and Secure the Garage Door
Raise your garage door to its fully open position. This takes the tension off the bottom seal and makes it accessible. Unplug the garage door opener to prevent accidental closure. If your door does not stay open reliably, secure it with C-clamps on the vertical tracks just below the bottom roller.
Step 2: Remove the Old Bottom Seal
Locate the ends of the existing bottom seal. There may be screws or staples holding it in place. Remove these fasteners. Use pliers to grip one end of the old seal and slide it out of the metal retainer track. This might require some force, especially if the seal is old and brittle. If it tears, simply pull out sections as they come free.
Step 3: Clean the Retainer Track
Once the old seal is removed, clean the retainer track thoroughly. Use a brush or rag to remove any dirt, debris, or rust. A clean track allows the new seal to slide in smoothly. You can also spray a silicone-based lubricant into the track to aid installation.
Step 4: Install the New Bottom Seal
Unroll your new garage door bottom seal. If it is a dual T-end seal, separate the two T-ends slightly at one end to make insertion easier. Slide one T-end into one channel of the retainer track and the other T-end into the second channel. This is often a two-person job, with one person feeding the seal and the other gently pulling it through the track. For seals with pre-drilled aluminum retainers, like the Garage Door Seals Bottom Rubber option, align the retainer and screw it directly to the bottom of the door.
Step 5: Trim and Secure the Seal
Once the new seal is fully inserted, it should extend slightly beyond each end of the garage door. Use a utility knife or heavy duty scissors to trim the excess, leaving about an inch overhang on each side. This allows for shrinkage and provides a complete seal. If your old seal had screws or staples at the ends, you can re-install new ones to further secure the new seal.
Step 6: Test the Door Closure
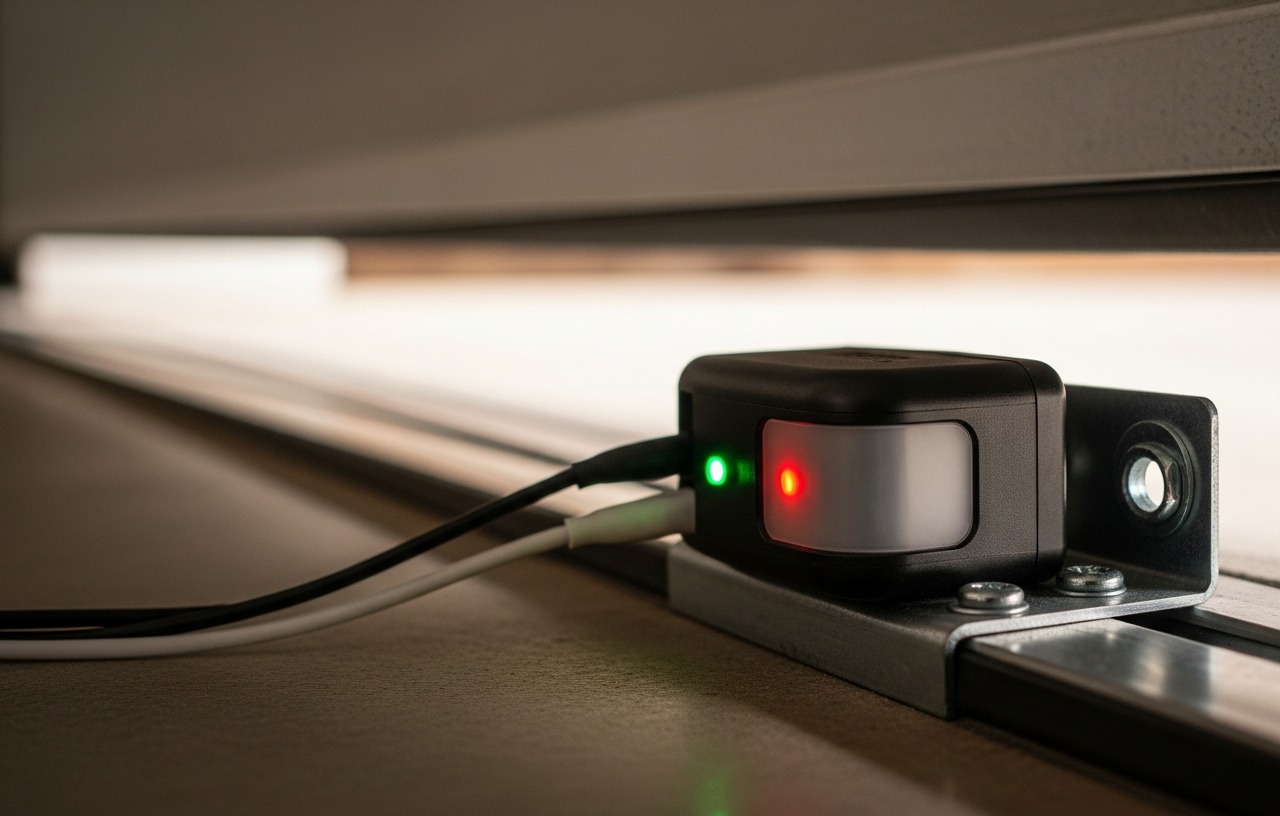
Plug the garage door opener back in. Slowly lower the garage door. Observe how the new seal compresses against the floor. It should create a tight, even seal across the entire width of the door. Adjust the garage door's down travel limits if necessary to achieve proper compression. If your garage door opener is not working correctly, you may need to troubleshoot it. Many common opener issues have simple fixes.
How to Install Garage Door Top and Side Seals
This installation takes about 1 to 3 hours, depending on the door size and type of seal.
Step 1: Clean the Door Frame
Clean the surfaces of the door frame where the new seals will attach. Remove any old sealant, paint flakes, dirt, or grease. A clean, smooth surface ensures proper adhesion and a good seal.
Step 2: Measure and Cut the Seals
Measure the top width of your garage door opening and the height of each side. Cut the top seal to length. Cut the two side seals to length. For a tight fit, miter the corners at a 45-degree angle where the top and side seals meet, or simply butt them together.
Step 3: Affix the Top and Side Seals
Many top and side seals, such as the Garage Door Seal Top and Sides - 36 FT TPE Weather Stripping, come with an adhesive backing. Peel off the backing and firmly press the seal into place, starting from one end. Make sure the flap of the weather stripping faces towards the garage door and overlaps the door's edge when closed. For added security, or for seals without adhesive, use screws or nails every 12-18 inches along the length of the seal. Predrilling pilot holes can prevent wood splitting.
Step 4: Reinforce and Caulk (Optional)
If using screws or nails, make sure they are flush with the seal. For an even tighter seal and improved aesthetics, apply a bead of exterior-grade caulk along the top edge of the weather stripping where it meets the door frame. This helps prevent water intrusion behind the seal.
How to Install a Garage Door Threshold Seal
Expect this project to take 1 to 2 hours, plus adhesive curing time.
Step 1: Clean the Garage Floor
Thoroughly clean the section of the garage floor where the threshold seal will be installed. Remove all dirt, oil, grease, and loose debris. A clean, dry surface is essential for proper adhesive bonding. You may need to scrub the area with a degreaser and allow it to dry completely.
Step 2: Position and Mark the Threshold Seal
Close your garage door. Place the threshold seal on the floor, positioning it so that the inside edge of the seal touches the interior side of the garage door when it is closed. This allows the bottom seal of the door to compress firmly against the threshold. Once positioned correctly, use a pencil or marker to draw lines along both the inside and outside edges of the threshold seal on the floor.
Step 3: Apply Adhesive
Carefully move the threshold seal out of the way. Apply a continuous bead of heavy duty construction adhesive, specifically designed for concrete, within the marked lines on the floor. Follow the adhesive manufacturer's instructions for application and open time. The Jin&Bao Universal Garage Door Threshold Seal Strip, for example, is designed for DIY installation and works well with standard concrete adhesives.
Step 4: Secure the Threshold Seal
Carefully place the threshold seal back onto the adhesive, aligning it precisely with your marked lines. Press down firmly along the entire length of the seal to ensure good contact with the adhesive. You can use a roller or walk along the seal to apply even pressure. Close the garage door and leave it closed for the adhesive's recommended curing time. This ensures maximum compression and bonding.
When to Call a Professional
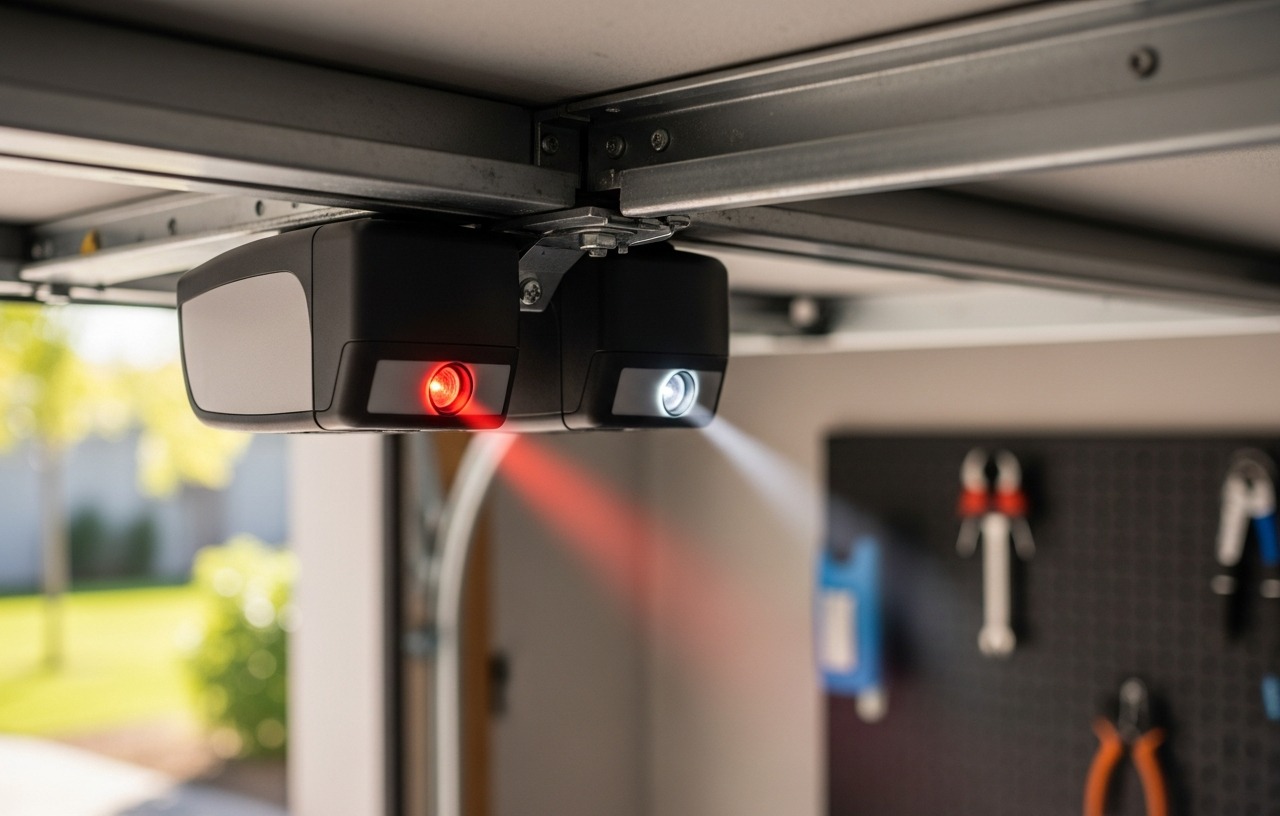
While replacing garage door weather stripping is a manageable DIY task, some situations warrant professional help. If your garage door itself is not closing properly, is off track, or has bent panels, a new seal alone will not solve the underlying issue. A professional garage door technician can diagnose and repair structural problems. The cost for a service call from a garage door technician typically ranges from $80-$150, not including parts or labor for specific repairs. If your garage door opener is exhibiting unusual behavior or your door won't open, consult a guide on common garage door opener problems before calling a professional.
Maintain a Comfortable and Protected Garage
Replacing your garage door weather stripping is an effective way to improve your home's energy efficiency, protect your belongings, and keep pests out. By understanding the different types of seals and following these installation steps, you can achieve a tight, secure closure for your garage door. This simple maintenance task yields significant long term benefits.
Jin&Bao Universal Garage Door Threshold Seal Strip 20FT Kit, Bottom Waterproof Rubber Weather Stripping Replacement(Yellow, 2
- Keep Garage Clean and Dry: The Jin&Bao Garage door weatherproofing universal sealing strip can keeps.
- Outstanding Durability: Specifically designed to withstand extreme temperature exposures. Stays perfect.
- Do-It-Yourself Installation: Quick and easy to install, you could cut this strip to adapt if your floor.
- Reliable Customer Support:We are always here to help. If you have any questions or need assistance at any.
Garage Door Seals Bottom Rubber to 16.5FT EPDM Weatherproof Seal with Pre-Drilled Aluminum Track Retainer Kit, Fits 8-20FT Doors,
- heavy duty Weather Protection: Keeps your garage dry and secure. Effectively blocks drafts, water, dust.
- Tear-Resistant EPDM Rubber: Our garage door seal is made from EPDM rubber, designed to withstand frequent.
- Quick & Easy Installation: This garage door seal kit comes with a pre-drilled aluminum retainer track.
- Universal Fit for 8-20FT Doors: Whether you have a sectional, roll-up, or hinged garage door, this garage.
Garage Door Seal Top and Sides - 36 FT TPE Weather Stripping Garage Door Seal Replacement Weatherproofing Universal Sealing, Black
- Tightly Sealed: The garage door seal top and sides prevents leaves, drafts, dust, rain and bugs from.
- Long-Lasting Durability: Garage door seal crafted from premium UV-resistant TPE that remains flexible and.
- Firmly mounted: Peel off the adhesive strip, stick it in the desired position and reinforce it with the.
- Energy & Noise Savings: Garage door weather stripping top and sides effectively blocks drafts and dampens.