
Left Hand Wind(Black Cone)2" Garage Door Torsion Spring with Non-Slip Winding Bars & Gloves, High Precision Electrophoresis Black
- Left Hand Wound Replacement for Right Side (Black Cone) .250” wire size x 2” inside dimension x 28” length.
- Single Side Garage Door Torsion Spring, A pair of 17.2’’ Non-Slip Winding Bars and Gloves, and.
- Made of heat-treated professional spring steel coils with aluminum cones to make sure they are extremely.
- Use YOTOOLGDS high quality garage door torsion springs to replace old broken garage door springs.Having.

Pair of 2" Garage Door Torsion Springs Set with Non-Slip Winding Bars & Gloves, Precision Electrophoresis Black Coated Without
- One Pair of 207” wire size x 2” inside dimension x 24” length Garage Door Torsion Spring. (left & right)
- A pair of Garage Door Torsion Spring, A pair of 17.2’’ Non-Slip Winding Bars and Gloves, and Installation.
- Made of heat-treated professional spring steel coils with aluminum cones to make sure they are extremely.
- Use KaiMinDogz high quality garage door torsion springs to replace old broken garage door springs.Having.
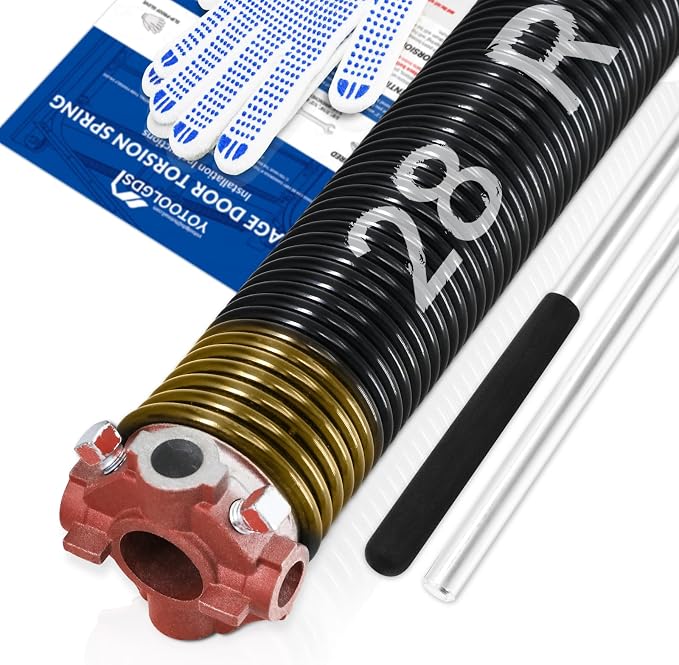
Right Hand Wind(Red Cone)2" Garage Door Torsion Spring with Non-Slip Winding Bars & Gloves, High Precision Electrophoresis Black
- Right Hand Wound Replacement for Left Side (Red Cone) .250” wire size x 2” inside dimension x 28” length.
- Single Side Garage Door Torsion Spring, A pair of 17.2’’ Non-Slip Winding Bars and Gloves, and.
- Made of heat-treated professional spring steel coils with aluminum cones to make sure they are extremely.
- Use YOTOOLGDS high quality garage door torsion springs to replace old broken garage door springs.Having.
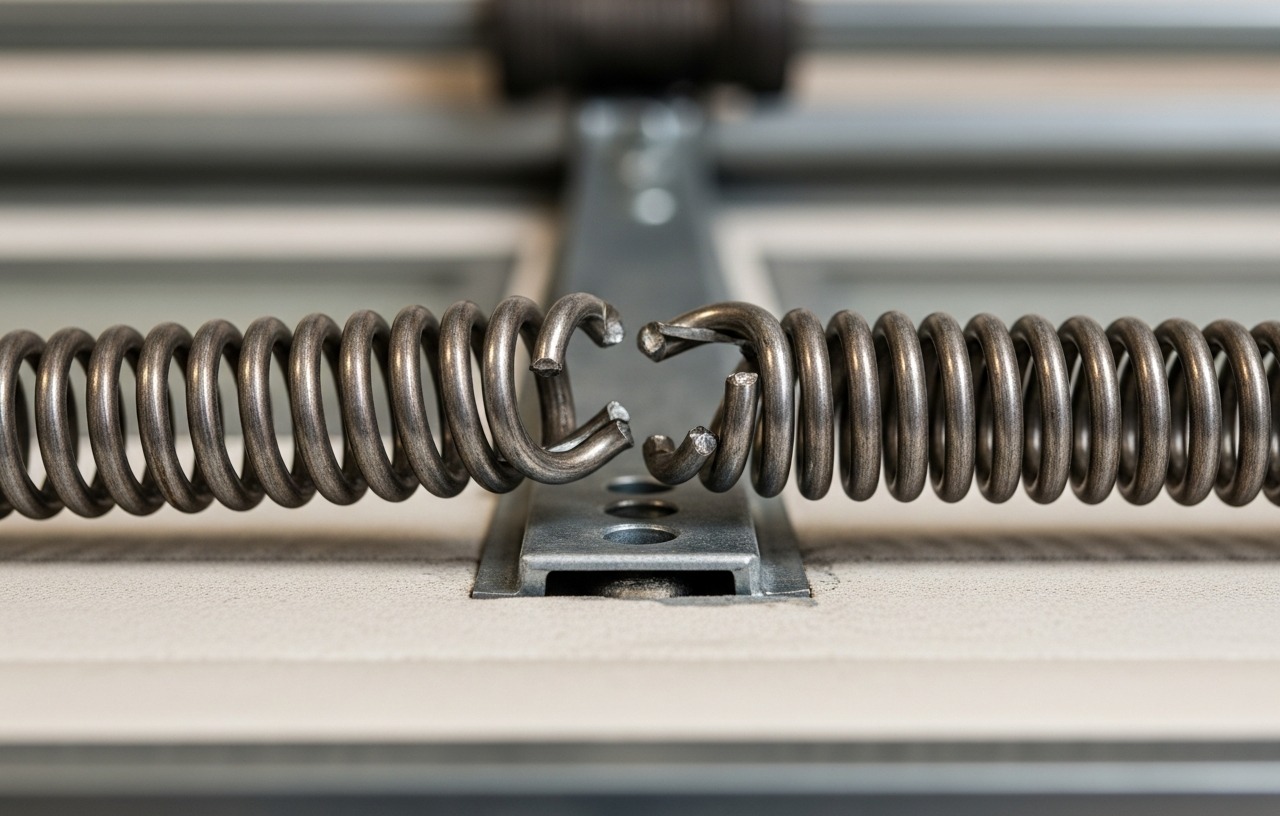
A sudden, loud bang from your garage often indicates a broken extension spring. These springs, located on either side of the garage door tracks, counterbalance the door's weight. When one fails, the door becomes heavy, difficult to open, and potentially dangerous. Replacing garage door extension springs is a task many homeowners can complete, saving significant money on labor costs.
Professional garage door technicians typically charge $80-$150 for a service call, plus $150-$350 for spring replacement labor alone, in addition to parts. Doing it yourself can keep costs to just the price of new springs, usually $40-$100 per pair.
Understanding Garage Door Extension Springs
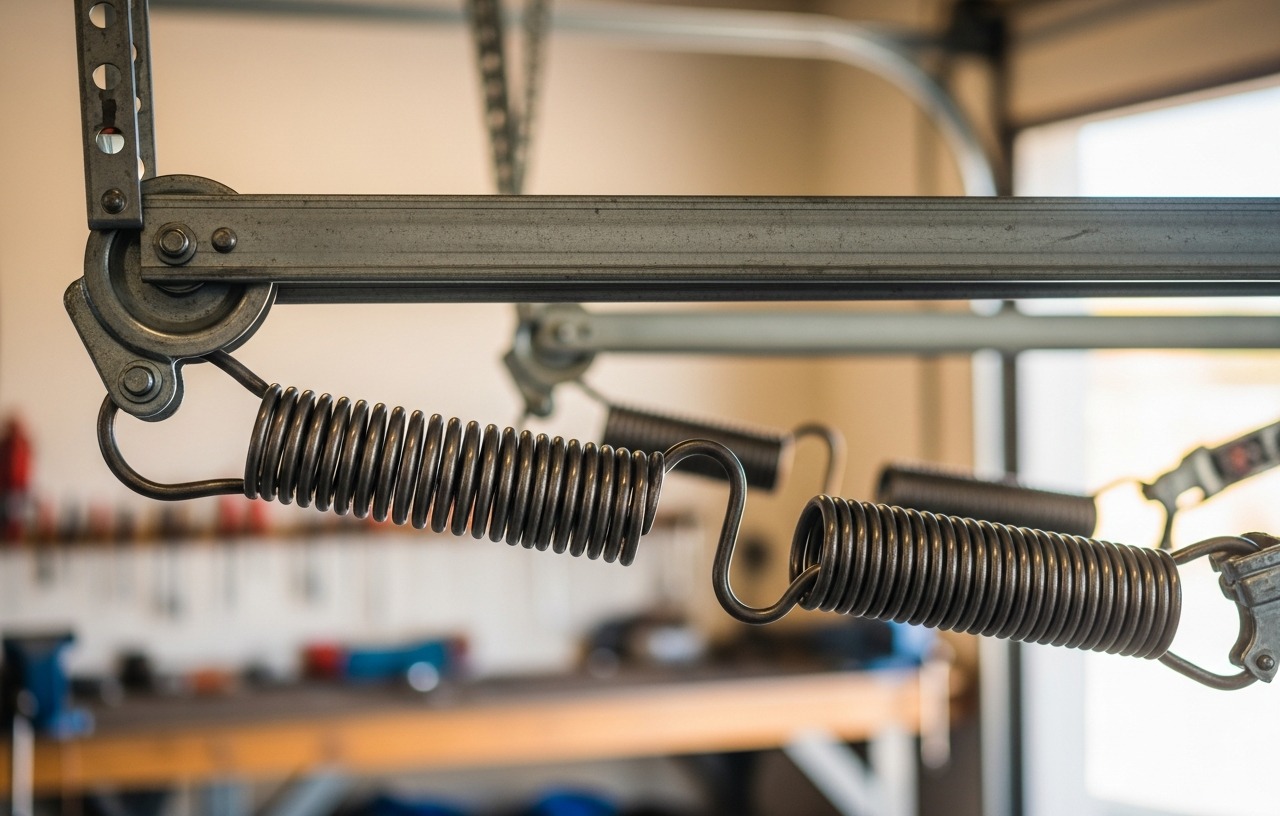
Extension springs work by stretching and contracting as your garage door opens and closes. They are under significant tension, which is why safety precautions are so important. Residential garage doors typically use two extension springs, one on each side. Each spring is connected to a pulley and a cable, which then attaches to the bottom of the garage door. The spring's color coding often indicates its lifting capacity, but precise measurement is always the most reliable way to identify the correct replacement.
For more details on how these springs function, you can read our article on Understanding Garage Door Extension Springs: Function and Lifespan.
Safety First: Essential Precautions
Garage door springs are under extreme tension. Improper handling can cause serious injury or even death. Always prioritize safety during this repair. It is not a job to rush through.
- Disconnect Power: Unplug your garage door opener from the electrical outlet. This prevents accidental activation of the door during the repair.
- Secure the Door: Use C-clamps or vice grips to secure the garage door to its tracks. Place them just above the bottom rollers on both sides. This prevents the door from falling if the remaining spring gives way or if you accidentally release its tension.
- Wear Safety Gear: Always wear heavy duty work gloves and safety glasses.
- Work Methodically: Do not rush. Take your time with each step.
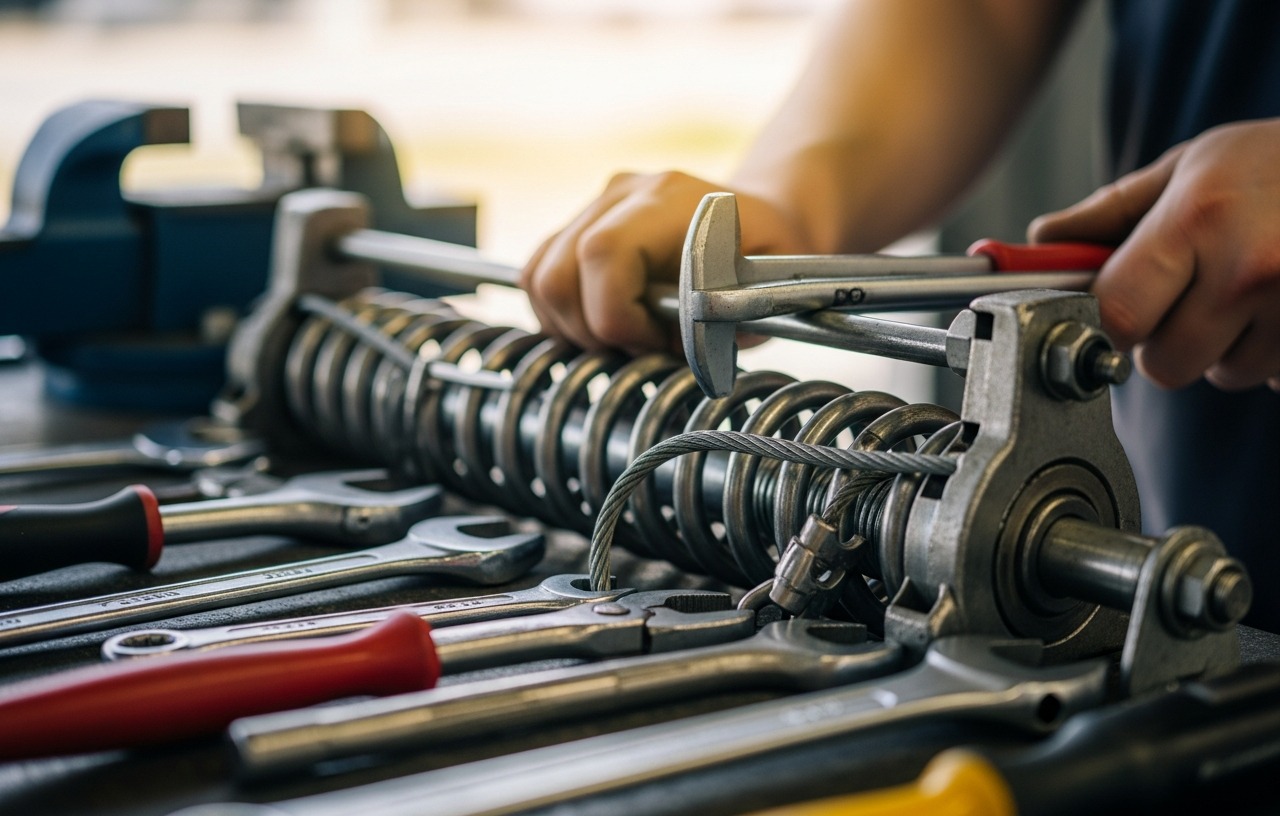
Tools and Materials You Will Need
Gathering all necessary items before you start will make the process smoother.
- New extension springs (matched to your door's weight and dimensions)
- Two C-clamps or vice grips
- Adjustable wrench or socket set
- Measuring tape
- heavy duty work gloves
- Safety glasses
- Ladder (stable and tall enough to reach the springs comfortably)
- Replacement safety cables (highly recommended, often included with new springs)
- Zip ties or strong wire (optional, for securing cables)
step by step Guide: How to Replace Garage Door Extension Springs
This process typically takes 1 to 2 hours for a single door, assuming you have the correct replacement springs on hand. For a broken spring, you might also want to consult our guide on Broken Garage Door Spring: What to Do Right Now (And What Not To).
Step 1: Disconnect Power and Secure the Door
Begin by unplugging your garage door opener. Locate the electrical outlet on the ceiling or wall and pull the plug. Next, lower the garage door completely. Use two C-clamps or vice grips to secure the door to its tracks. Place one clamp on each side, just above a roller on the vertical track. This prevents the door from moving unexpectedly while you work on the springs.
Step 2: Inspect and Measure the Old Springs
Carefully examine the existing springs. Note how they are attached. If one spring is broken, remove the other one to get accurate measurements for replacement. Key measurements include:
- Spring Length: Measure the spring when it is relaxed (not stretched). If broken, measure the length of one piece and estimate the total.
- Spring Diameter: Measure the outside diameter of the coiled spring.
- Wire Gauge: This is the thickness of the spring wire. You can use a spring wire gauge tool or measure 20 coils and divide by 20 to get an approximate gauge.
- Door Weight: If possible, weigh your garage door to confirm the correct spring capacity. This is often the most accurate method for choosing replacement springs. A common technique involves disconnecting the opener, lifting the door halfway, and using a bathroom scale under the center of the door.
These measurements ensure you purchase the correct replacement springs. Using springs that are too strong or too weak will cause your door to operate improperly and could damage the opener.
Step 3: Remove the Old Spring and Safety Cable
With the door secured and the power off, you can begin removing the old springs. If your door has safety cables running through the center of the springs, you will need to detach these first. The safety cable is usually anchored to the wall or track at one end and passes through the spring to a bracket on the other end.
- Unclip the Safety Cable: Detach the safety cable from its anchor point, usually a hook or clevis pin on the wall or track.
- Remove the Pulley: The spring is connected to a pulley at one end. Carefully unhook the pulley from the spring's end bracket.
- Detach the Spring from the Hanger: The other end of the spring is typically hooked onto an eye-bolt or hanger attached to the track support. Use an adjustable wrench to loosen any nuts holding the hanger in place, or simply unhook the spring if it uses an open hook.
- Carefully Lower the Spring: Once both ends are detached, carefully lower the old spring. It might still have some residual tension, so handle it with caution.
Step 4: Install New Safety Cables (Highly Recommended)
They prevent a broken spring from whipping across the garage, potentially causing severe injury or damage. It is highly recommended to install new safety cables whenever you replace extension springs, as old cables can fray over time.
- Thread the Cable: Thread one end of the new safety cable through the center of the new extension spring.
- Anchor the Cable: Secure one end of the safety cable to the wall or track bracket, ensuring it runs through the entire length of the spring.
Step 5: Install the New Extension Spring
Installing the new spring is essentially the reverse of removal. Make sure the safety cable is correctly threaded through the spring before installation.
- Attach Spring to Hanger: Hook one end of the new spring onto the eye-bolt or hanger attached to the track support. Make sure it is secure.
- Attach Pulley: Attach the pulley to the other end of the spring. Ensure the garage door lifting cable is correctly routed through the pulley. The cable should then run down to the bottom bracket of the garage door.
- Anchor Safety Cable (Other End): Secure the other end of the safety cable to its anchor point on the track or wall, making sure the cable is taut but not overly tight. It should have a slight slack so it does not interfere with spring movement.
Step 6: Repeat for the Other Side
If you are replacing both springs, repeat Steps 3 through 5 for the other side of the garage door. It is always a good idea to replace both springs at the same time, even if only one is broken. Springs age at the same rate, and the unbroken one is likely to fail soon after the first. Replacing them as a pair ensures balanced operation and extends the life of your garage door system.
Step 7: Remove Clamps and Test the Door
Once both springs and safety cables are installed, carefully remove the C-clamps or vice grips from the garage door tracks. Reconnect the garage door opener to its power source.
Test the door's balance manually first. With the opener disconnected, you should be able to lift the door halfway and have it stay in place. If it sags or shoots up, the springs might be incorrectly sized or installed. Then, test the door's operation using the opener. Observe its movement for smoothness and balance. The door should open and close without excessive straining from the opener or jerky movements.
Step 8: Adjusting Spring Tension (If Needed)
Sometimes, new springs may require minor tension adjustments. This usually involves moving the spring's anchor point (the eye-bolt or hanger) slightly up or down the track support. A spring that is too loose will cause the door to feel heavy and possibly not open all the way. A spring that is too tight will make the door difficult to close and could cause it to 'float' open slightly.
Make small adjustments, one at a time, and re-test the door's balance after each change. Remember to disconnect power and secure the door with clamps before making any adjustments.
When to Call a Professional
While replacing extension springs is a DIY-friendly task for many, there are situations where calling a professional is the best course of action. If you feel uncomfortable at any point, lack the proper tools, or if your garage door system uses torsion springs instead of extension springs, it is wise to consult an expert. Torsion springs, located above the door opening, require specialized winding bars and carry a much higher risk of injury if mishandled. For an estimate of professional costs, see our article on .
Maintaining Your New Extension Springs
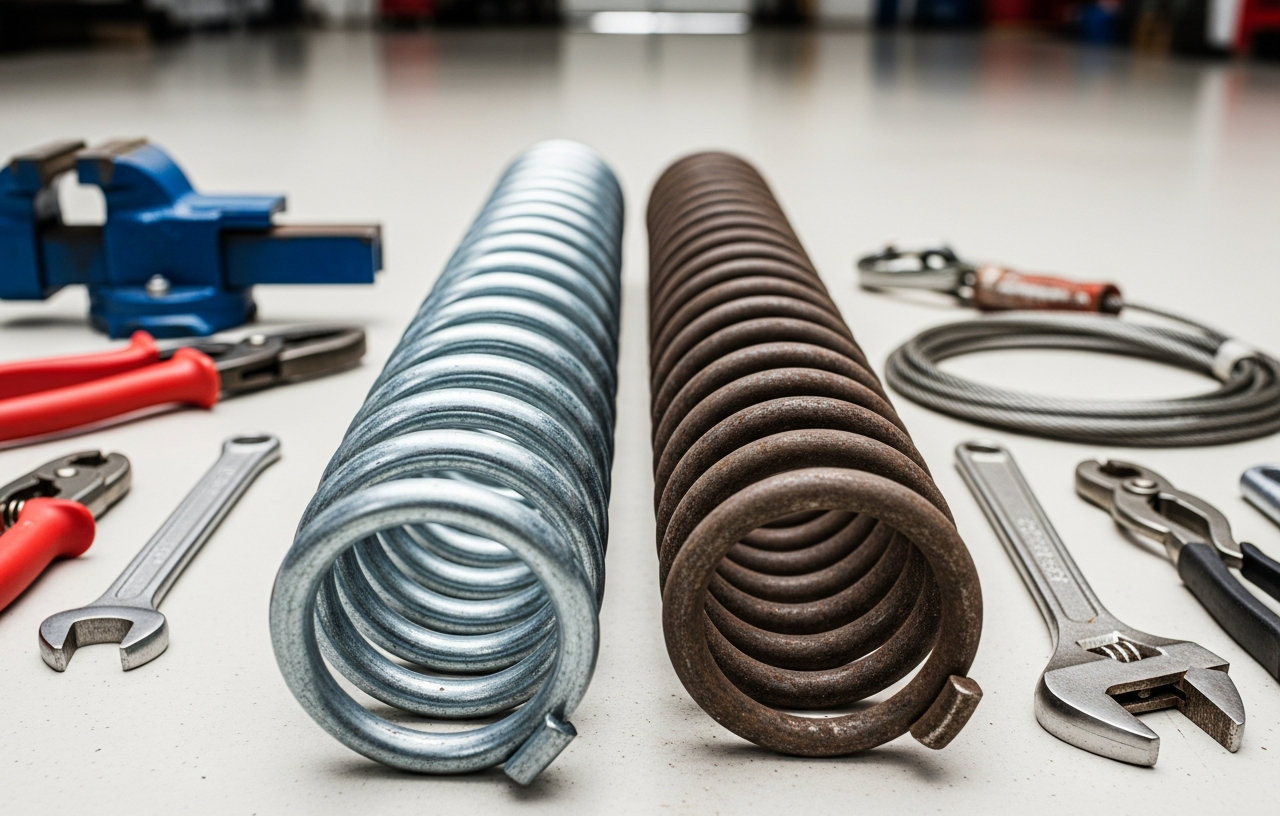
Proper maintenance can extend the lifespan of your new springs. Lubricate them annually with a silicone-based garage door lubricant. Avoid using oil-based lubricants, as they can attract dirt and grime. Regularly inspect the springs and cables for signs of wear, rust, or fraying. Addressing minor issues early can prevent major problems down the line.
Replacing your garage door extension springs can restore your door to proper working order.
Left Hand Wind(Black Cone)2" Garage Door Torsion Spring with Non-Slip Winding Bars & Gloves, High Precision Electrophoresis Black
- Left Hand Wound Replacement for Right Side (Black Cone) .250” wire size x 2” inside dimension x 28” length.
- Single Side Garage Door Torsion Spring, A pair of 17.2’’ Non-Slip Winding Bars and Gloves, and.
- Made of heat-treated professional spring steel coils with aluminum cones to make sure they are extremely.
- Use YOTOOLGDS high quality garage door torsion springs to replace old broken garage door springs.Having.
Pair of 2" Garage Door Torsion Springs Set with Non-Slip Winding Bars & Gloves, Precision Electrophoresis Black Coated Without
- One Pair of 207” wire size x 2” inside dimension x 24” length Garage Door Torsion Spring. (left & right)
- A pair of Garage Door Torsion Spring, A pair of 17.2’’ Non-Slip Winding Bars and Gloves, and Installation.
- Made of heat-treated professional spring steel coils with aluminum cones to make sure they are extremely.
- Use KaiMinDogz high quality garage door torsion springs to replace old broken garage door springs.Having.
Right Hand Wind(Red Cone)2" Garage Door Torsion Spring with Non-Slip Winding Bars & Gloves, High Precision Electrophoresis Black
- Right Hand Wound Replacement for Left Side (Red Cone) .250” wire size x 2” inside dimension x 28” length.
- Single Side Garage Door Torsion Spring, A pair of 17.2’’ Non-Slip Winding Bars and Gloves, and.
- Made of heat-treated professional spring steel coils with aluminum cones to make sure they are extremely.
- Use YOTOOLGDS high quality garage door torsion springs to replace old broken garage door springs.Having.