
2 Pack Winding Rods for Garage Torsion Springs with Non-Slip Rubber Handle, Zinc Steel Winding Bars Hardware for Adjusting or
- ✔ Specialized Tools: Winding bars is used to unwind and wind garage door torsion springs. This is an.
- ✔Safety First: Operation with a winding rods is recommended to prevent safety accidents and property.
- ✔Premium Material & Knurling Process: The winding bar is made of zinc steel with galvanized surface, not.
- ✔Rubber Grips & Non-Slip Gloves: Rubber non-slip grips and non-slip gloves are more convenient and.

One Pair Upgrade Garage Torsion Spring Winding Rods, Winding Bars with Non-Slip Handle for Adjusting or Replacing Garage Door Tension Spring
- 【Essential Tool for Torsion Springs】 to Designed for winding and unwinding garage door torsion springs, helping maintain proper door balance while reducing the risk involved in high-tension adjustments.
- 【Red Safety Mark for Instant Confirmation】 to The red-marked tips give you immediate visual confirmation that the winding bars are fully inserted, so you never have to second-guess during dangerous, high-tension work.
- 【Non-Slip Handle for Maximum Control 】 to Equipped with a textured rubber handle that provides a secure, comfortable grip, giving you confidence and control when precision matters most.
- 【Solid Steel, Built to Withstand Force】 to Made from heavy duty solid steel with a galvanized coating to resist bending, breaking, and rust, ensuring reliable performance when your safety depends on it.
- 【Trusted by DIYers & Professionals】 to Ideal for use in home garages or professional workshops, these winding bars are trusted by DIY enthusiasts and garage door technicians who value safety, precision, and dependable per
A garage door that opens with difficulty, closes too rapidly, or refuses to stay open halfway often signals an issue with its torsion springs. While the idea of tensioning garage door springs yourself might seem daunting due to the inherent dangers, understanding the process and using the right safety precautions can save you the expense of a professional service call. A technician typically charges $80-$150 for a service call alone, plus labor and parts if a full replacement is needed. This guide will help you understand how to safely perform garage spring adjustment.
Understanding Garage Door Torsion Springs
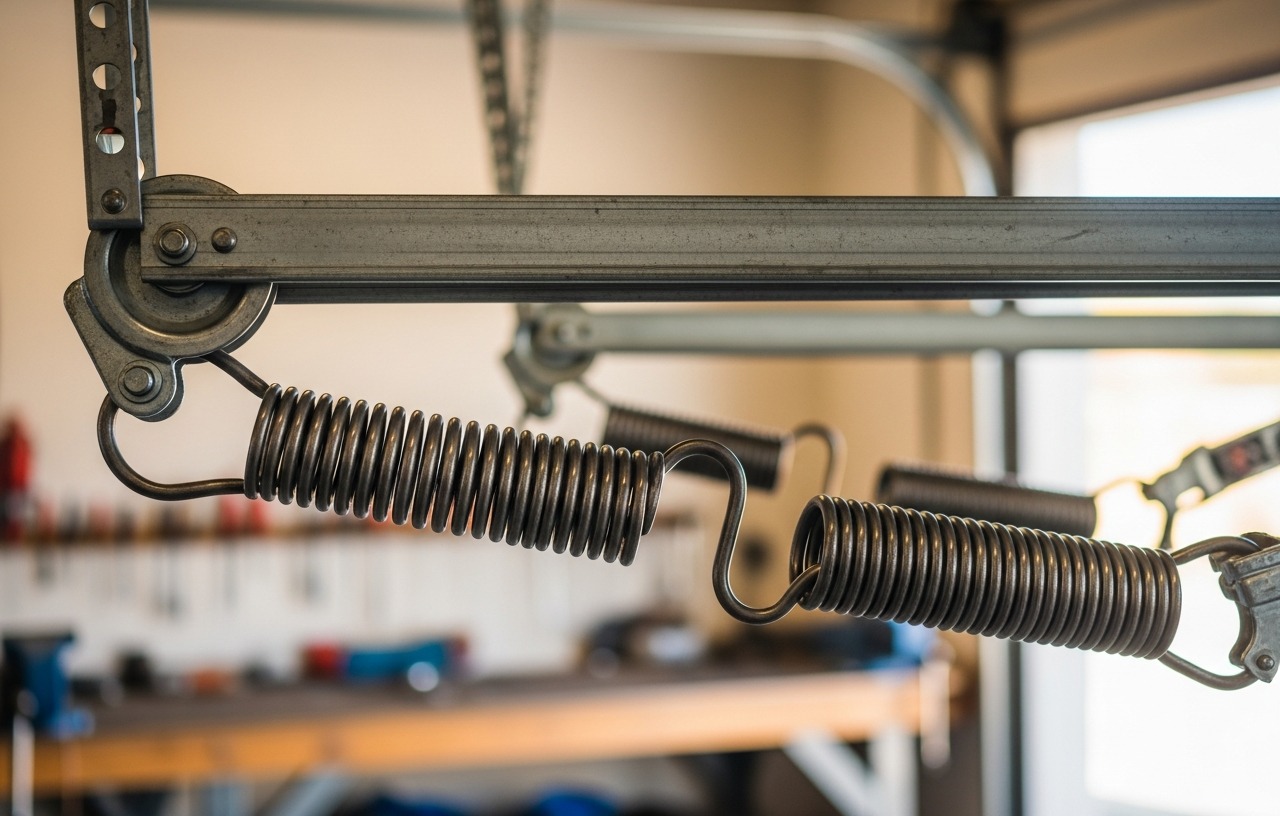
Torsion springs are mounted horizontally above the garage door opening, on a metal shaft. When the door closes, cables attached to the bottom corners of the door wind around drums on the shaft, causing the torsion springs to twist and store energy. When the door opens, the springs unwind, releasing that energy to lift the door. Correct garage door spring tension adjustment ensures the door is balanced. A balanced door should stay still when stopped halfway through its travel, without assistance.
An unbalanced door places extra strain on your garage door opener, potentially shortening its lifespan. It also poses a safety risk, as a door that falls too quickly can cause injury or property damage. Adjusting the tension involves carefully winding or unwinding these springs. This process demands extreme caution, as the stored energy can cause serious injury if released improperly.
Safety First: Essential Precautions
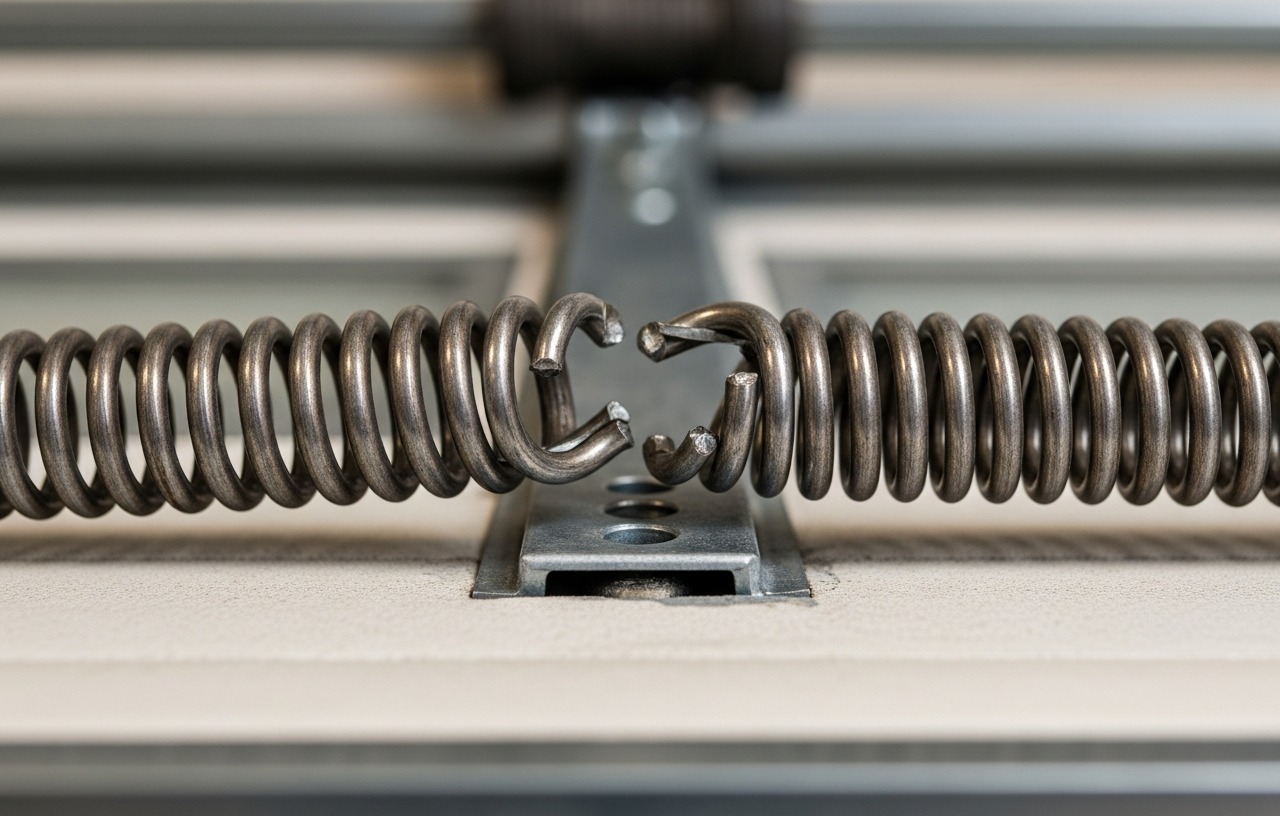
Before attempting any garage door spring adjustment, prioritize your safety. Torsion springs hold tremendous force. Any mistake can lead to severe injury, including broken bones, lacerations, or even death. If you are uncomfortable at any point, or if the springs appear damaged (e.g., rusted, visibly broken), stop immediately and call a qualified garage door technician. For information on what to do if a spring is broken, see our guide on Broken Garage Door Spring: What to Do Right Now.
Required Tools and Materials
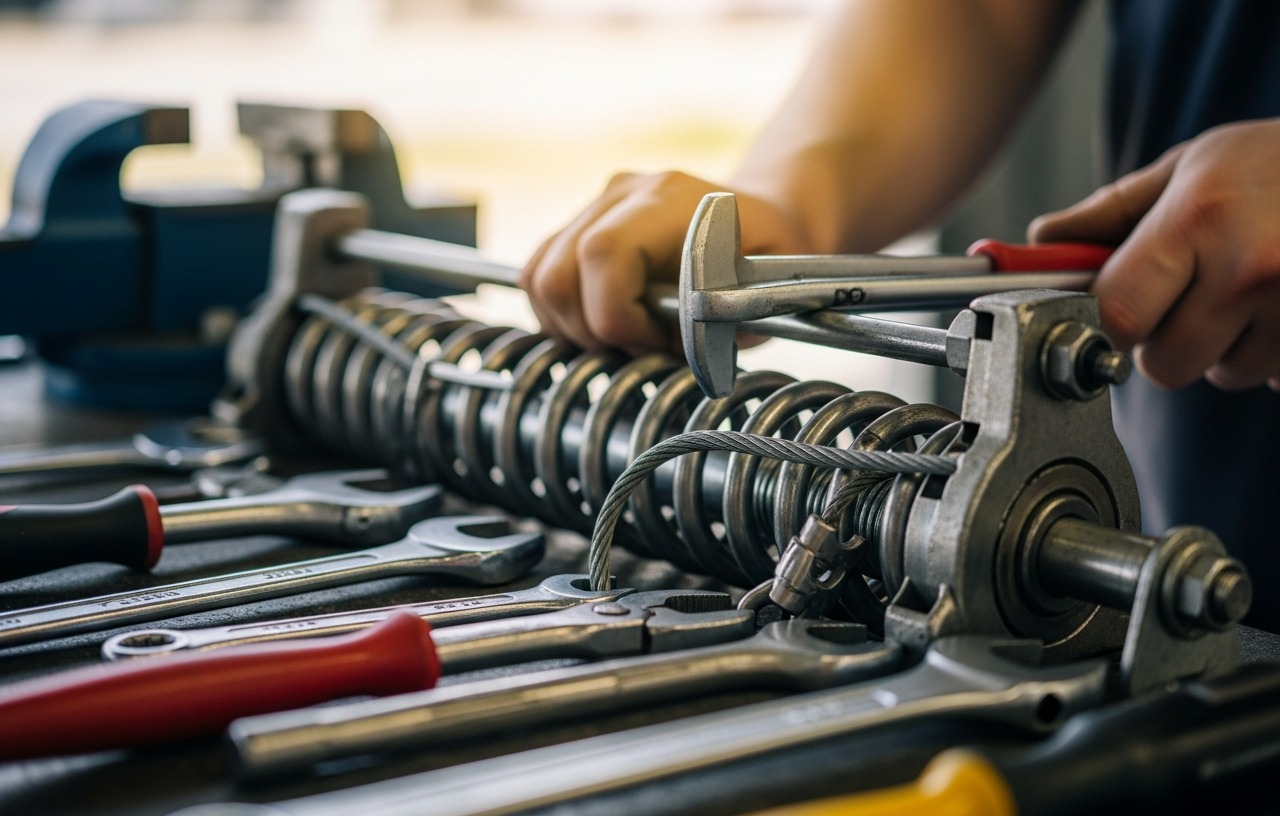
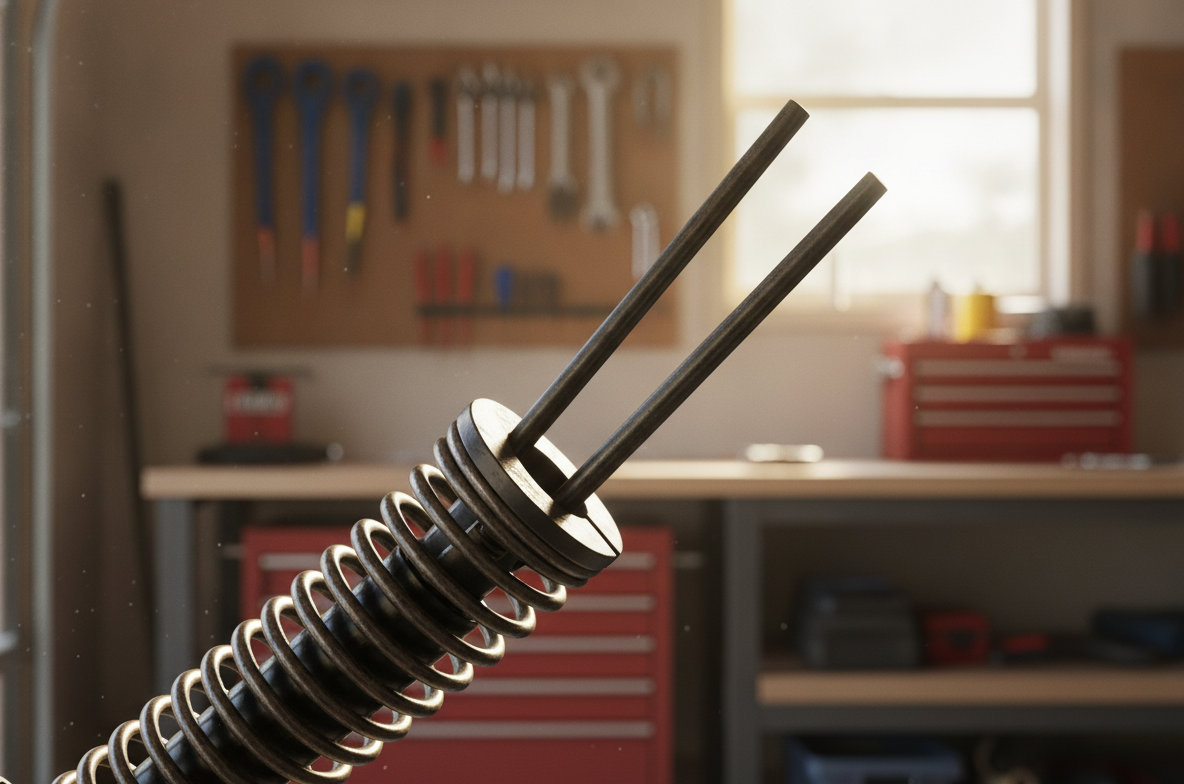
- Two Winding Bars: These are specialized tools, typically made of steel, used to safely manipulate the springs. Do not use screwdrivers, wrenches, or any other substitute, as they can slip and cause injury. Look for heavy duty options like the 2 Pack Winding Rods for Garage Torsion Springs with Non-Slip Rubber Handle, made of zinc steel with a galvanized surface. Another excellent option is the One Pair Upgrade Garage Torsion Spring Winding Rods, which feature red safety marks for visual confirmation of full insertion and non-slip rubber handles for maximum control.
- Sturdy Stepladder: Make sure it is stable and tall enough to comfortably reach the torsion assembly.
- C-Clamp or Locking Pliers: To secure the door in the open position.
- Gloves and Safety Glasses: For personal protection.
- Measuring Tape: To measure the door's balance.
- Masking Tape or Chalk: To mark the springs and shaft.
When to Adjust and When to Replace
Garage door spring adjustment is appropriate when your springs are still intact but the door's balance is off. This might manifest as the door feeling heavier than usual, closing with too much force, or struggling to open even with the opener engaged. If a spring is visibly broken, snapped, or severely rusted, adjustment is not an option. A broken spring requires replacement. Attempting to adjust a broken spring is extremely dangerous. You can find more details on replacement costs in our article .
step by step Guide to Garage Door Torsion Spring Adjustment
This process typically takes 30-60 minutes, depending on your experience and the specific adjustment needed. Always work slowly and deliberately.
Step 1: Disengage the Garage Door Opener and Secure the Door (5 minutes)
First, pull the emergency release cord (usually a red handle) to disconnect the garage door from the opener. Then, unplug the garage door opener from its power source. This prevents accidental activation during your work. Manually lift the garage door until it is fully open. Use a C-clamp or a sturdy pair of locking pliers to secure the door to the track just below a roller. This prevents the door from unexpectedly falling, which is a critical safety measure.
Step 2: Locate and Inspect the Torsion Springs (5 minutes)
The torsion springs are located directly above the garage door opening, mounted on a metal shaft. Most residential garage doors have one or two springs. Note the winding cones at the ends of each spring, which have small holes where the winding bars will be inserted. Inspect the springs for any signs of damage, such as cracks, gaps, or rust. If you find any damage, do not proceed with adjustment. Call a professional.
Step 3: Mark the Springs and Shaft (5 minutes)
Before making any adjustments, use masking tape or chalk to draw a straight line along the length of each spring and onto the stationary cone and the shaft. This visual marker will help you track how many quarter-turns you make, making it easier to reverse the adjustment if needed. This step is essential for precise garage door spring adjustment.
Step 4: Loosen the Set Screws (5 minutes)
Use an appropriate wrench or socket to loosen the two set screws on the winding cone of the spring you plan to adjust. These screws secure the spring to the shaft. Only loosen them enough to allow the spring to rotate on the shaft, usually about a quarter to half turn. Do not remove them entirely. The set screws are under significant tension, so exercise caution.
Step 5: Insert Winding Bars (2 minutes)
Take one winding bar and insert it firmly into one of the holes in the winding cone. Hold it securely. Insert the second winding bar into the next available hole, making sure it is fully seated. This two-bar system provides stability and control.
Step 6: Adjust Spring Tension (Variable, 5-15 minutes per spring)
This is the most critical and dangerous step. You will be winding or unwinding the spring in quarter-turn increments.
To Increase Tension (Tighten Garage Door Spring):
If your door is too heavy or closes too quickly, you need to add tension. Hold both winding bars firmly. With one hand on each bar, carefully lift the bottom bar up and push the top bar down, effectively rotating the winding cone upwards (towards the ceiling). Once the first bar has completed a quarter-turn, remove it and insert it into the next hole in the winding cone, immediately below the second bar. Then, use the second bar to hold the tension while you reposition the first. Repeat this process, making quarter-turns, always keeping at least one winding bar fully inserted in the winding cone at all times. The general rule is about four full turns (16 quarter-turns) for a standard 7-foot high door, and five full turns (20 quarter-turns) for an 8-foot high door. However, start with one or two full turns, then test the door.
To Decrease Tension (Loosen Garage Door Spring):
If your door is too light or springs open too aggressively, you need to reduce tension. This process is similar to increasing tension but in reverse. Insert both winding bars. Carefully rotate the winding cone downwards, unwinding the spring. Again, make quarter-turns, always keeping one bar inserted to control the release of tension. This is arguably more dangerous than winding, as the spring wants to quickly unwind. Maintain a firm grip on the bars.
Step 7: Test the Garage Door Balance (5 minutes)
After making an adjustment, remove the winding bars and re-tighten the set screws on the winding cone. Remove the C-clamp or locking pliers from the track. Carefully lower the garage door to the closed position. Then, manually lift the door about halfway. Release it. A properly balanced door should remain stationary at that position. If it rises, it has too much tension. If it falls, it needs more tension. Repeat Step 6, making small, quarter-turn adjustments until the door is balanced. You may need to adjust both springs equally if you have two.
Step 8: Re-tighten Set Screws (2 minutes)
Once the door is perfectly balanced, make sure both set screws on each winding cone are securely tightened. This prevents the spring from losing tension over time. Double-check their tightness to prevent slippage.
Step 9: Reconnect Power and Test Opener (2 minutes)
Plug your garage door opener back into its power source. Reconnect the emergency release cord to the opener trolley. Operate the door using your opener a few times to ensure smooth operation. Listen for any unusual noises and observe the door's travel path. If your opener still struggles, you might need to check other components. Our guide on Garage Door Opener Not Working: 9 Fixes Before You Call Anyone might offer further assistance.
Troubleshooting Common Issues After Adjustment
Door Still Feels Heavy or Closes Fast
This means the springs still need more tension. Repeat the adjustment process, adding one to two quarter-turns at a time until the door balances properly.
Door Flies Open or is Too Light
The springs have too much tension. Carefully repeat the adjustment process, removing one to two quarter-turns at a time. This is less common but can happen if too many turns were added initially.
Uneven Door Travel
If you have two torsion springs and the door appears to be lifting unevenly, one spring might have more tension than the other. Adjust the tension on the individual spring that seems to be pulling less or more, aiming for equal balance across the door.
When to Call a Professional
While garage door spring adjustment is a DIY task for many homeowners, there are times when calling a professional is the safest and most practical choice:
- If a spring is broken, visibly damaged, or severely rusted.
- If you are uncomfortable or unsure at any point during the process.
- If the door has multiple issues beyond just tension, such as bent tracks or damaged cables.
- If you attempt adjustment multiple times and cannot achieve proper balance.
Professional garage door repair services typically charge $80-$150 for a service call. Labor for spring adjustment alone might range from $75-$150, depending on your location and the complexity of the job. This cost is separate from any parts needed if a replacement becomes necessary.
Proper garage door spring adjustment ensures the longevity of your garage door system and the safety of your home. By carefully following these steps and prioritizing safety, you can maintain your garage door's balance and smooth operation. Remember, patience and precision are key when setting garage door springs. If doubt arises, a professional can always provide expert assistance.
2 Pack Winding Rods for Garage Torsion Springs with Non-Slip Rubber Handle, Zinc Steel Winding Bars Hardware for Adjusting or
- ✔ Specialized Tools: Winding bars is used to unwind and wind garage door torsion springs. This is an.
- ✔Safety First: Operation with a winding rods is recommended to prevent safety accidents and property.
- ✔Premium Material & Knurling Process: The winding bar is made of zinc steel with galvanized surface, not.
- ✔Rubber Grips & Non-Slip Gloves: Rubber non-slip grips and non-slip gloves are more convenient and.
One Pair Upgrade Garage Torsion Spring Winding Rods, Winding Bars with Non-Slip Handle for Adjusting or Replacing Garage Door Tension Spring
- 【Essential Tool for Torsion Springs】 to Designed for winding and unwinding garage door torsion springs, helping maintain proper door balance while reducing the risk involved in high-tension adjustments.
- 【Red Safety Mark for Instant Confirmation】 to The red-marked tips give you immediate visual confirmation that the winding bars are fully inserted, so you never have to second-guess during dangerous, high-tension work.
- 【Non-Slip Handle for Maximum Control 】 to Equipped with a textured rubber handle that provides a secure, comfortable grip, giving you confidence and control when precision matters most.
- 【Solid Steel, Built to Withstand Force】 to Made from heavy duty solid steel with a galvanized coating to resist bending, breaking, and rust, ensuring reliable performance when your safety depends on it.
- 【Trusted by DIYers & Professionals】 to Ideal for use in home garages or professional workshops, these winding bars are trusted by DIY enthusiasts and garage door technicians who value safety, precision, and dependable per