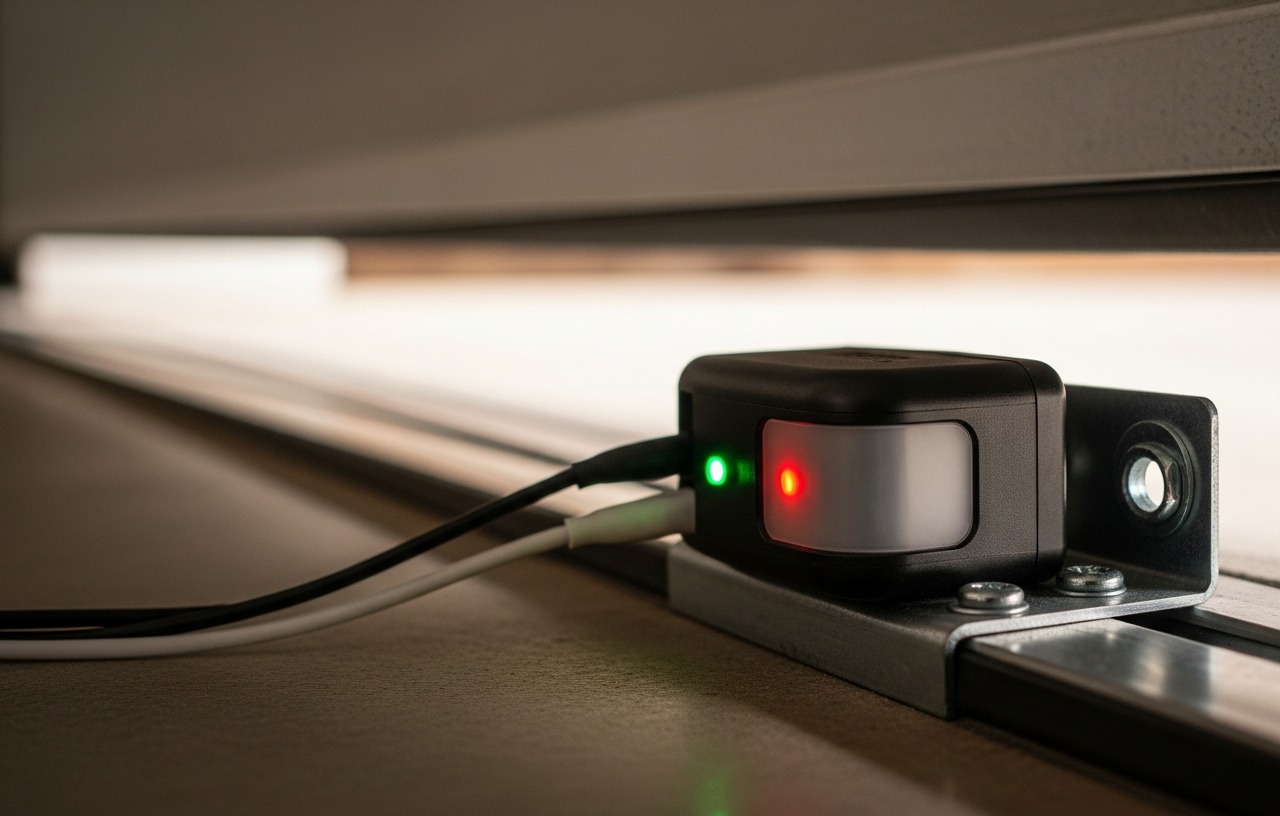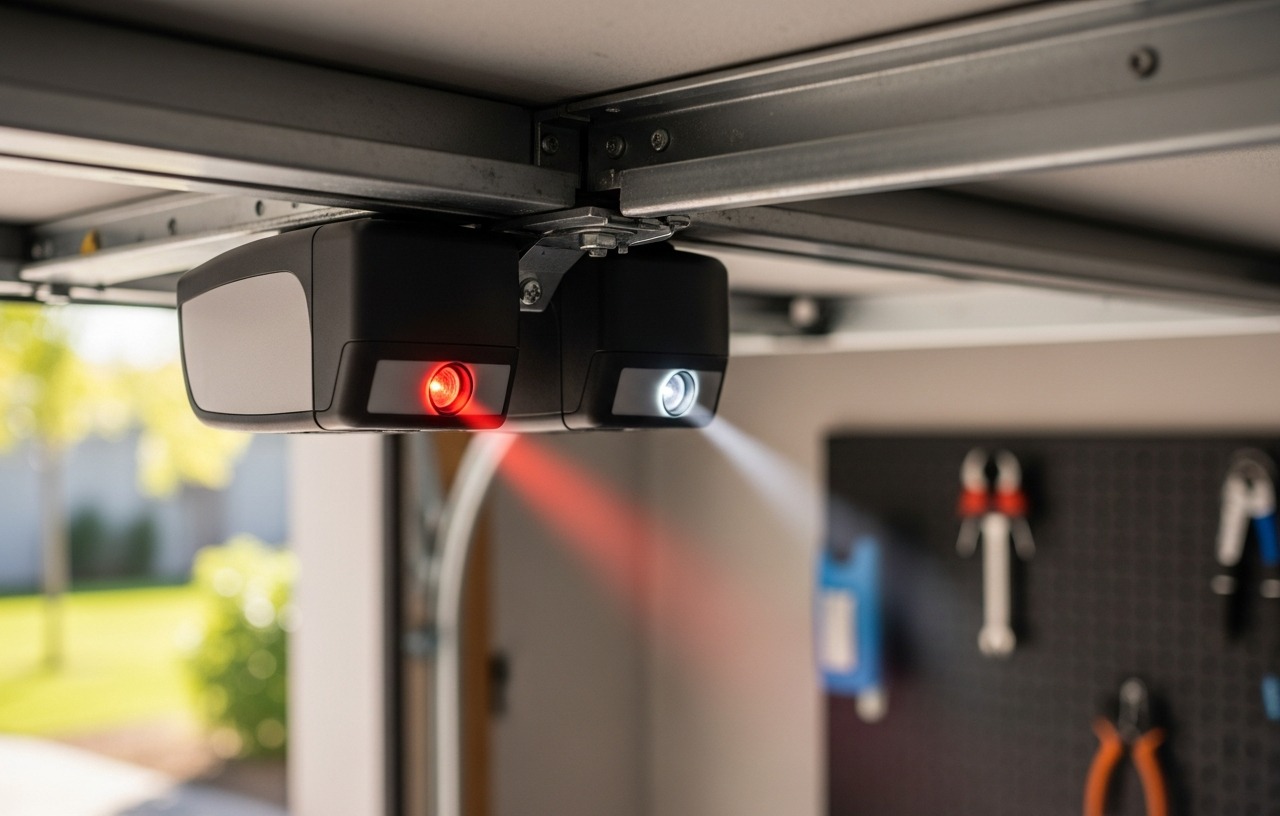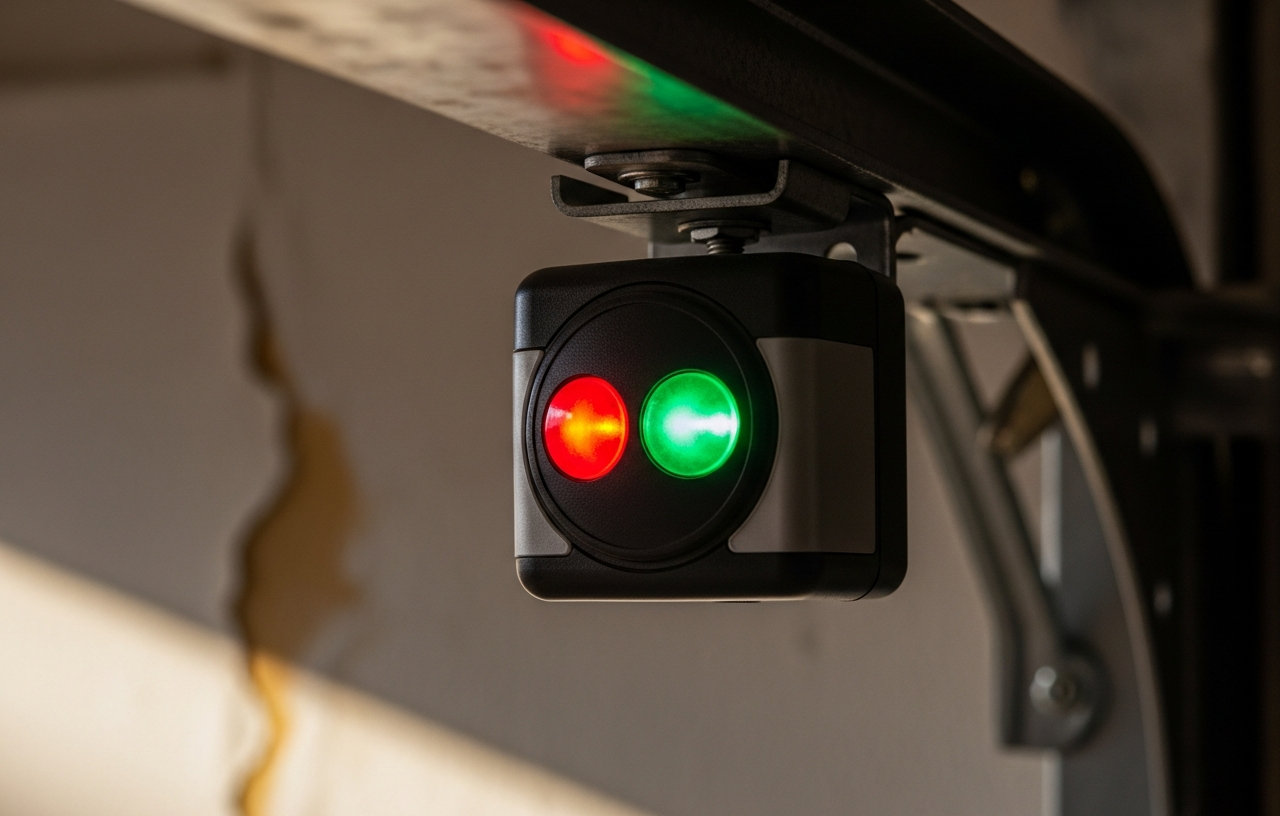
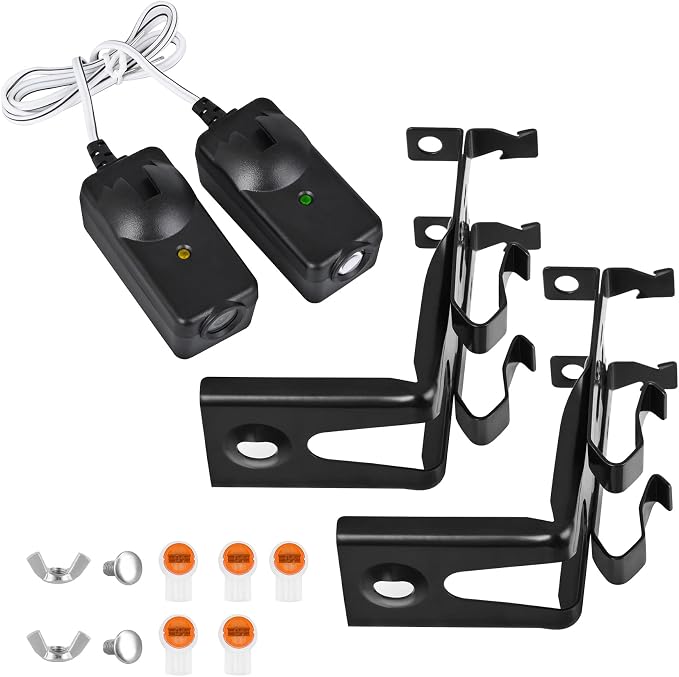
41A5034 Garage Door Sensor with Brackets, Replacement for Liftmaster Chamberlain Craftsman Garage Door Sensors, Safety Sensor
- Compatibility: Replacement for craftsman garage door sensor/Chamberlain garage door sensor/Liftmaster.
- Easy to Install and Program: 41a5034 garage door sensor can replace model: G801CB-P, 2610459.
- Updated Design: 041A5034 garage door Safety Sensor emit an invisible beam of light on the inside of the.
- Package Includes: Detailed installation instructions*1, Transmitter sensor *1(with an yellow LED).
A garage door sensor blinking both red and green indicates a safety system fault. These lights, usually found at the bottom of your garage door tracks, tell you the safety beam is interrupted or misaligned. The red light typically signals the sending sensor, while the green light indicates the receiving sensor. When both blink, the system cannot establish a clear connection, preventing your garage door from closing properly.
Most homeowners can fix this problem with simple adjustments, avoiding a service call. Understanding what each blink means helps pinpoint the exact issue. This guide covers the most common causes, starting with the simplest and most frequent, to help you restore your garage door's functionality.
Understanding Your Garage Door Safety Sensors
Garage door safety sensors are a required safety feature on all garage door openers manufactured after 1993. They prevent the door from closing if an object or person breaks the invisible infrared beam stretched across the door's opening. One sensor sends the beam (often marked with a green light), and the other receives it (often marked with a red light). When the beam is interrupted or misaligned, the receiving sensor cannot detect the signal, and the door opener will not close the door, often causing it to reverse immediately after starting to descend.
The blinking red and green combination means the system detects an issue preventing the beam from completing its circuit. Fixing this often involves simple visual checks and minor adjustments.
1. Misaligned Sensors (Most Common Cause)
Even a slight bump can knock a garage door safety sensor out of alignment. If the sending and receiving sensors are not perfectly aimed at each other, the beam cannot connect. This is the most frequent reason for blinking sensor lights and a non-closing door.
How to Fix Misaligned Sensors
Fixing misaligned sensors is often a quick, no-cost repair. You will need a few minutes and a steady hand.
- Locate the Sensors: Find the small boxes mounted on the garage door tracks, about 4-6 inches above the floor. One will have a green light, the other a red.
- Observe the Lights: The green light should be solid, indicating it is sending a signal. The red light should also be solid, meaning it is receiving the signal. If either is blinking or off, there is a problem.
- Adjust the Sensors: Gently loosen the wing nut or screw holding each sensor bracket. Carefully pivot each sensor by hand, aiming them directly at each other.
- Watch for Solid Lights: As you adjust, watch the red light on the receiving sensor. When it turns solid, you have found the correct alignment. The green light should remain solid throughout this process.
- Tighten Securely: Once both lights are solid, carefully tighten the wing nuts or screws to hold the sensors in place. Make sure they are firm and will not shift easily.
For a detailed visual guide on this process, see our article on How to Align Garage Door Sensors in 5 Minutes. If you continue to have trouble, you might also find help in Garage Door Sensor Not Working? Align and Fix It in 10 Minutes.
If DIY alignment does not work, a professional technician can perform this adjustment. A service call typically costs $80-$150. Any minor adjustments are usually included in that initial fee.
2. Obstruction in the Beam's Path
Even a small object can block the safety beam, causing the sensors to blink. This is a common occurrence, especially in busy garages.
How to Fix an Obstruction
Check the path between the two sensors. Look for anything that might be breaking the beam, such as:
- A stray tool.
- A child's toy.
- Yard debris like leaves or twigs.
- Spiderwebs or insect nests directly on the sensor lenses.
- Loose insulation or plastic sheeting.
Remove any obstructions. Test the door after clearing the path. This fix is free and takes only moments.
3. Dirty Sensor Lenses
Over time, dust, dirt, and grime can accumulate on the sensor lenses. This buildup can diffuse or block the infrared beam, preventing it from reaching the receiving sensor clearly.
How to Fix Dirty Sensor Lenses
Cleaning the sensor lenses is a simple and effective solution:
- Power Off: Disconnect power to the garage door opener at the wall outlet or circuit breaker for safety.
- Wipe Lenses: Use a soft, clean cloth or cotton swab to gently wipe the lenses of both sensors. A mild glass cleaner can help remove stubborn grime, but make sure the lenses are completely dry before restoring power.
- Restore Power and Test: Reconnect power and test the garage door. The lights should now be solid, and the door should close.
This repair costs nothing and is a quick maintenance task.
4. Damaged Wiring
The wires connecting the safety sensors to the garage door opener can become damaged. Common issues include:
- Wires pinched by the garage door itself.
- Wires chewed by rodents.
- Loose connections at the sensor or opener terminals.
- Corroded wires.
Damaged wiring can lead to intermittent or complete signal loss, causing the sensors to blink.
How to Fix Damaged Wiring
- Inspect Wires: Carefully follow the wires from each sensor back to the garage door opener. Look for any visible damage, such as cuts, fraying, or exposed copper. Pay close attention to areas where the wires might be pinched or rubbed.
- Check Connections: At both the sensor end and the opener terminal block, make sure the wires are securely fastened. Loosen and re-tighten any loose connections.
- Repair or Replace: If you find a small section of damaged wire, you might be able to cut out the bad section and splice in a new piece using wire nuts. Make sure to match the wire gauge. If the damage is extensive, replacing the entire run of wire might be necessary.
Replacing a wire run can cost a few dollars for the wire itself if you do it yourself. A professional repair technician will typically charge $80-$150 for a service call, plus $50-$150 for parts and labor to repair or replace wiring. Total costs could range from $130-$300.
5. Faulty Sensors
If you have checked alignment, cleared obstructions, cleaned lenses, and inspected wiring, and the sensors still blink, one or both sensors might be faulty. Sensors can wear out over time, especially if exposed to harsh weather or physical impact.
How to Replace Faulty Sensors
Replacing safety sensors is a common DIY task. Most replacement kits come with clear instructions:
- Disconnect Power: Unplug the garage door opener from its power source.
- Remove Old Sensors: Disconnect the wires from the old sensors and unmount them from their brackets.
- Install New Sensors: Mount the new sensors using the existing brackets or new ones provided in the kit. Connect the wires, paying attention to polarity (usually indicated by color coding).
- Align and Test: Restore power and align the new sensors as described in section 1.
If your existing sensors are beyond repair, consider replacing them with a reliable option like the 41A5034 Garage Door Sensor with Brackets. This replacement for craftsman garage door sensor, Chamberlain garage door sensor, and Liftmaster models is known for its easy installation and compatibility. It can replace models such as G801CB-P and 2610459. The updated design emits an invisible beam of light, restoring safety to your garage door system.
Replacing sensors yourself will cost only the price of the new sensor kit. Professional installation for new sensors typically costs $80-$150 for the service call, plus $50-$100 for the parts, and an additional $50-$100 for labor. The total cost could be $180-$350.
6. Garage Door Opener Logic Board Issue (Less Common)
In rare cases, the problem might not be with the sensors themselves but with the logic board inside your garage door opener. The logic board controls all functions of the opener, including processing the safety sensor signals. If the board is failing, it might incorrectly interpret the sensor signals or fail to provide power to them.
How to Diagnose a Logic Board Issue
Diagnosing a faulty logic board is difficult without specialized tools. If you have exhausted all other troubleshooting steps and the sensors continue to blink, a logic board problem is a possibility. Symptoms might also include other erratic behavior from the opener, or the opener not responding to commands at all. For more general troubleshooting, see Garage Door Opener Not Working: 9 Fixes Before You Call Anyone.
This issue requires professional diagnosis. A technician will charge $80-$150 for a service call. If the logic board needs replacement, the part itself can cost $100-$200, plus $75-$150 for labor. A total cost for a logic board replacement could range from $255-$500.
When to Call a Professional
While many sensor issues are DIY fixes, knowing when to call a professional saves time and prevents further damage. Consider calling a technician if:
- You have tried all troubleshooting steps, and the sensors are still blinking.
- You suspect damaged wiring but are uncomfortable working with electrical components.
- You believe the opener's logic board is faulty.
- Your garage door is exhibiting other problems, such as not opening or making strange noises, alongside the blinking sensors.
A professional garage door technician has the experience and tools to quickly diagnose complex issues and make safe, lasting repairs. They can also advise on the overall health of your garage door system.
Conclusion
A garage door sensor blinking red and green is a common problem with several possible solutions. Start by checking for misalignment, obstructions, and dirty lenses, as these are the most frequent and easiest fixes. Progress to inspecting wiring and, if necessary, replacing the sensors. Only after exhausting these options should you consider a more complex issue like a faulty logic board.
Promptly addressing sensor problems is important for both convenience and safety. A malfunctioning safety system means your garage door poses a potential hazard. Regular inspection and maintenance keep your garage door operating safely and efficiently for years to come.
41A5034 Garage Door Sensor with Brackets, Replacement for Liftmaster Chamberlain Craftsman Garage Door Sensors, Safety Sensor
- Compatibility: Replacement for craftsman garage door sensor/Chamberlain garage door sensor/Liftmaster.
- Easy to Install and Program: 41a5034 garage door sensor can replace model: G801CB-P, 2610459.
- Updated Design: 041A5034 garage door Safety Sensor emit an invisible beam of light on the inside of the.
- Package Includes: Detailed installation instructions*1, Transmitter sensor *1(with an yellow LED).